Table of Contents
Craving a decadent chocolate treat that’s also good for you? Look no further! These vegan sweet potato brownies with almond flour are about to become your new go-to dessert. Forget dry, crumbly vegan baked goods. We're talking rich, fudgy, and intensely chocolatey brownies that just happen to be plant-based and gluten-free. Sweet potato? Yes, you heard right. It’s the secret weapon for ultimate moisture and a touch of natural sweetness, without tasting like, well, sweet potato. We’ll walk you through each step, from gathering your ingredients (and some easy swaps), to baking up the perfect batch. You'll learn the simple techniques, and even how to store them if they last that long. We'll also tackle some common questions, so you can bake these with confidence. Get ready to impress yourself (and everyone else) with these unbelievably delicious and secretly healthy brownies. Let's get baking!
Why You'll Love These Vegan Sweet Potato Brownies with Almond Flour

Why You'll Love These Vegan Sweet Potato Brownies with Almond Flour
The Fudgy Factor
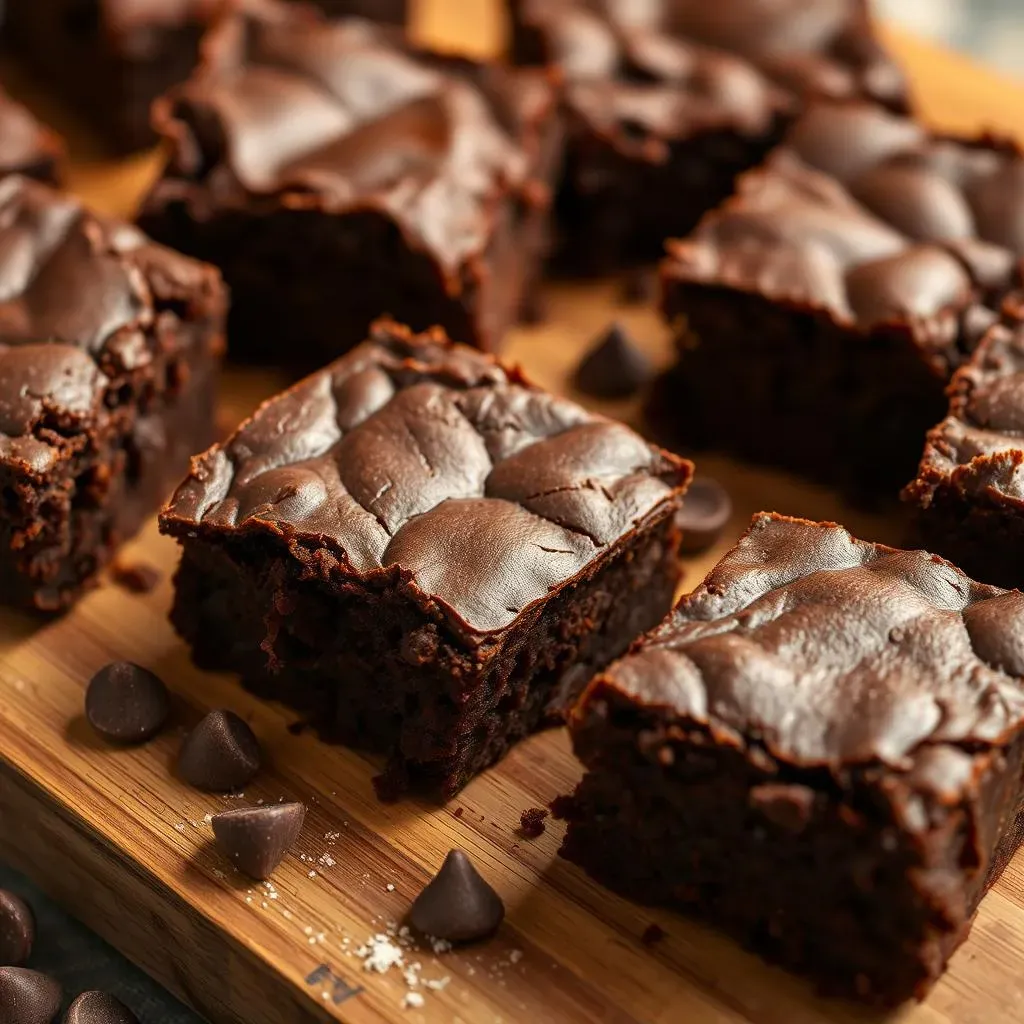
Okay, let's be real, the texture is everything when it comes to brownies. These aren't some dry, sad excuse for a treat. We're talking seriously fudgy, melt-in-your-mouth goodness. The sweet potato is the magic ingredient here, adding moisture that keeps these brownies incredibly soft and dense, not cakey or crumbly. It's like a chocolate hug in every bite. Seriously, prepare to be amazed by how perfectly fudgy these turn out, even without eggs or dairy.
I know what you are thinking, sweet potato in a brownie? It sounds weird. I thought it was weird too, until I tried it. You don't taste the sweet potato, it just makes the brownies super moist and delicious. It's a game changer. I was skeptical at first, but now I'm hooked. It's a great way to sneak in some veggies too, right?
Healthier Indulgence
Let's face it, most brownies are loaded with sugar and butter, but these are a bit different. We're using almond flour, which is naturally gluten-free and adds a nice nutty flavor. Almond flour is also lower in carbs than traditional flour, so you’re getting a little extra protein and fiber. And instead of refined sugars, we are using maple syrup. This doesn't mean they are a health food, but it does mean you can feel a little bit better about indulging. It's a treat that doesn't leave you feeling sluggish afterwards.
These brownies are also vegan, so they're perfect for anyone avoiding dairy or eggs. It's great to have a treat that everyone can enjoy, regardless of dietary restrictions. Plus, they're surprisingly easy to make, which is a win-win in my book. I usually have most of the ingredients in my pantry anyway, so it's a quick and easy dessert to whip up whenever the craving strikes.
Ingredient | Benefit |
|---|---|
Sweet Potato | Moisture, natural sweetness, some vitamins |
Almond Flour | Gluten-free, nutty flavor, protein |
Maple Syrup | Natural sweetener, less refined |
Ingredients and Simple Substitutions for Almond Flour Sweet Potato Brownies

Ingredients and Simple Substitutions for Almond Flour Sweet Potato Brownies
The Core Ingredients
Alright, let's talk ingredients. You'll need the usual suspects for brownies, but with a few healthy twists. We're talking about the stars of the show: sweet potato, almond flour, cocoa powder, and maple syrup. These are the base for our fudgy delights. You'll also need some almond butter for binding everything together, a touch of oil for moisture, and vanilla extract for that classic brownie flavor. It's a pretty simple list, nothing too crazy. I usually have most of these things in my kitchen, which makes baking these brownies a breeze.
Don't let the sweet potato scare you. It’s the secret weapon for that amazing texture. And trust me, you won’t taste it. It just makes the brownies super moist and delicious. It’s like the unsung hero of this recipe. I was skeptical at first, but now I'm a believer. It's a great way to sneak in some veggies too, right?
Swaps and Substitutions
Now, let’s say you don’t have almond flour or almond butter on hand. No problem! You can swap the almond flour for another gluten-free flour like oat flour or even a gluten-free blend. Just keep in mind that the texture might be slightly different. And if you don't have almond butter, cashew butter works great too. You can also use a neutral oil like coconut oil or avocado oil instead of the one specified. The goal is to make this recipe work for you, so don't be afraid to get creative. It's all about making it easy and accessible. I always say baking should be fun, not stressful.
One thing I like to do is add a pinch of salt to the batter, it really enhances the chocolate flavor. And if you're feeling fancy, you can throw in some chocolate chips or chopped nuts. It's your brownie, make it your own. I usually add some dark chocolate chips because I love the extra chocolatey kick. This recipe is super versatile, you can really play around with it and make it your own.
Ingredient | Possible Substitution |
|---|---|
Almond Flour | Oat flour, gluten-free blend |
Almond Butter | Cashew butter, sunflower seed butter |
Maple Syrup | Agave nectar, date syrup |
Oil | Coconut oil, avocado oil |
Sweetness and Chocolate
For sweetness, we’re using maple syrup, but you can use agave or date syrup if that’s what you have. The most important thing is to use a liquid sweetener to keep the batter moist. And for the chocolate part, we are using cocoa powder. If you want a more intense chocolate flavor, you can use cacao powder. It's really up to your taste preferences. I'm a big fan of dark chocolate, so I usually go for the cacao powder for that extra richness. It makes the brownies extra decadent.
Remember, the quality of your ingredients matters. Using good quality cocoa powder or cacao powder will make a big difference in the final flavor of your brownies. I usually buy organic if I can find it. Also, don’t skimp on the vanilla extract. It really enhances all the other flavors. It’s like the secret ingredient that ties everything together. Small details like this makes a huge difference. So, make sure you have all your ingredients ready before you start baking. It will make the whole process much smoother.
StepbyStep Guide to Making the Best Vegan Sweet Potato Brownies with Almond Flour
StepbyStep Guide to Making the Best Vegan Sweet Potato Brownies with Almond Flour
Prepping Your Ingredients
Okay, let's get to the fun part - actually making these brownies! First things first, you'll want to get your sweet potato ready. You can either bake it or steam it until it's nice and soft. Once it's cooked, mash it up really well. We're talking smooth, no lumps. Then, measure out all your other ingredients, like the almond flour, cocoa powder, maple syrup, and almond butter. It's helpful to have everything ready to go before you start mixing, that way, you won’t have to scramble for things in the middle of baking. It’s like getting all your tools ready before starting a big project. Makes everything so much easier and smooth.
I usually use a food processor to get the sweet potato super smooth, it just makes the batter a lot more consistent. Also, don't forget to preheat your oven! You want it nice and hot when the brownies go in. I set it to 350 degrees Fahrenheit (175 degrees Celsius). It's a crucial step that many people forget, but it really does impact the final texture of the brownies. And line your baking pan with parchment paper, that way, they won’t stick to the pan and you can easily lift them out once they’re done. It’s a lifesaver, trust me.
Mixing and Baking
Now for the mixing! In a large bowl, combine all your wet ingredients: the mashed sweet potato, maple syrup, almond butter, oil, and vanilla extract. Mix them together until they’re well combined. Then, add in your dry ingredients: the almond flour and cocoa powder. Mix everything until just combined, don’t overmix. Overmixing can make the brownies tough. Once everything is mixed, pour the batter into your prepared baking pan. Spread it out evenly and get ready to bake! I like to use a spatula to make sure the batter is nice and smooth on top. It makes the brownies look prettier when they come out of the oven.
Pop it in the oven and bake for about 20-25 minutes, or until a toothpick inserted into the center comes out with just a few moist crumbs attached. Don’t overbake, you want them to be fudgy, not dry. Once they’re done, let them cool in the pan for at least 30 minutes before trying to cut them. This is the hardest part, waiting for them to cool. But trust me, it's worth it. They'll be much easier to handle and will have a better texture if you let them cool completely. I usually put them in the fridge to speed up the process, but that’s just me. I’m impatient, what can I say?
Step | Action | Time |
|---|---|---|
1 | Prep sweet potato | 20-30 minutes |
2 | Mix wet ingredients | 5 minutes |
3 | Add dry ingredients | 5 minutes |
4 | Bake | 20-25 minutes |
5 | Cool | 30+ minutes |
Tips for Perfect Vegan Sweet Potato Brownies with Almond Flour
Tips for Perfect Vegan Sweet Potato Brownies with Almond Flour
The Sweet Potato Secret
Okay, so we’ve talked about sweet potato being the magic ingredient, but it's important to get it just right. Make sure your sweet potato is fully cooked and mashed really well. No lumps allowed! Lumps can mess with the texture of your brownies, making them uneven. I usually bake mine until it’s super soft, and then mash it with a fork or use a food processor for extra smoothness. The smoother the sweet potato, the better the texture of the brownies. It’s a small step, but it makes a big difference. It’s kind of like making sure your paint is smooth before you paint a wall, it just makes the final result so much better.
Also, let your cooked sweet potato cool down a bit before you mash it. If it’s too hot, it can affect the other ingredients and make the batter too runny. I usually let mine sit for about 10-15 minutes after baking. It’s all about patience, my friend. And don’t add any extra liquid to the sweet potato, you want it to be as dry as possible. Too much moisture will make your brownies soggy. We want fudgy, not soggy. That’s the golden rule here.
Sweet Potato Tip | Why It Matters |
|---|---|
Cook fully | Ensures proper texture |
Mash smoothly | Prevents lumps |
Cool slightly | Avoids runny batter |
Baking Time and Temperature
Another key thing is to watch your baking time and temperature. Every oven is different, so the times we mentioned earlier are just a guide. Start checking your brownies around the 20-minute mark. You want them to be set around the edges and still a little soft in the middle. A toothpick inserted into the center should come out with just a few moist crumbs attached. If it comes out clean, you've overbaked them, and they won’t be as fudgy. It’s a delicate balance, but with a little practice, you’ll get the hang of it. It’s like learning to ride a bike, it takes a few tries, but once you get it, you’ll never forget it.
Also, make sure your oven is preheated properly. A cold oven will drastically change the baking time and texture of your brownies. I always recommend using an oven thermometer to make sure your oven is at the right temperature. It's a small investment, but it makes a big difference in your baking. And remember, don't open the oven door too often while the brownies are baking. This can cause the temperature to fluctuate and affect the final result. It’s like peeking at a cake while it’s baking, you just don’t do it. It's all about keeping the temperature consistent for the best results.
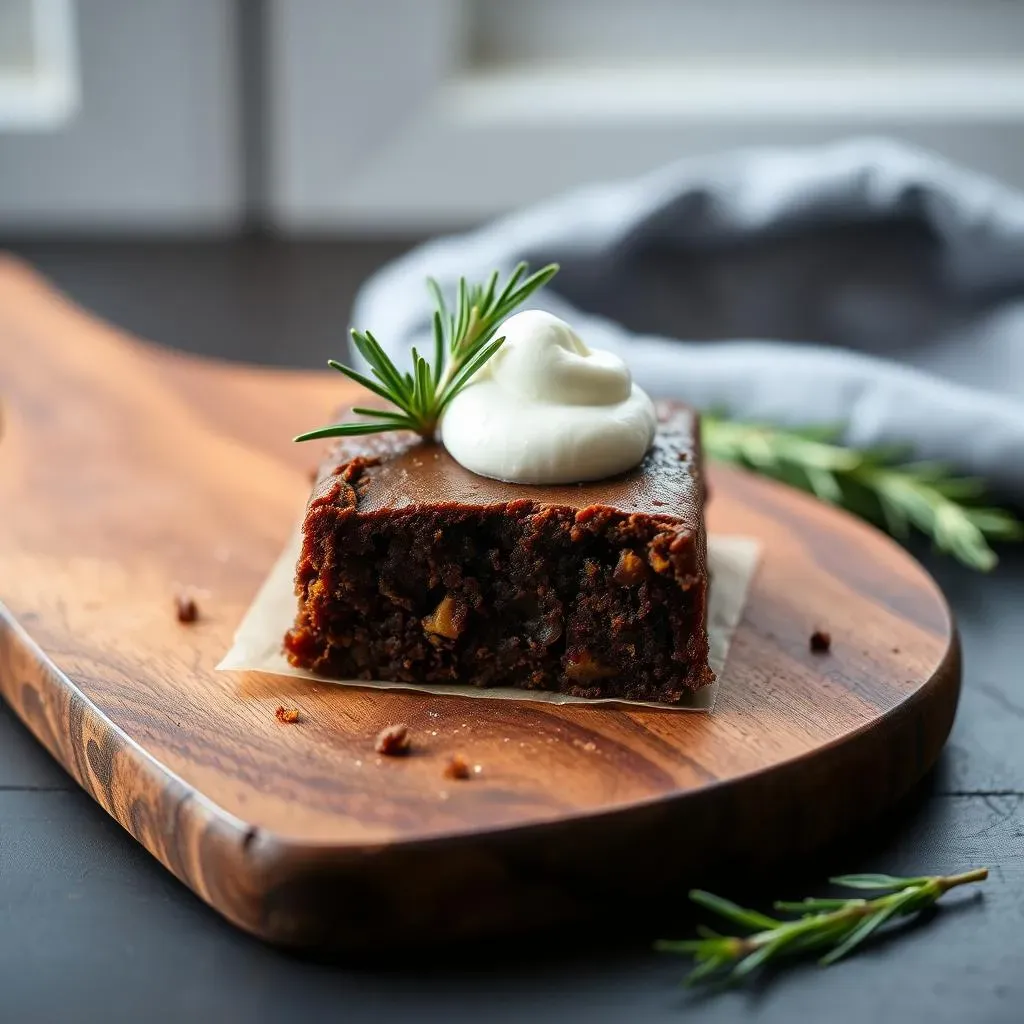
Cooling and Cutting
Now, the hardest part: let the brownies cool completely in the pan before you try to cut them. I know it's tempting to dive in while they're still warm, but trust me, they’ll be a mess. If you cut them while they’re still warm, they will be sticky and gooey. Letting them cool completely allows them to firm up and makes them much easier to handle. I usually put them in the fridge for an hour or two to speed up the process. And even better, let them cool in the fridge overnight! It makes them even more fudgy and delicious.
When it's time to cut them, use a sharp knife and wipe it clean after each cut. You can also run the knife under hot water and dry it before cutting, this helps get nice clean lines. This will help you get those clean, perfect brownie squares that everyone loves. And if you’re feeling fancy, you can even use a cookie cutter to make fun shapes. It’s all about presentation, my friend. It’s like making sure your bed is made before you leave the house, it just makes everything feel a little bit better.
Storing Your Delicious Vegan Sweet Potato Brownies
Storing Your Delicious Vegan Sweet Potato Brownies
Room Temperature vs. Refrigerator
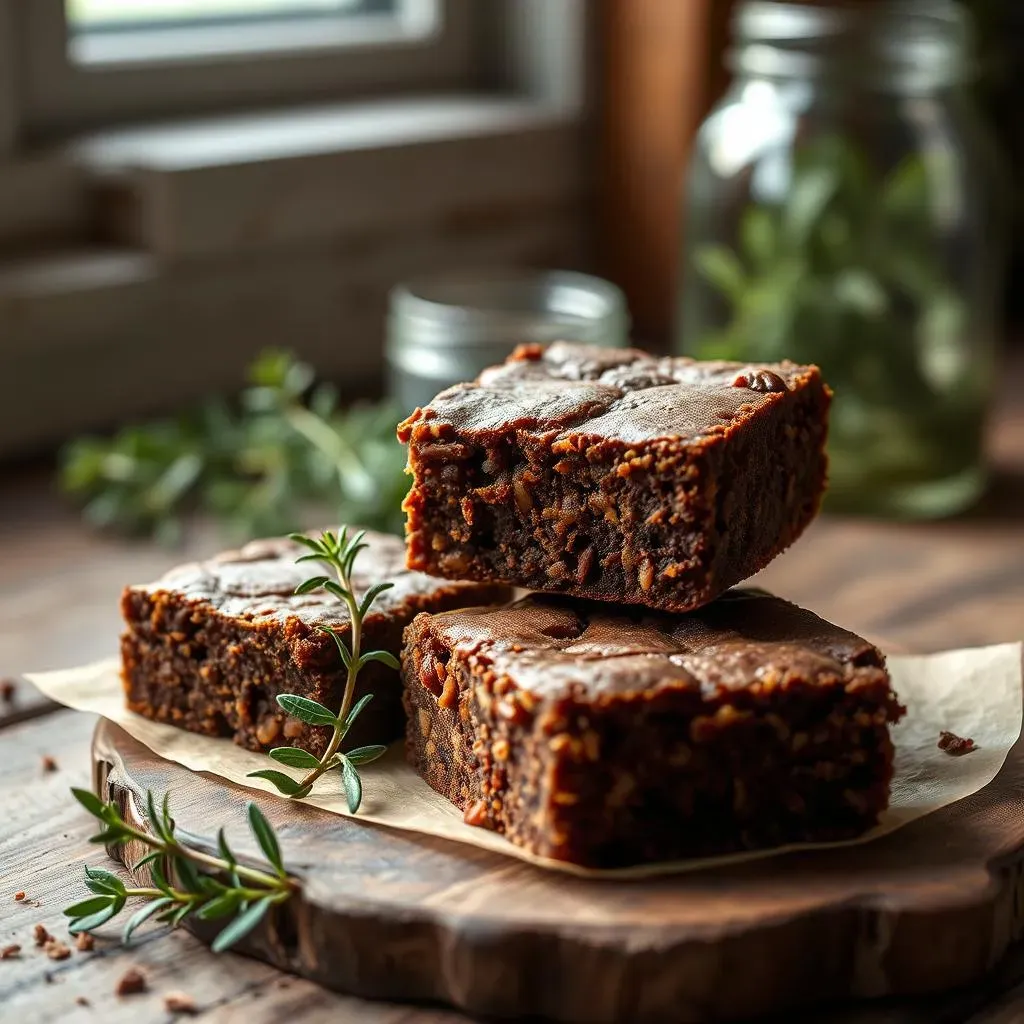
Okay, so you've baked these amazing vegan sweet potato brownies with almond flour, and now you're wondering how to keep them fresh, right? Well, if you plan on eating them within a day or two, you can store them at room temperature. Just make sure they're in an airtight container to prevent them from drying out. I usually use a glass container with a good seal. It keeps them nice and moist. But if you're like me and want to make them last a little longer (or if your kitchen is super warm), then the fridge is your best bet. The cold temperature will keep them fresh and fudgy for up to five days. It's like giving them a little spa treatment.
The key thing here is an airtight container. You don't want any air getting in there and messing with the texture of your brownies. Also, make sure they are completely cooled before you put them away. If they are still warm, they will create condensation inside the container, which can make them soggy. Nobody wants soggy brownies. It's like putting a wet towel in a drawer, it's just not a good idea. So, be patient and let them cool completely before storing them. It's a small step that makes a big difference.
Freezing for Later
Now, what if you’ve made a huge batch of these and want to keep them for even longer? No problem! These vegan sweet potato brownies freeze beautifully. Just wrap them individually in plastic wrap and then store them in a freezer-safe bag or container. This prevents freezer burn and keeps them fresh for up to three months. When you're ready to eat them, you can thaw them at room temperature for a couple of hours or pop them in the microwave for a few seconds. They'll taste just as delicious as the day you baked them. It's like having a secret stash of brownies whenever you need a little treat.
I usually freeze my brownies in individual portions, so I can just grab one when I'm craving a little something sweet. It's super convenient and prevents me from eating the whole batch at once. I'm not saying I haven't done that before, but it’s definitely not the best idea. Also, make sure you label your freezer bags or containers with the date you froze them, so you know how long they've been in there. It’s a good practice to keep track of your frozen goods. It’s like putting a label on your leftovers, it just makes life a little bit easier.
Storage Method | Duration | Notes |
|---|---|---|
Room Temperature | 1-2 days | Airtight container |
Refrigerator | Up to 5 days | Airtight container |
Freezer | Up to 3 months | Individually wrapped |
Keeping Them Fudgy
The biggest goal here is to keep these brownies fudgy, right? So, avoid storing them in places that are too dry, like a pantry with low humidity. This can dry them out. The best place is a cool, dark place or the fridge. And remember, if you are freezing them, make sure they are wrapped tightly to prevent freezer burn. It's all about preserving that amazing texture that makes these brownies so special. It’s like keeping a precious gem safe, you want to make sure it’s protected from the elements.
Also, when you are thawing them, let them thaw slowly. Don't try to rush the process by putting them in the microwave for too long. A quick zap in the microwave is fine, but if you overdo it, they will become mushy. It’s like thawing meat, you don’t want to do it too quickly. It’s all about gentle handling. So, be patient and let them thaw naturally. Trust me, it’s worth the wait. They will taste just like they did when you first baked them. It's like bringing them back to life, and they will thank you for it.
Vegan Sweet Potato Brownies FAQs
Vegan Sweet Potato Brownies FAQs
Do these brownies taste like sweet potato?
Okay, this is probably the most common question I get. And the answer is a resounding no! You might be surprised, but the sweet potato doesn't give these brownies a sweet potato flavor. It’s like a secret agent, working behind the scenes to make them incredibly moist and delicious. It adds a touch of natural sweetness, but you won't be tasting a sweet potato pie in your brownie. It's more like a fudgy, chocolatey dream. I know it sounds weird, but trust me on this. It’s a game changer. It's like adding a secret ingredient to your favorite recipe, it just makes it even better.
I was skeptical at first too, I thought the sweet potato was going to make the brownies taste like a vegetable side dish, but I was so wrong. It just adds a subtle sweetness and an amazing texture. It’s like the unsung hero of this recipe. Once you try it, you will be a believer. And the best part is, you are sneaking in some extra nutrients without even trying. It's a win-win situation. I usually don't tell people there's sweet potato in them, and they never guess, they are always blown away by how good they are.
Can I use other types of flour?
Yes, you can definitely experiment with other types of flour. While almond flour is my go-to for these brownies, you can use oat flour or a gluten-free blend as a substitute. Just keep in mind that the texture might be slightly different. Oat flour tends to be a little more absorbent, so you might need to add a touch more liquid to your batter. And gluten-free blends can sometimes be a bit unpredictable, so you might have to adjust the baking time slightly. But don’t be afraid to experiment, baking should be fun! It’s like trying a new outfit, you never know what will look good until you try it on.
I have tried this recipe with different flours, and I have to say, almond flour is my favorite for the best results. It gives the brownies a nice nutty flavor and keeps them incredibly fudgy. But if you don't have almond flour on hand, don't let that stop you from making these brownies. Just be prepared to adjust the recipe slightly. It’s like having a backup plan, it’s always good to have options. And if you are not gluten-free, you can try using regular all-purpose flour, but be aware that this will change the texture of the brownies. It will be more cakey than fudgy.
Flour Type | Texture Impact | Notes |
|---|---|---|
Almond Flour | Fudgy, nutty | My preferred choice |
Oat Flour | Slightly more absorbent | May need extra liquid |
Gluten-Free Blend | Variable | Adjust baking time as needed |
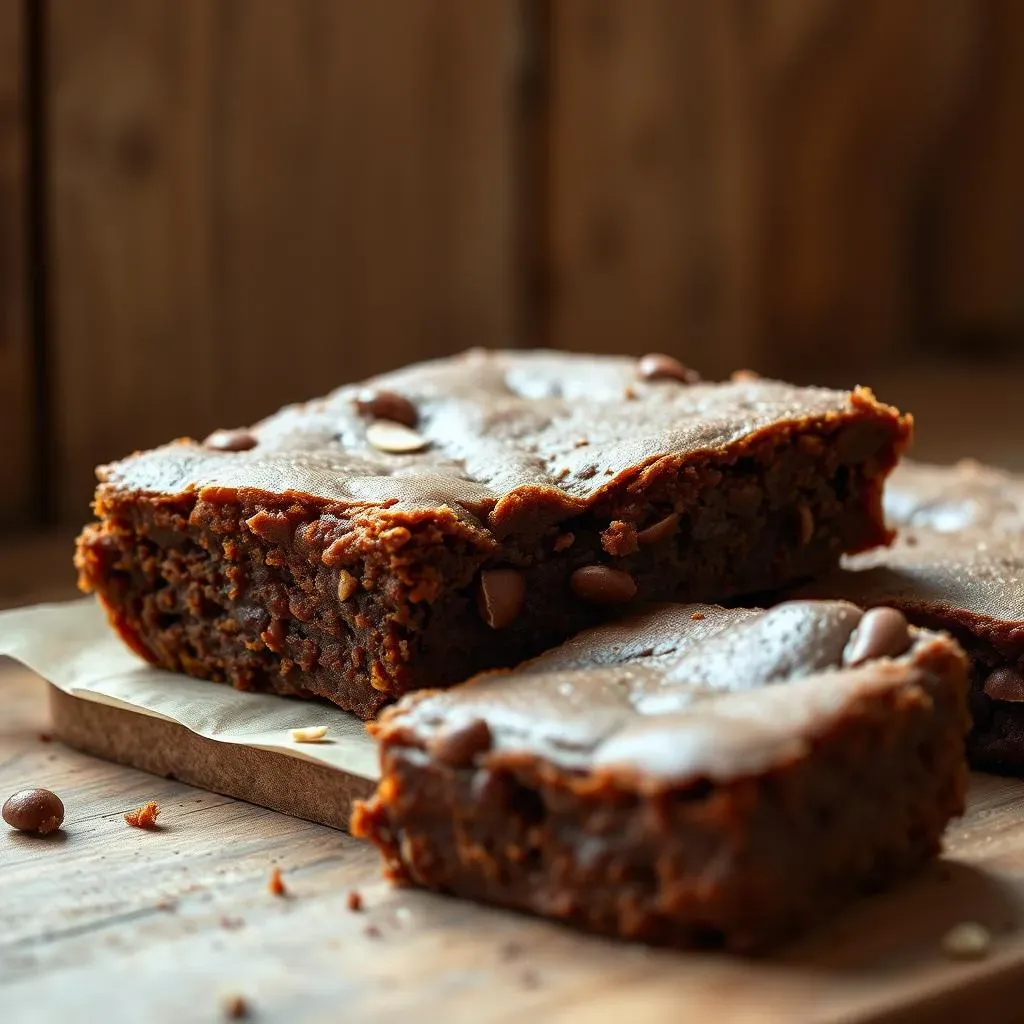
Can I add chocolate chips or nuts?
Absolutely! Adding chocolate chips or nuts is a great way to customize these brownies to your liking. I personally love adding dark chocolate chips for an extra chocolatey kick. And chopped walnuts or pecans add a nice crunch. It’s like adding your favorite toppings to a pizza, it makes it even more delicious. Just fold them into the batter before baking. Don't overmix, just gently fold them in. And you can add as much or as little as you want. It’s your brownie, make it your own! It’s like putting your own personal touch on a piece of art, it makes it unique.
I usually add about a half cup of chocolate chips and a quarter cup of chopped nuts. But you can add more or less depending on your preference. You can also use different kinds of chocolate chips, like milk chocolate or white chocolate. And if you are not a fan of nuts, you can try adding other things like dried fruit or even some sea salt. It really comes down to what you like, and what you have in your pantry. It’s like creating your own masterpiece, you have the freedom to make it exactly how you want it.
How do I get clean cuts?
Getting those clean, perfect brownie squares is all about patience and the right technique. First, let the brownies cool completely in the pan before you even think about cutting them. This is crucial! Warm brownies are too soft and gooey, and you will end up with a mess. I usually put them in the fridge to speed up the cooling process. And then, use a sharp knife and wipe it clean after each cut. You can also run the knife under hot water and dry it before cutting, this helps get nice clean lines. It's like using a sharp pair of scissors, it makes all the difference.
I also recommend using a ruler to make sure your cuts are even. It's a small detail, but it makes a big difference in the final presentation. And if you are feeling fancy, you can even use a cookie cutter to make fun shapes. It’s all about presentation, my friend. It’s like setting the table for a nice dinner, it makes the whole experience feel more special. And if you are having trouble cutting the brownies, you can try using a plastic knife, it tends to be less sticky than a metal one.