Table of Contents
So, you're ready to begin on the wonderfully rewarding, yet sometimes slightly frustrating, progression of sourdough baking? Fantastic! Sourdough bread, with its tangy flavor and satisfying chew, is a true culinary masterpiece. But let's be honest, it can feel a bit intimidating at first. Fear not, aspiring bakers! This article is your comprehensive guide to conquering the art of sourdough. We'll cover everything from nurturing your starter—that magical little colony of yeast and bacteria—to mastering the baking techniques that will transform your humble dough into a golden-brown, crusty loaf. We'll even tackle some common problems and offer solutions to keep you from throwing your flour-dusted hands up in despair. Get ready to transform your kitchen into a sourdough haven! At browniesrecipes.homes, we believe everyone can bake amazing sourdough, and with these sourdough tips, you’ll be well on your way to creating delicious, artisanal bread. Let's investigate in!
Sourdough Tip | Description | Why It Matters |
|---|---|---|
Use a peak starter | Ensure your starter is bubbly and active before using it. | Improves rise and flavor. |
Moisten the dough | Lightly spray water on the dough before baking. | Enhances rise and texture. |
Experiment with flours | Add rye, spelt, or other flours for flavor complexity. | Adds depth and unique notes. |
No-knead method | Avoid kneading to preserve texture. | Creates a more delicate crumb. |
Proper starter storage | Store your starter in the refrigerator or feed regularly. | Keeps your starter healthy and active. |
Practice makes perfect | Don't give up if your first loaves aren't perfect. | Sourdough baking takes time and experience. |
Experimentation | Try different techniques and recipes. | Find what works best for you. |
Sourdough Tips: Mastering the Starter
Sourdough Tips Mastering The Starter
Understanding Your Starter: It's More Than Just Flour and Water
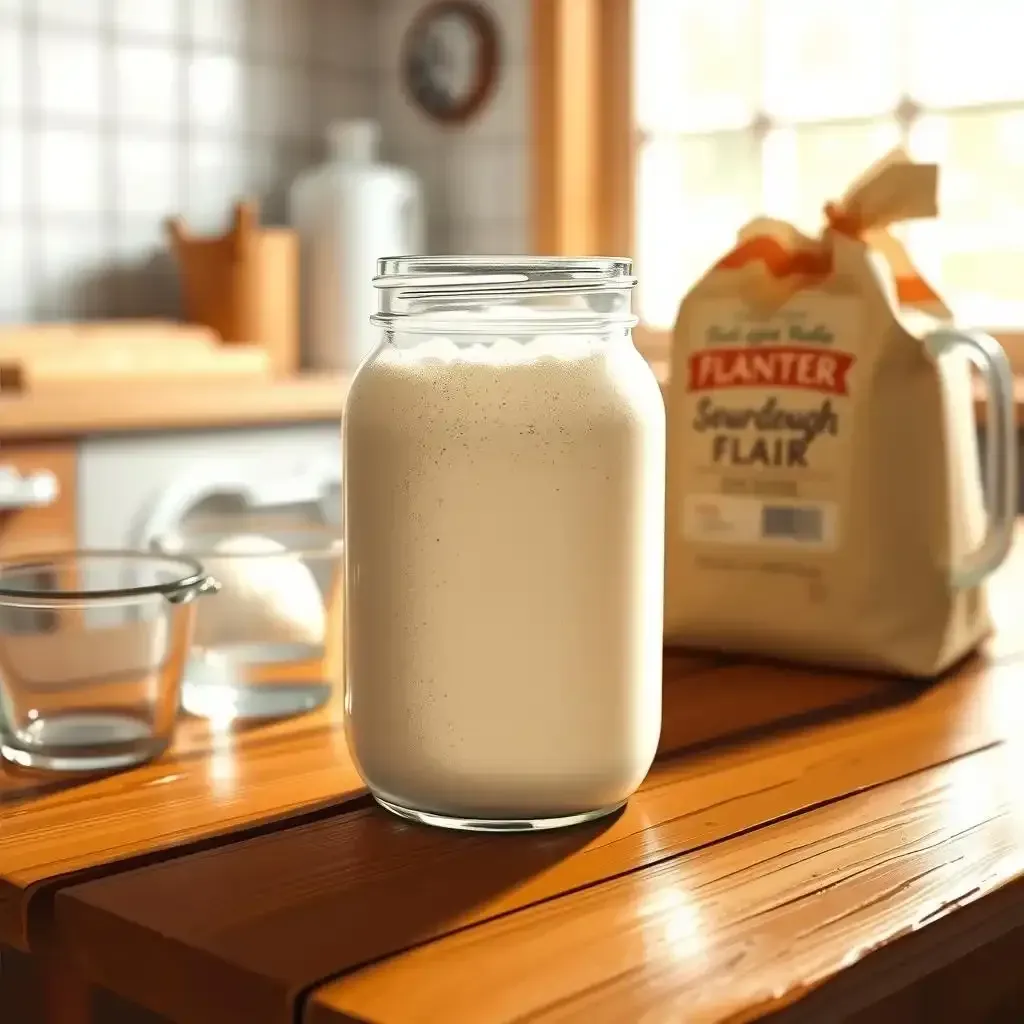
Okay, so you've got this bubbly, slightly funky-smelling mixture – your sourdough starter. Think of it as a tiny, living ecosystem! It's a colony of wild yeasts and bacteria, happily munching on flour and water, creating the magic that makes sourdough so special. It's like a mini-pet, but instead of cuddles, you get delicious bread. A good starter is active, bubbly, and smells pleasantly sour, not like something you'd find at the bottom of a trash can. If yours is looking a little sad – maybe flat and not very bubbly – don't panic! We'll fix it. I've had starters go through "bad patches" before, it's part of the process. Just keep feeding it and keep an eye on it, and it'll bounce back.
Starter Stage | Appearance | Smell |
|---|---|---|
Active | Bubbly, doubled in size | Slightly sour, pleasant |
Inactive | Flat, little to no bubbles | May be off-putting, yeasty, or even slightly moldy (toss it!) |
Feeding Your Starter: The Key to Happiness (and Great Bread)
Feeding your starter is like giving your pet a yummy meal. You need to give it a regular feed of flour and water to keep those happy little microbes alive and kicking. I usually feed mine once a day, but some people feed theirs every 12 hours. You'll figure out what works best for your starter and your lifestyle. Too little food, and it'll starve. Too much, and it'll get overwhelmed. Finding the right balance is key. It's a bit like Goldilocks and the Three Bears - not too much, not too little, but just right. Think of it as a science experiment, but the reward is delicious bread! Experiment and find the perfect balance. There are tons of resources online, but trust your gut (and your nose!).
- Discard some of the old starter before feeding (about half).
- Add fresh flour and water (equal parts, usually).
- Mix well and let it sit in a warm place.
Troubleshooting Your Starter: When Things Go Wrong (and How to Fix Them)
Sometimes, even with the best intentions, your starter might act up. It might get too sour, too flat, or even develop some mold (eww!). Don't worry, it happens to the best of us. If it gets too sour, feed it more often with more flour. If it's too flat, it might need a warmer spot. And if you see mold, it's time to start over. I've lost a starter or two to mold, it’s disappointing, but it's a chance to learn and try again. It's all part of the process. Remember, a sourdough starter is a living thing, and like any living thing, it needs care and attention. But the rewards are totally worth it! Seriously, the taste of homemade sourdough is incredible.
"The process of a thousand miles begins with a single step." - Lao Tzu (This applies to sourdough starters, too!)
Sourdough Tips: Baking Techniques for Perfect Loaves
Sourdough Tips Baking Techniques For Perfect Loaves
Kneading and Shaping: The Gentle Art of Dough Manipulation
Okay, so you've got your bubbly starter, your flour, and your water all mixed together. Now what? It's time for the kneading! Now, before you visualize yourself wrestling a giant ball of dough like a sumo wrestler, let me tell you: sourdough kneading is way more gentle. It's less about brute force and more about a loving caress. Think of it like giving your dough a massage – a really, really long massage. Instead of punching it, you're folding and stretching it, developing the gluten (the protein that gives your bread its structure). Too much kneading, and you'll get a tough, chewy loaf. Too little, and it'll be flat and sad. Aim for a smooth, elastic dough that doesn't tear easily. It takes practice, but you'll get the hang of it. I mean, I've messed it up plenty of times. I once accidentally made a sourdough pizza because I over kneaded it!
- Gently stretch and fold the dough.
- Let it rest and repeat several times.
- Aim for a smooth, elastic texture.
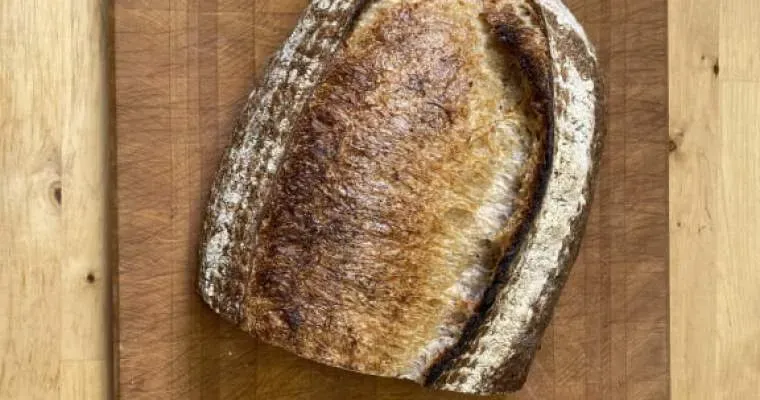
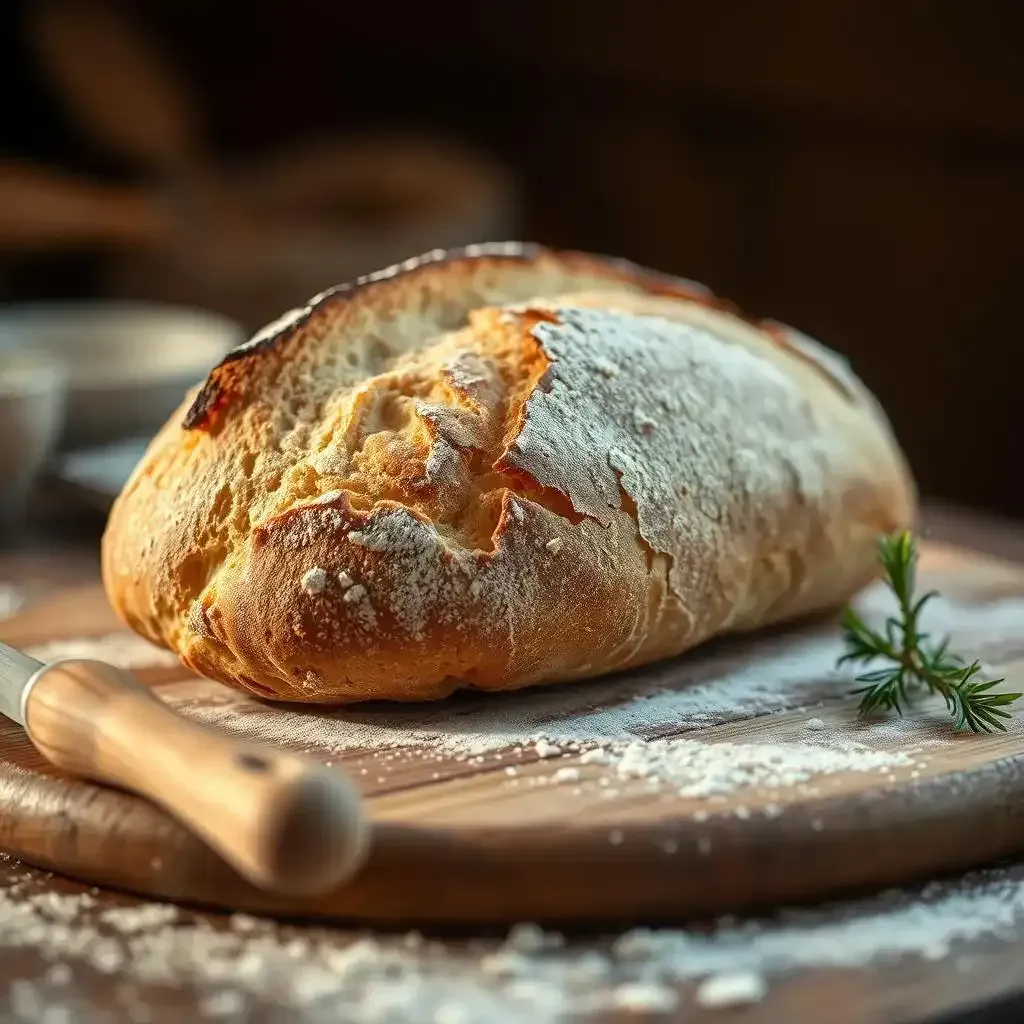
Baking Your Loaf: From Oven to Awesome
The moment of truth: baking! This is where all your hard work pays off. Preheat your oven to a scorching temperature – think of it as giving your bread a really hot hug. A Dutch oven is your best friend here. It creates a steamy environment, leading to a crispy crust and a soft, airy inside. Imagine it as a mini-sauna for your bread – it helps the dough rise beautifully. If you don't have a Dutch oven, no worries. A baking stone works wonders too. Just make sure your oven is hot enough. I've tried baking sourdough in a toaster oven (don't judge!), and let's just say it wasn't pretty. It was more like a sourdough hockey puck. Once your bread is in the oven, don't open the door! Resist the urge to peek, because it'll let all the precious heat escape. Just let it bake and do its thing. It's like waiting for a surprise – the best kind of surprise. After all that work, a perfect loaf is like the best reward ever!
Baking Method | Temperature | Time |
|---|---|---|
Dutch Oven | 450°F (232°C) | 45-50 minutes |
Baking Stone | 450°F (232°C) | 50-60 minutes |
Sourdough Tips: Troubleshooting and Experimentation
So, your sourdough journey hasn't gone exactly as planned? Don't sweat it! I've had more sourdough fails than successes in my early days. It's like learning to ride a bike – you're gonna fall a few times before you're cruising down the street. One time, my starter decided to stage a full-blown rebellion, turning into a gooey, moldy mess. I felt like I'd personally offended a whole colony of microscopic bread-hating creatures! But hey, I learned from that disaster. The key is to keep experimenting and tweaking things until you find what works for *you*. Every oven is different, every flour is different, and every starter has its own unique personality.
Problem | Possible Cause | Solution |
|---|---|---|
Sourdough is too sour | Overripe starter, too much starter in the recipe | Use less starter or a younger starter; try adjusting the amount of water or adding some sugar |
Sourdough is flat | Inactive starter, too cold environment, not enough kneading | Use a more active starter; increase the temperature of the environment; knead longer and ensure proper gluten development. |
Sourdough has a bad smell | Mold growth, improper storage of starter | Discard the moldy starter and start again! Ensure proper starter storage. |
Remember, sourdough baking is a process, not a race. There will be days when your bread looks more like a hockey puck than a masterpiece. There will be days when your starter seems to have a mind of its own. But that's part of the fun! Each failed loaf is a lesson learned, a step closer to sourdough nirvana. Don't be afraid to adjust recipes, experiment with different flours, and even try different baking techniques. I once added some caraway seeds to my sourdough, inspired by a random Pinterest post, and it turned out surprisingly delicious. It was a little bit unexpected, but hey, that's how you uncover your own signature sourdough style.
- Keep detailed notes of your experiments – including flour type, hydration levels, fermentation times, and oven temperatures. This will help you track your progress and identify what works best.
- Don't be afraid to ask for help! Join online sourdough communities, where you can share your experiences and learn from others. Trust me, you're not alone in your sourdough struggles.
- Embrace the imperfections! Even a slightly misshapen loaf can still taste amazing. Remember, the process is as much a part of the experience as the final product.
"The only way to do great work is to love what you do." - Steve Jobs. This applies to sourdough baking too! The passion and patience will make all the difference.
Final Thought
Baking sourdough bread is a trip, not a race. Don't be discouraged by imperfect loaves; embrace the learning process. With consistent practice and these sourdough tips, you'll soon be crafting delicious, artisanal bread that will impress your friends and family. Happy baking!