Table of Contents
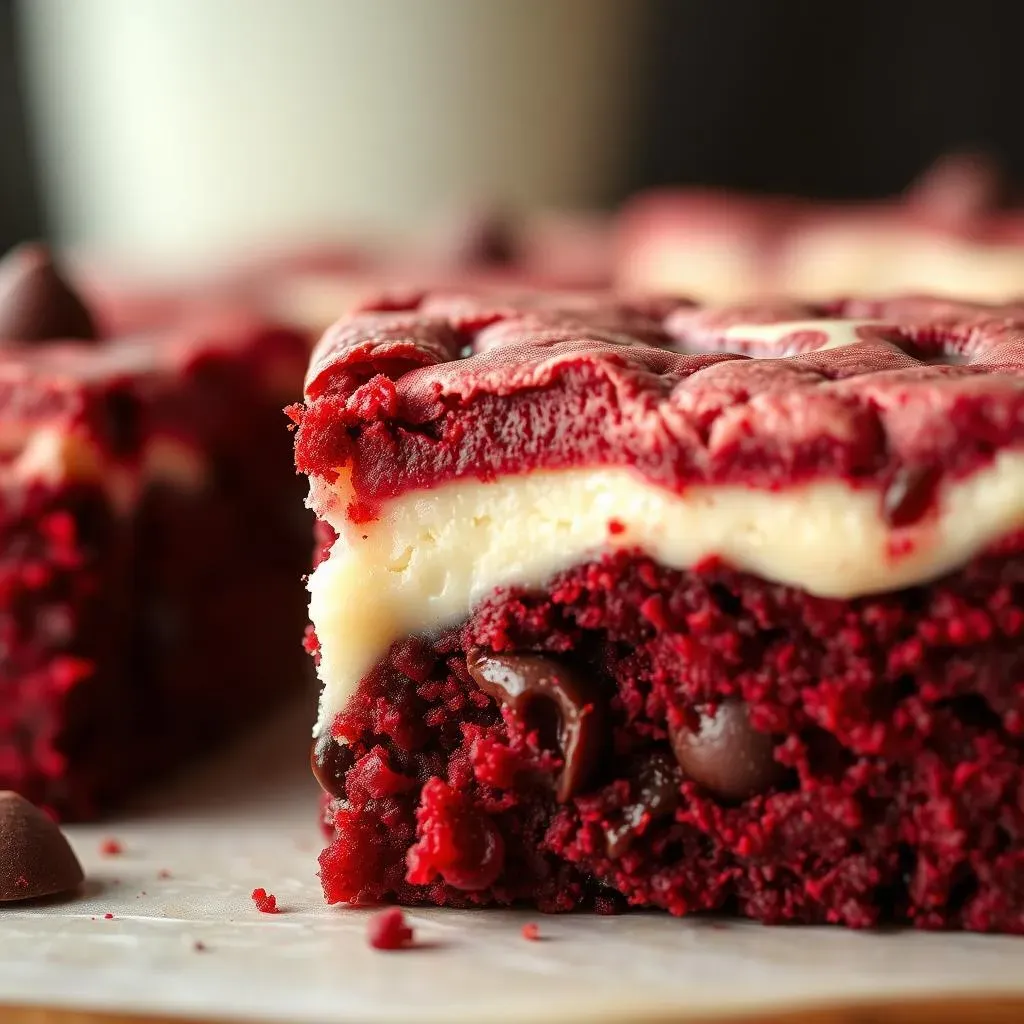
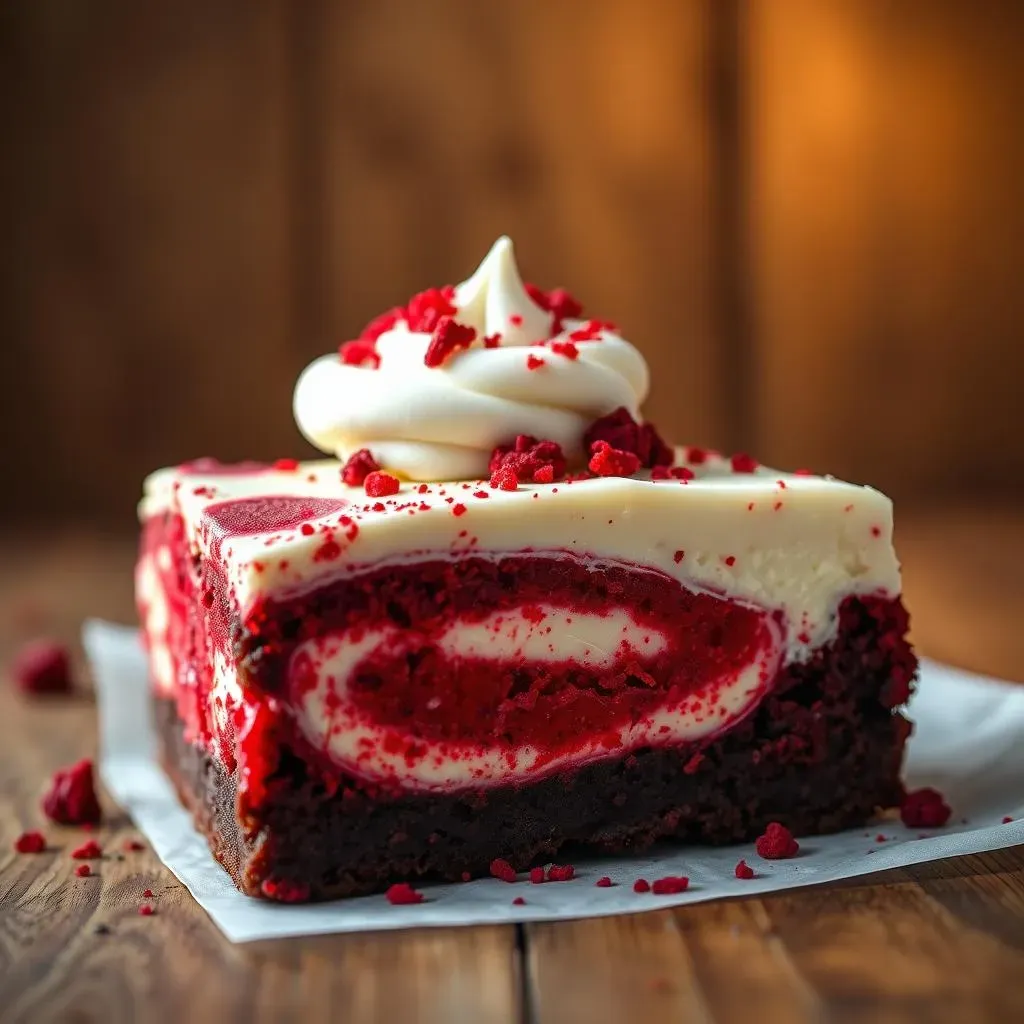
Ever dreamt of a dessert that combines the rich, velvety goodness of red velvet with the creamy tang of cheesecake? Well, dream no more! These red velvet cheesecake swirl brownies are about to become your new obsession. Imagine biting into a dense, fudgy brownie, swirled with a luscious cheesecake filling – it's a flavor explosion that's both decadent and comforting. This isn't your average brownie recipe; it's a showstopper that's surprisingly easy to make, even if you're not a pro baker. We’ll walk through each step, from gathering your ingredients (all easily found at ALDI, by the way) to mastering that perfect cheesecake swirl. This article will guide you through creating the most delicious red velvet cheesecake swirl brownies, ensuring every bite is as amazing as the last. So, grab your apron, and let's get baking! We will cover everything from the ingredients you need, to the step by step instructions, and even how to store these little squares of heaven.
Gathering Your Goodies: Ingredients for Red Velvet Cheesecake Swirl Brownies

Gathering Your Goodies: Ingredients for Red Velvet Cheesecake Swirl Brownies
The Brownie Base Essentials
Alright, let's talk about what you'll need for the star of our show – the fudgy red velvet brownie base. We're aiming for a rich, moist texture, so quality ingredients are key. First off, you'll need some unsalted butter, and I highly recommend Countryside Creamery for that creamy goodness. Then, we've got Baker's Corner Granulated Sugar for sweetness, and a couple of eggs to bind everything together. Don't forget the unsweetened cocoa powder for that deep chocolatey flavor, and of course, red food coloring to give it that signature red velvet hue. A splash of vanilla extract, some all-purpose flour, and a pinch of salt to balance the sweetness rounds out the essentials. I've found that using good quality ingredients makes all the difference in the final product.
The Creamy Cheesecake Layer
Now, for the luscious cheesecake swirl, we need to assemble a different crew of ingredients. The star here is, without a doubt, the cream cheese. Make sure it’s softened to room temperature; this will make mixing much easier. We’ll need more of that Baker's Corner Granulated Sugar, another egg to add to the richness, and a touch more vanilla extract to enhance the flavor profile. A little bit of lemon juice will give the cheesecake that subtle tang, balancing out the sweetness perfectly. The goal is to create a smooth, creamy batter that will contrast beautifully with the red velvet brownie. It's like a yin and yang of flavors and textures, and I'm already drooling just thinking about it.
Ingredient | Purpose |
|---|---|
Countryside Creamery Unsalted Butter | Adds richness and moisture to the brownie. |
Baker's Corner Granulated Sugar | Provides sweetness and structure. |
Eggs | Binds ingredients and adds richness. |
Unsweetened Cocoa Powder | Adds chocolate flavor. |
Red Food Coloring | Gives the brownies their signature red hue. |
Vanilla Extract | Enhances flavor. |
All-Purpose Flour | Provides structure to the brownies. |
Salt | Balances sweetness. |
Cream Cheese | Base of the cheesecake layer. |
Lemon Juice | Adds tang to the cheesecake. |
ALDI Shopping List
The best part? You can find almost everything you need at ALDI! Seriously, it makes grocery shopping a breeze. You can grab the Countryside Creamery Unsalted Butter, Baker's Corner Granulated Sugar, eggs, cocoa powder, flour, and even the cream cheese all in one trip. I love how convenient it is, and it keeps the cost down. I always feel like I’m getting a great deal there. Don't forget the red food coloring, vanilla extract, salt, and lemon juice. Make sure to double-check your pantry for the basics, but ALDI is your go-to spot for most of the ingredients on this list. Now that you have all the ingredients, it's time to put them to good use.
Mixing Magic: StepbyStep Recipe for Red Velvet Cheesecake Swirl Brownies
Mixing Magic: StepbyStep Recipe for Red Velvet Cheesecake Swirl Brownies
Making the Brownie Batter
Okay, let's get down to business and start making this magic happen! First, we're going to melt that Countryside Creamery Unsalted Butter. You can do this in a saucepan over low heat or in the microwave, just be careful not to let it burn. Once melted, stir in the Baker's Corner Granulated Sugar until it's all combined. Next, whisk in those eggs, one at a time, making sure each one is fully incorporated. Now, for the fun part: add the unsweetened cocoa powder, red food coloring, and vanilla extract. Mix until everything is smooth and that gorgeous red velvet color starts to appear. Finally, gradually add the all-purpose flour and salt, mixing until just combined. Don’t overmix, we want fudgy, not cakey brownies.
Preparing the Cheesecake Batter
While the brownie batter is resting, let's tackle the cheesecake layer. In a separate bowl, beat the softened cream cheese until it's nice and smooth, no lumps allowed! Then, add in the remaining Baker's Corner Granulated Sugar and mix until everything is well combined. Next, whisk in the egg and vanilla extract until the mixture is smooth and creamy. Last but not least, add the lemon juice and stir it in. This is going to give it a little zing that will cut through the richness of the brownie and cheese cake. This mixture should be light and fluffy, ready to be swirled into our red velvet batter.
Step | Action |
|---|---|
1 | Melt butter and mix with sugar. |
2 | Whisk in eggs, one at a time. |
3 | Add cocoa powder, food coloring, and vanilla extract. |
4 | Mix in flour and salt until just combined. |
5 | Beat cream cheese until smooth. |
6 | Mix in sugar, egg, vanilla, and lemon juice. |
Swirling and Baking
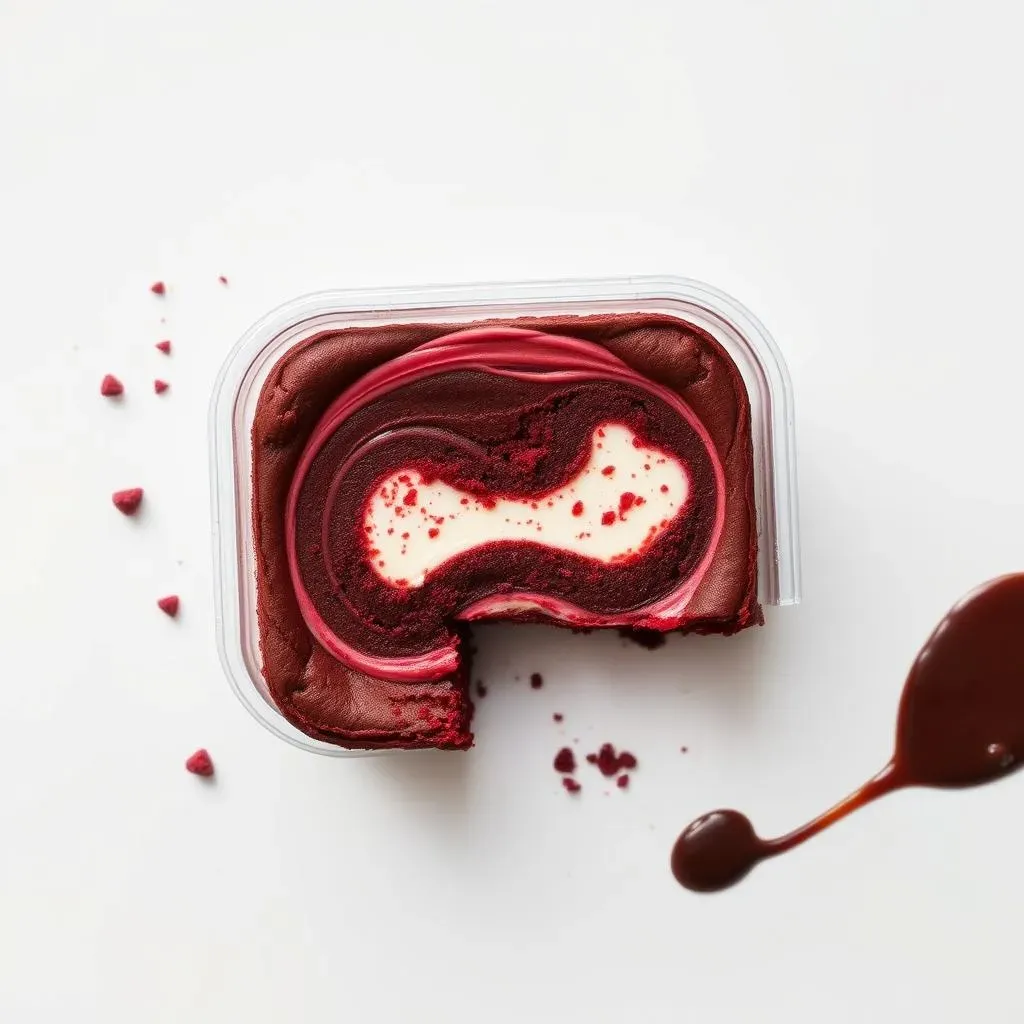
Alright, the moment we've all been waiting for: swirling! Pour the red velvet brownie batter into a greased baking pan. It’s best to use a square pan, it makes it easier to cut them into squares. Then, dollop spoonfuls of the cheesecake batter over the brownie batter. Here's where it gets artistic: take a knife or a toothpick and gently swirl the two batters together. Don’t over swirl, we want to still see the distinct layers. Now it’s time for the oven! Bake in a preheated oven until a toothpick inserted into the center comes out with a few moist crumbs. Once done, let them cool completely before slicing, it makes them much easier to handle. And there you have it, beautiful, swirly, red velvet cheesecake brownies ready to be devoured.
Keeping it Fresh: Storing Your Red Velvet Cheesecake Swirl Brownies
Keeping it Fresh: Storing Your Red Velvet Cheesecake Swirl Brownies
The Importance of Proper Storage
Okay, so you've baked these amazing red velvet cheesecake swirl brownies, and now you're wondering how to keep them tasting just as good as they did fresh out of the oven. Well, proper storage is key. These brownies are moist and delicate, and if you don't store them correctly, they can dry out, get soggy, or even pick up weird fridge odors. We want to avoid all of those scenarios, so listen up! The goal is to keep that fudgy texture and creamy cheesecake swirl intact, and that requires a little bit of attention to detail. Trust me, it’s worth it to take the extra step to preserve all your hard work.
Think of it like this: you wouldn't leave a beautiful painting out in the rain, right? Same goes for these brownies. They need a safe, controlled environment to stay their best. The good news is, storing them properly isn't rocket science. It just requires a little bit of planning and the right kind of container. It's all about keeping moisture in and unwanted smells out. So, let's get into the nitty-gritty of how to store these little guys.
Storage Tips and Tricks
First things first, once your brownies have cooled completely, you'll want to transfer them to an airtight container. I cannot stress the "airtight" part enough. A good seal is what will keep the brownies from drying out. You can use a plastic container with a tight-fitting lid, or even a glass container with a rubber seal. The key is to make sure no air can get in. I’ve had success with both, it really just depends on what you have on hand. If you're using a large container, you'll want to make sure the brownies are in a single layer. Stacking them can cause the cheesecake swirl to stick to the brownie below, making them a bit messy and hard to separate. No one wants that, right? So, single layer is the way to go.
Now that you have them safely tucked away in an airtight container, it’s time to move them to the fridge. The refrigerator is your best friend when it comes to storing these brownies. The cool temperature will keep them fresh and prevent them from spoiling. They’ll keep well for up to 7 days in the fridge. If you plan on keeping them longer, you can freeze them, but we'll get to that later. Just remember, always let your brownies cool completely before storing them. Putting them in the container while they’re still warm can cause condensation to form, which can lead to soggy brownies. No bueno. So, patience is key. Once they’re cooled, they’re ready for their fridge hibernation.
Storage Tip | Why It Works |
|---|---|
Airtight Container | Prevents drying out and odor absorption. |
Single Layer | Keeps the cheesecake swirl intact and prevents sticking. |
Refrigeration | Maintains freshness and prevents spoilage. |
Cool Completely | Avoids condensation and soggy brownies. |