Table of Contents
Ready to ditch the same old dessert routine? Let's be honest, sometimes you want something that screams "I'm special" without spending hours in the kitchen. That's where these red velvet cheesecake brownies with cake mix come in. Forget complicated recipes; we're talking about a surprisingly easy treat that'll make your taste buds sing. I know, it sounds almost too good to be true, right? You get the fudgy, slightly tangy goodness of red velvet brownies, swirled with a creamy cheesecake layer. And the secret? We're starting with a simple cake mix. This isn't about slaving away; it's about creating a showstopper with minimal effort. In this article, I will guide you through how to make these decadent treats, from mixing the batter to that first delicious bite. We'll cover the must-have ingredients, the surprisingly simple layering technique, and the all-important baking and cooling process. Get ready to impress everyone, including yourself, with these amazing red velvet cheesecake brownies with cake mix.
Easy Red Velvet Cheesecake Brownies with Cake Mix
Easy Red Velvet Cheesecake Brownies with Cake Mix
The Magic of a Cake Mix Start
Okay, so you're probably thinking, "Cake mix? Really?" But trust me on this one. Using a cake mix as the base for our red velvet cheesecake brownies is a total game-changer. It cuts down on prep time, making this a super easy recipe, even for a beginner baker. We're not sacrificing flavor here, not at all. The cake mix provides the perfect texture and the classic red velvet taste we all love. Think of it as a shortcut to deliciousness. Plus, it makes cleanup a breeze, which is always a win in my book.
We’re going to add a few extra ingredients to the cake mix to make it extra special, like melted butter, a bit of oil, and an egg. This will make our brownies super moist and fudgy. And of course, the star of the show: red food coloring! Don't be shy with it; it's what makes these brownies so festive. This base is the perfect canvas for the creamy cheesecake layer we're going to add, creating a beautiful contrast in both color and flavor. So, grab your favorite chocolate cake mix, and let’s get started with this surprisingly simple yet impressive dessert.
Essential Ingredients for Success
Before we get our hands dirty, let's gather our supplies. Here's a quick rundown of what you'll need for the red velvet brownie base. You will need one box of chocolate cake mix, melted butter, vegetable oil, an egg, and of course, red food coloring. It's pretty simple, right? For the cheesecake layer, we'll need cream cheese, sugar, an egg, and a dash of vanilla extract. Make sure your cream cheese is softened for easy mixing. Also, grab a 9x13 inch baking pan and some non-stick cooking spray or parchment paper.
Having all your ingredients prepped and ready to go makes the whole process smoother and faster. It's like having your own little cooking show set up, and you're the star. Don’t worry if you don’t have all the ingredients right now. Just make sure you have them before you start. I've found that using good quality ingredients makes a huge difference in the final product, so don’t be afraid to splurge a little on the butter or vanilla extract. Now that we have everything in order, let’s move on to the fun part - layering the magic.
Ingredient | Quantity | Purpose |
|---|---|---|
Chocolate Cake Mix | 1 box | Base for brownies |
Melted Butter | 1/2 cup | Adds moisture and richness |
Vegetable Oil | 1/4 cup | Adds moisture |
Egg | 1 | Binds ingredients |
Red Food Coloring | 1-2 tbsp | Gives the red color |
Cream Cheese | 8 oz | Base for cheesecake layer |
Sugar | 1/4 cup | Sweetens the cheesecake layer |
Egg | 1 | Binds cheesecake layer |
Vanilla Extract | 1 tsp | Adds flavor |
Making the Magic: Layering Brownies and Cheesecake
Making the Magic: Layering Brownies and Cheesecake
The Swirl Technique
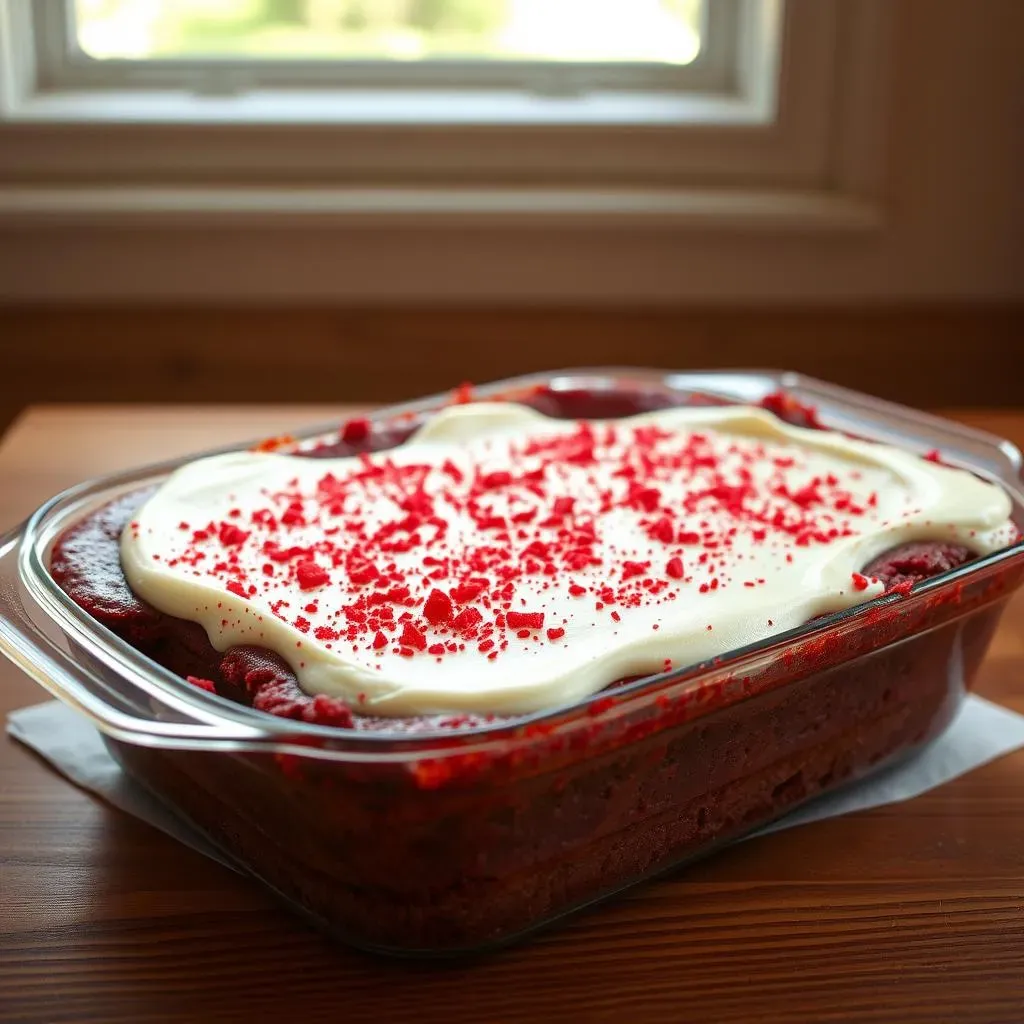
Alright, let's talk about the fun part: layering. It's not as tricky as it looks, I promise. First, you'll want to pour your red velvet brownie batter into your prepared 9x13 inch pan. Make sure it's spread out evenly like you're painting a red canvas. Then, gently dollop spoonfuls of the cheesecake mixture on top of the brownie batter. Don’t worry about making it perfect; we’re going for a rustic, swirly look.
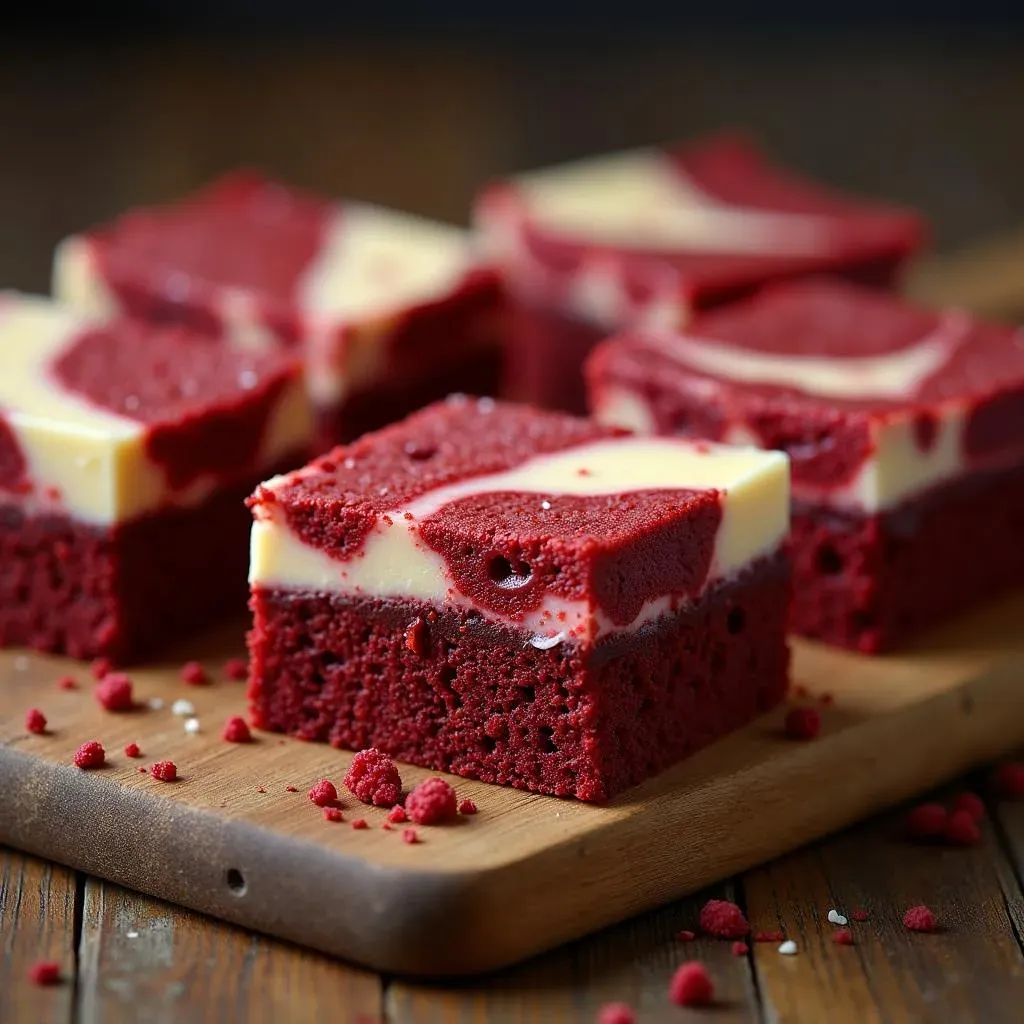
Now, grab a knife or a toothpick and start swirling the cheesecake mixture into the brownie batter. Think of it like you're creating abstract art with your dessert. Don’t over-swirl, though, or you'll lose the distinct layers. A few gentle passes are all you need to get that beautiful, marbled effect. This swirl technique is what makes these brownies look as good as they taste, and it adds a little bit of fun to the process. Once you’ve finished swirling, it's time for baking.
Baking to Perfection
Okay, the oven is preheated, and you've got your beautifully swirled batter ready to go. It's time to bake these beauties. Pop the pan into the oven and let the magic happen. We're aiming for a bake time of about 25 to 30 minutes, or until a toothpick inserted into the center comes out with just a few moist crumbs.
Keep an eye on them, though, because oven temperatures can vary. You want the brownies to be set but still fudgy. Overbaking will make them dry, and nobody wants that. Once they’re done, take them out of the oven and let them cool completely. I know it’s hard to resist, but patience is key here. Cooling allows the layers to firm up, making them easier to slice and even more delicious. This waiting period is like a secret ingredient that makes all the difference.
Step | Action | Tips |
|---|---|---|
1 | Pour brownie batter into pan | Spread evenly |
2 | Dollop cheesecake mixture | Don't over fill, leave space for swirling |
3 | Swirl the layers | Use a knife or toothpick, don't over do it |
4 | Bake | 25-30 mins, or until toothpick comes out with moist crumbs |
Baking, Cooling, and Savoring Your Red Velvet Cheesecake Brownies
Baking, Cooling, and Savoring Your Red Velvet Cheesecake Brownies
The Waiting Game: Cooling is Key
Okay, so the brownies are out of the oven, and they smell absolutely divine. I know it’s tempting to cut into them right away, but trust me, you gotta let them cool. This isn't just a suggestion; it's a crucial step for the perfect red velvet cheesecake brownie. Cooling allows the layers to set properly, making them easier to slice and preventing them from falling apart. Think of it as giving the brownies a chance to chill out and reach their full potential.
I usually let mine cool completely at room temperature, and then I pop them in the fridge for an hour or two. This makes them even firmer and easier to handle. The patience pays off, I promise. It's like waiting for the perfect moment to open a gift; the anticipation makes the reward even sweeter. So, resist the urge to dive in just yet; your patience will be rewarded with perfectly layered, delectable brownies.
Savoring the Sweetness: Time to Enjoy
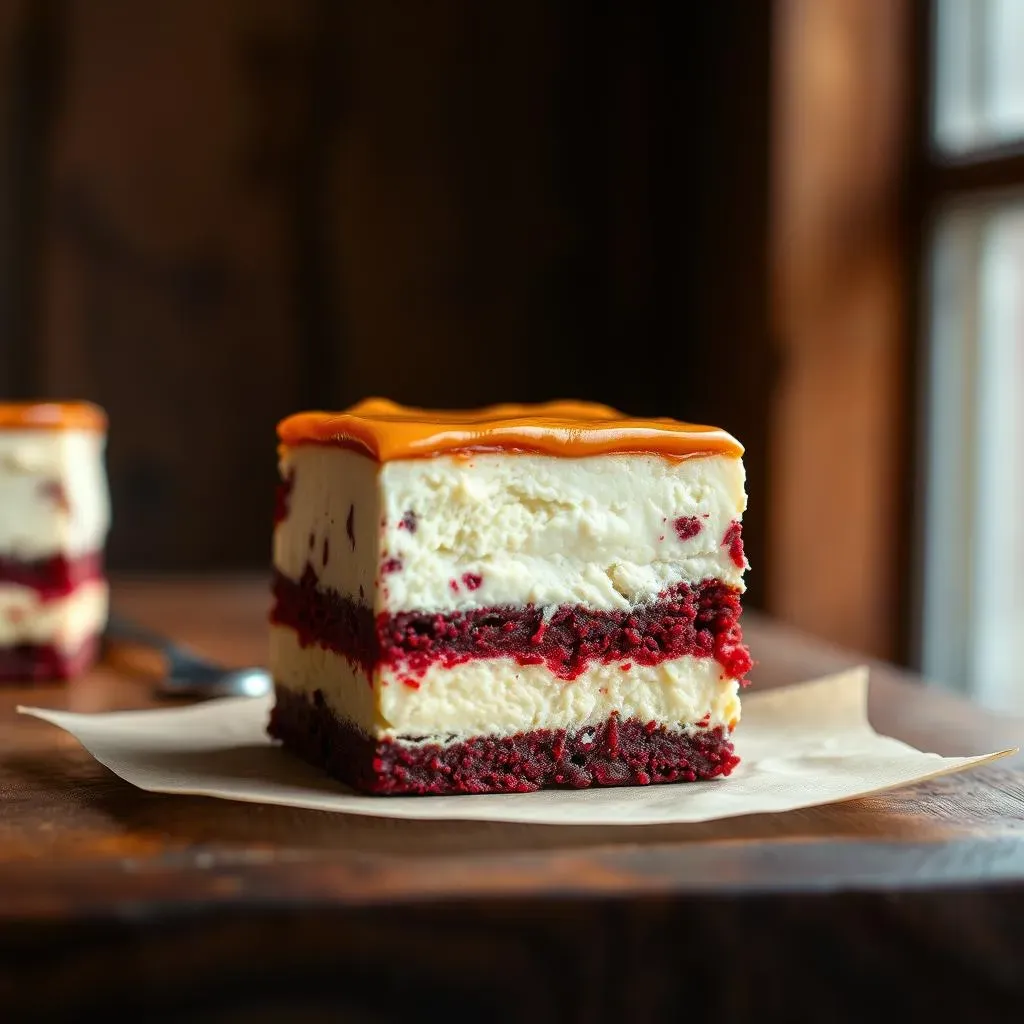
Finally, the moment we've all been waiting for: it's time to savor these red velvet cheesecake brownies. Once they're completely cooled and, if you chose, chilled, carefully slice them into squares. The beautiful swirl of red and cream will be on full display, a treat for the eyes as well as the taste buds. Each bite is a mix of fudgy brownie and creamy cheesecake, a perfect balance of textures and flavors.
These brownies are great on their own, but you can also serve them with a scoop of vanilla ice cream or a dollop of whipped cream for an extra touch of decadence. Honestly, though, they’re pretty amazing just as they are. Whether you’re sharing them with friends, family, or just keeping them all to yourself (no judgment here), these red velvet cheesecake brownies are sure to be a hit. So, grab a square, take a bite, and enjoy the sweet reward of your baking efforts.
Stage | Action | Why it Matters |
|---|---|---|
Cooling | Let brownies cool at room temp | Sets the layers |
Chilling (Optional) | Refrigerate for 1-2 hours | Makes brownies firmer and easier to slice |
Slicing | Cut into squares | Reveals the swirl, ready to serve |
Serving | Enjoy on their own or with toppings | The best part: savoring your creation! |