Table of Contents
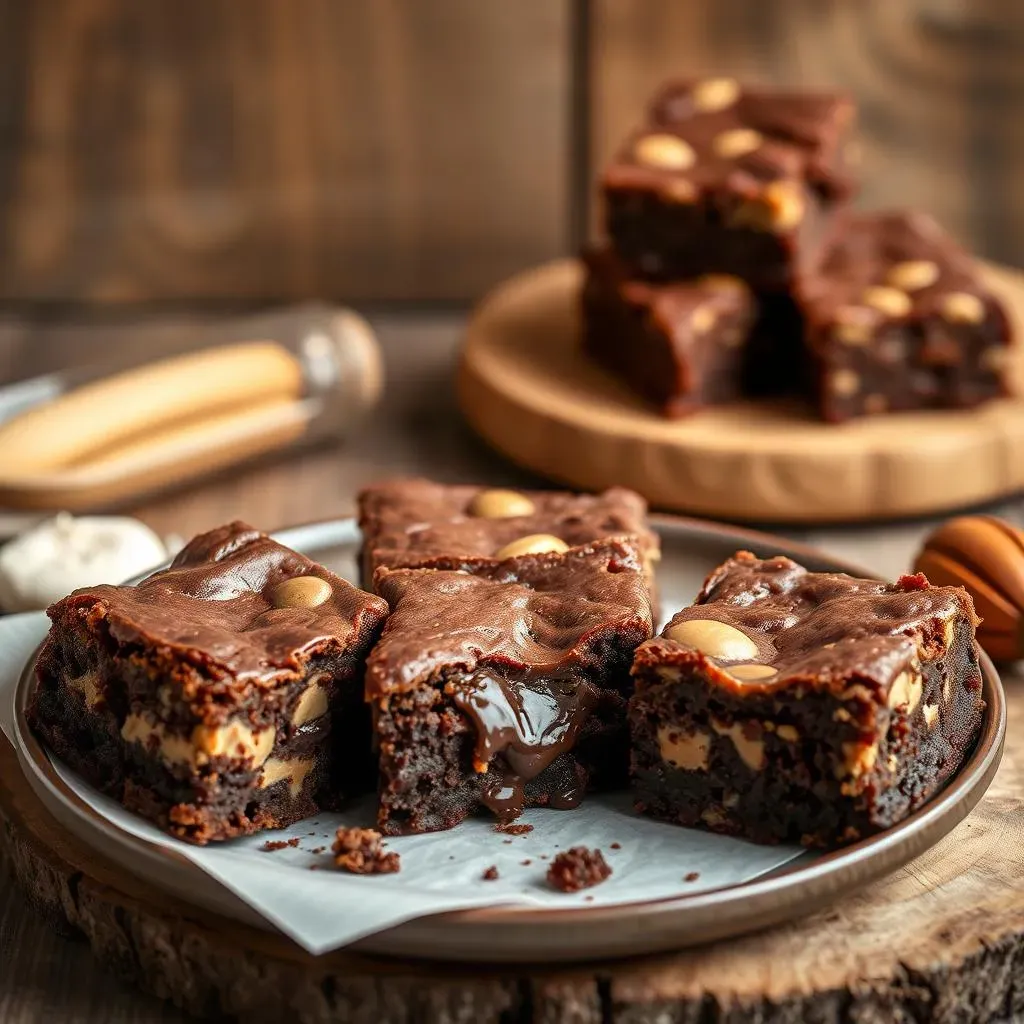
Ever dreamed of a dessert that combines the rich, fudgy goodness of brownies with the creamy, nutty delight of peanut butter? Well, dream no more! This peanut butter brownies recipe is your ticket to a taste of heaven. We're not talking about some dry, crumbly disappointment here; we're diving headfirst into a pan of gooey, decadent squares that'll make your taste buds sing. This recipe is straightforward enough for a beginner baker, but it's also got some pro tips to help even the most seasoned bakers achieve that perfect balance of chocolate and peanut butter. We'll walk you through every step, from gathering your ingredients and mixing the batter to swirling in that glorious peanut butter and baking it to perfection. Get ready to learn the secrets to making the best peanut butter brownies recipe, including how to get that ideal fudgy texture, how to make the peanut butter swirl just right, and how to store them if they last that long!
Gather Your Ingredients for Peanut Butter Brownies
Gather Your Ingredients for Peanut Butter Brownies
The Chocolate Base
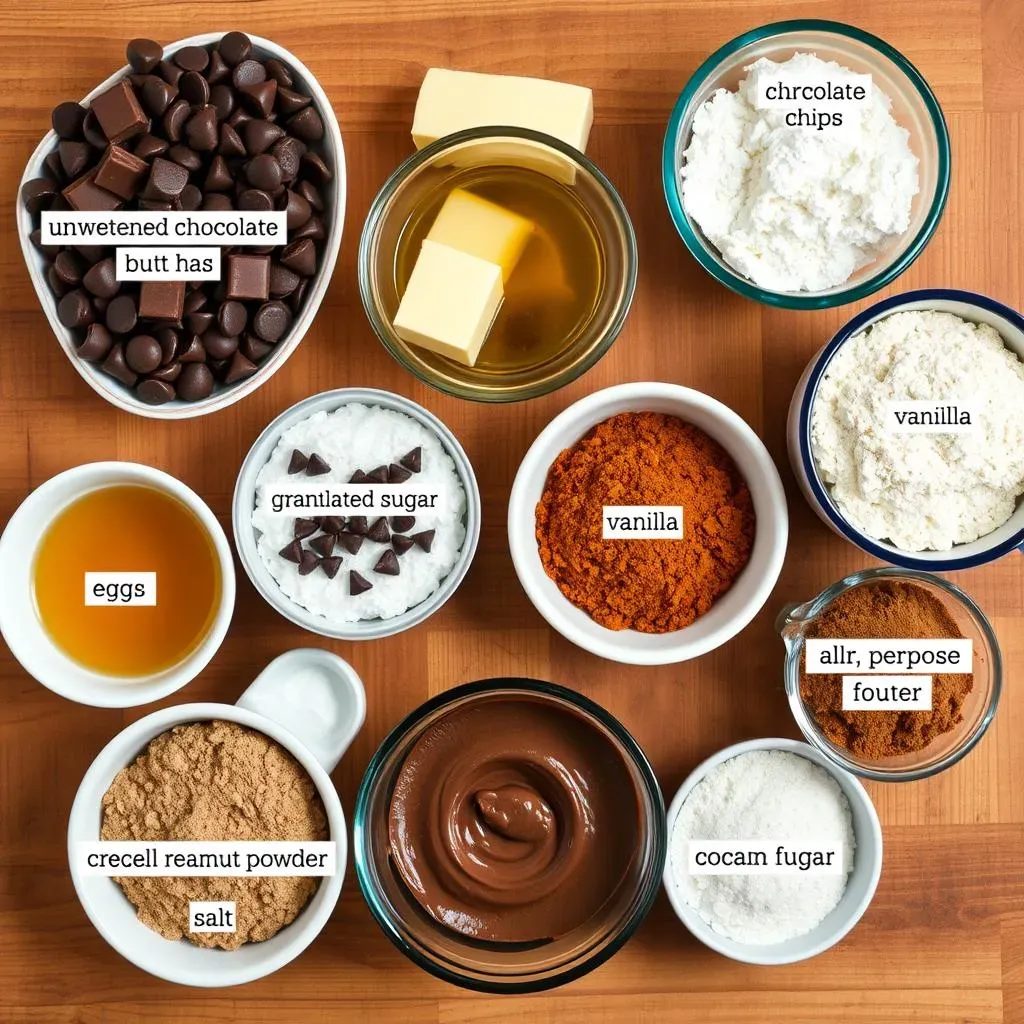
Okay, so first things first, you can't have brownies without chocolate, right? For this peanut butter brownies recipe, we're going for a rich, dark chocolate flavor. You'll need unsweetened chocolate, the kind that comes in baking bars, and some good quality chocolate chips. I like semi-sweet, but you do you. The unsweetened chocolate gives a deep, intense flavor, while the chocolate chips add a bit of sweetness and that melty texture we all crave. Don't skimp on quality here; it makes a difference.
And butter, lots of it. We're going to melt that together with the chocolate. It makes everything smooth and luscious, a good base for our brownies.
The Wet Ingredients
Next up, let's talk about the wet stuff. You'll need eggs, obviously, and for the best results, make sure they're at room temperature. It helps them blend into the batter more smoothly, and it gives the brownies a better texture. We also need vanilla extract, the real deal, not the imitation stuff. It gives everything a nice warm flavor. And of course, the sugars. We're using a mix of granulated and brown sugar. The granulated sugar adds sweetness, and the brown sugar makes the brownies extra chewy and moist. It's a total game changer.
Oh, and don’t forget the peanut butter! We need creamy peanut butter, because we want to swirl it into the batter. It is crucial for this recipe.
Ingredient | Amount |
|---|---|
Unsweetened Chocolate | 4 ounces |
Chocolate Chips | 1 cup |
Butter | 1 cup (2 sticks) |
Eggs | 2 large |
Vanilla Extract | 1 teaspoon |
Granulated Sugar | 1 cup |
Brown Sugar | 1 cup |
Creamy Peanut Butter | 1 cup |
The Dry Ingredients
Now for the dry ingredients, keep it simple. We need all-purpose flour, cocoa powder, and a pinch of salt. The flour gives the brownies structure, while the cocoa powder adds even more chocolatey goodness. The salt is essential; it enhances all the other flavors. Be careful not to add to much flour. When measuring the flour, spoon it into your measuring cup, instead of scooping it. This way you will get the accurate amount of flour.
I always add a tiny bit of espresso powder, it is completely optional, but it makes the chocolate flavor stand out more. If you have it, use it. If not, no big deal.
- All-Purpose Flour: 1 cup
- Cocoa Powder: 1/2 cup
- Salt: 1/4 teaspoon
- Espresso Powder (optional): 1/2 teaspoon
StepbyStep Instructions for Perfect Peanut Butter Brownies

StepbyStep Instructions for Perfect Peanut Butter Brownies
Melting and Mixing
Alright, let's get baking! First, you'll want to melt the butter and unsweetened chocolate together. You can do this in a microwave or in a heatproof bowl set over a pan of simmering water. Just make sure everything is smooth and melted, then set it aside to cool slightly. While that’s cooling, whisk together the eggs, vanilla extract, and both sugars in a separate bowl. Make sure everything is well combined, this will give you a better texture.
Now, pour the melted chocolate mixture into the egg mixture and whisk until it's all combined. It should look glossy and delicious. Then, grab a spatula, and gently fold in the flour, cocoa powder, salt, and espresso powder (if you’re using it). Don't overmix; just fold until everything is just combined. Overmixing will make your brownies tough and we don’t want that.
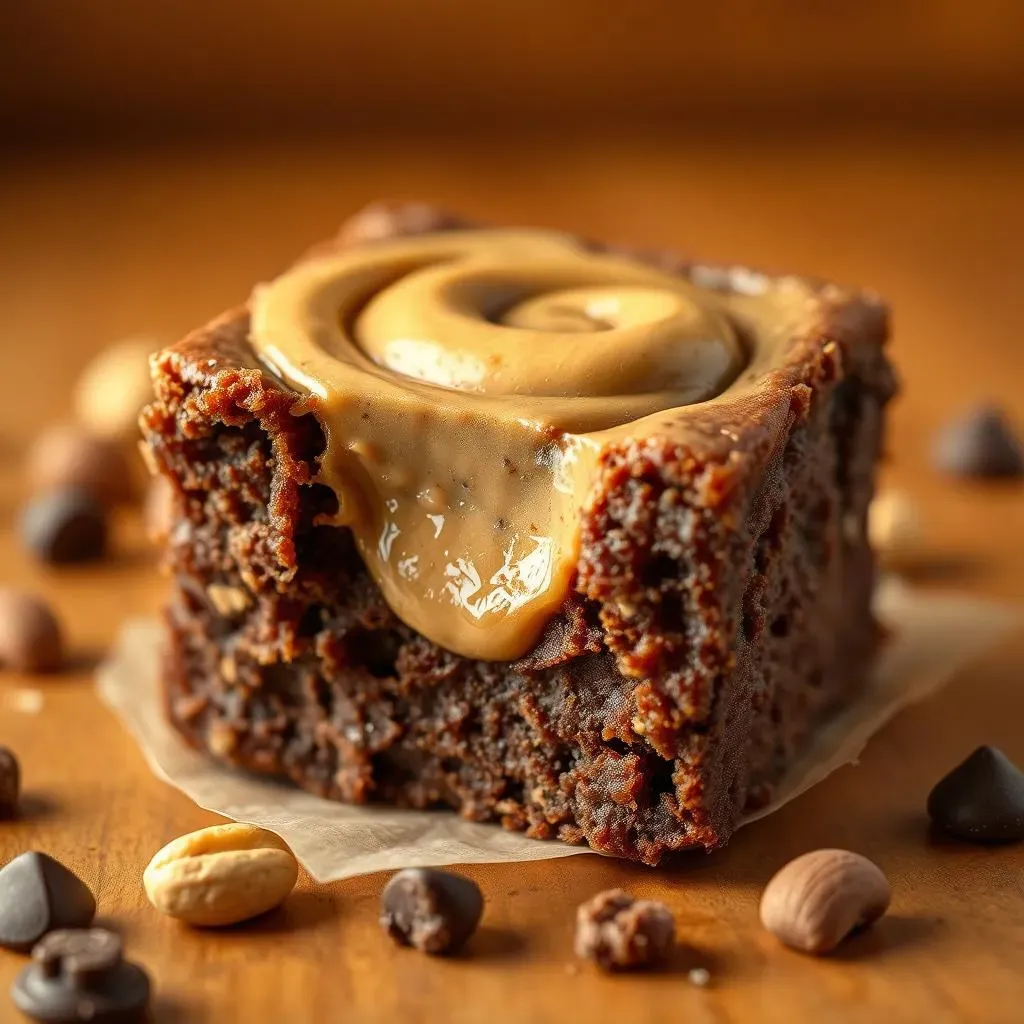
Peanut Butter Swirl and Baking
Time for the fun part! Dollop spoonfuls of creamy peanut butter over the top of the brownie batter. Then, take a knife or a toothpick, and swirl it through the batter, creating a beautiful marbled effect. Don't overdo it; a few swirls are enough. Now, pour the batter into a greased baking pan. I prefer a square 8x8 pan for thicker brownies, but you can use a 9x13 for thinner ones.
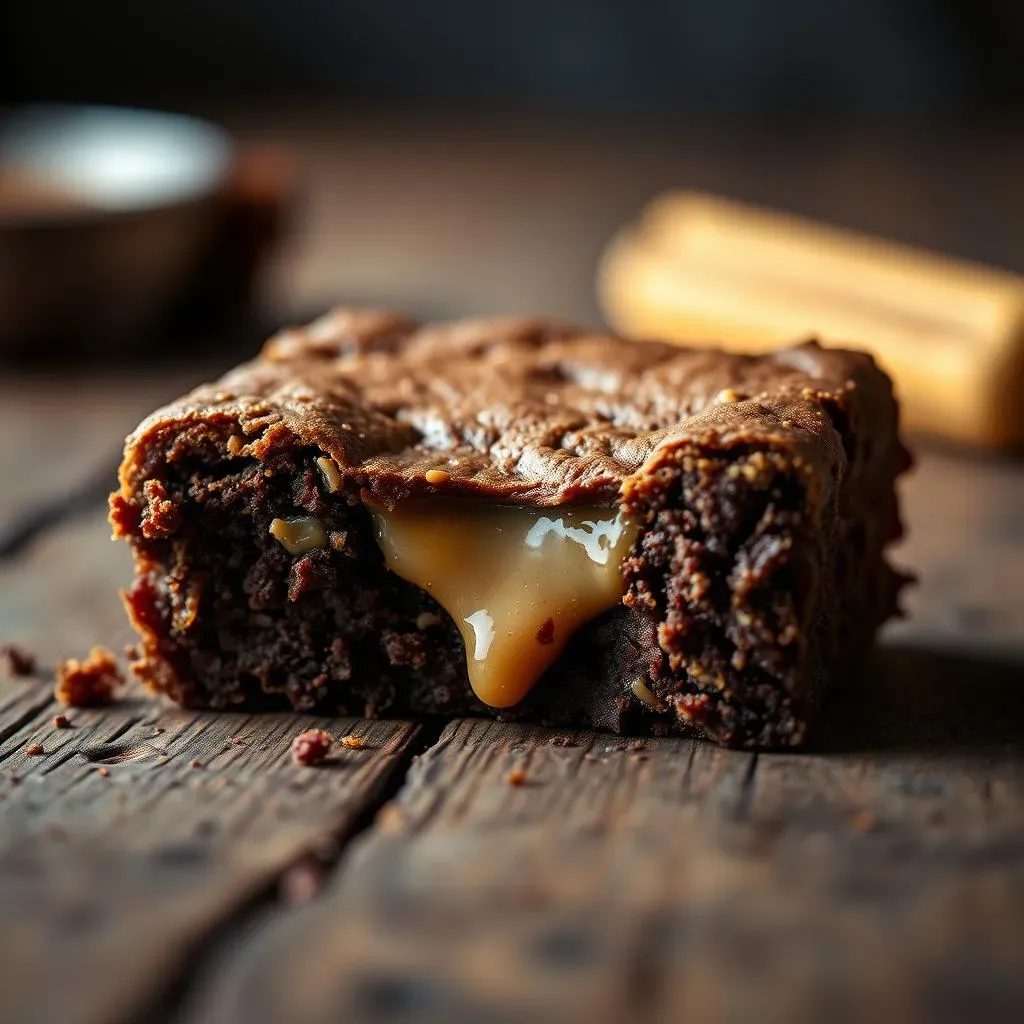
Bake in a preheated oven at 350°F (175°C) for about 40-45 minutes, or until a toothpick inserted into the center comes out with a few moist crumbs attached. You don't want it completely clean, that means you over baked them. If you like a gooier center, bake for about 35 minutes. Let the brownies cool completely in the pan before slicing. This is crucial, or they will fall apart.
- Melt butter and unsweetened chocolate.
- Whisk eggs, vanilla, and sugars.
- Combine wet and dry ingredients.
- Swirl peanut butter into the batter.
- Bake for 35-45 minutes.
- Cool completely before slicing.
Pro Tips for the Best Peanut Butter Brownies
Pro Tips for the Best Peanut Butter Brownies
Room Temperature is Key
Okay, so you've got the basic recipe down, but let's talk about taking these brownies from good to absolutely amazing. First up, let's chat about temperature. It might seem like a small detail, but using room temperature eggs is a total game-changer. Cold eggs can cause the melted chocolate and butter to seize up, which basically means they'll become grainy and not mix properly. You want everything to blend together smoothly, so take those eggs out of the fridge about 30 minutes before you start baking. Trust me, it makes a world of difference in the final texture of your brownies.
Also, don't melt the chocolate too much, it is important to let it cool off a little bit before you mix it with eggs. If you mix it when it’s too hot, you’ll end up with scrambled eggs. Nobody wants that.
Measuring and Mixing
Now, let's talk about measuring. When it comes to baking, precision is your friend. Especially with flour. Too much flour will give you dry, cakey brownies, and we're going for fudgy perfection here. So, instead of scooping the flour directly from the bag (which packs it down), use a spoon to gently scoop the flour into your measuring cup. Then, use a knife to level it off. This way you’ll get the correct amount. And when you’re mixing the batter, remember, less is more. Overmixing develops the gluten in the flour, which makes the brownies tough. Gently fold the dry ingredients into the wet ingredients until they are just combined. It is important to stop mixing when you don’t see any flour streak.
And don't forget the peanut butter swirl! Don't over swirl it. You want some pockets of peanut butter throughout the brownies and not all mixed in.
Tip | Why it Matters |
|---|---|
Use room temperature eggs | Ensures smooth batter and better texture. |
Spoon flour into the measuring cup | Prevents using too much flour and dry brownies. |
Don’t overmix | Prevents tough brownies. |
Don't over swirl | Creates pockets of peanut butter. |
Frequently Asked Questions About Peanut Butter Brownies
Frequently Asked Questions About Peanut Butter Brownies
Storage and Shelf Life
Okay, so you've baked a batch of these glorious peanut butter brownies, and maybe, just maybe, you have some left over. Now what? Well, the good news is they store pretty well. If you plan to eat them within 3-4 days, you can keep them at room temperature in an airtight container. For a longer shelf life, pop them in the fridge for 4-5 days. They might get a bit firmer in the fridge, but they'll still taste amazing. If you want to keep them even longer, you can freeze them for up to 3 months. Just wrap them tightly in plastic wrap and then put them in a freezer-safe bag or container. When you're ready to eat them, let them thaw at room temperature, or warm them up in the microwave.
I know, it’s hard to imagine these brownies lasting that long, but sometimes life calls for restraint. If you can resist eating them all at once, that is.
Storage Method | Shelf Life |
|---|---|
Room Temperature | 3-4 days |
Refrigerator | 4-5 days |
Freezer | Up to 3 months |
Gooey or Fudgy?
One question I get a lot is about the texture of these brownies. Some people love a gooey center, while others prefer a more fudgy consistency. So how do you get your desired result? Well, it all comes down to baking time. For a gooier center, bake the brownies for about 35 minutes. If you want them more fudgy, bake them for the full 40-45 minutes. Remember, the center should still be slightly moist, when you take them out of the oven. They will continue to set as they cool. Also, make sure you don’t over bake them, or they will be dry.
And don't forget to let them cool completely before slicing. If you try to cut them while they're still warm, they'll be a gooey mess.
- Gooey Center: Bake for 35 minutes.
- Fudgy Texture: Bake for 40-45 minutes.
- Cool completely before slicing.
Can I Use Different Types of Chocolate?
Absolutely! This recipe is pretty flexible. If you are not a fan of dark chocolate, you can use milk chocolate or even white chocolate in the batter. Keep in mind that the taste will be different, but it will still be delicious. Also, you can add nuts or other toppings to the batter. I usually add some chopped walnuts or pecans to my batter. Or you can sprinkle some sea salt on top. The possibilities are endless. And don't be afraid to experiment and find your own perfect mix.
The most important thing is to have fun and enjoy the process. Happy baking!