Table of Contents
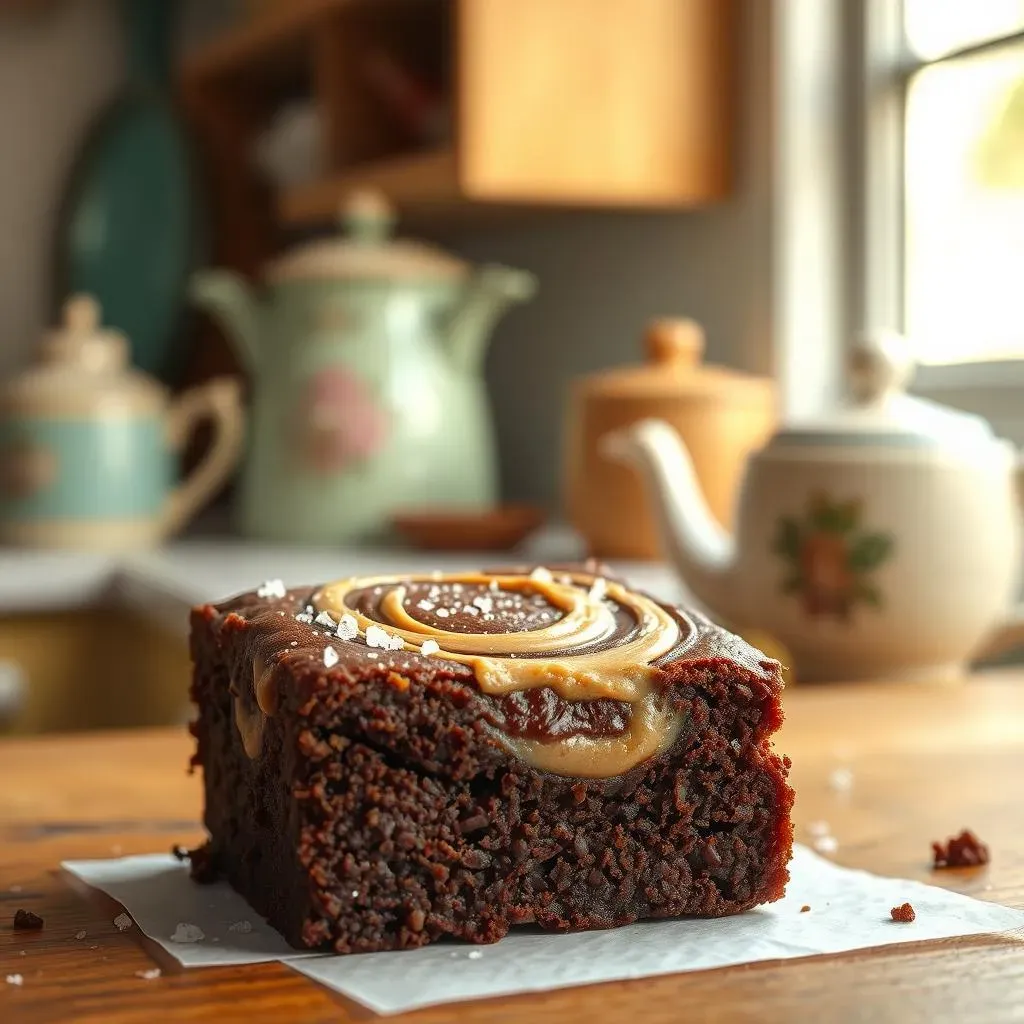
Craving a dessert that's both rich and comforting? Look no further! We're diving headfirst into the world of peanut butter brownies, Preppy Kitchen style. This isn't just any brownie recipe; it's a fudgy, decadent dream come true, swirled with ribbons of creamy peanut butter. If you've ever wondered how to create those perfect, gooey brownies with that irresistible peanut butter marble, you're in the right place. I've spent some time perfecting this recipe, and I’m excited to share all my secrets with you. From gathering the right ingredients to mastering the swirl, we'll walk through each step together. Get ready to bake some seriously amazing peanut butter brownies, inspired by Preppy Kitchen’s genius, that will impress everyone. We’ll cover the essential ingredients, the step-by-step baking process, and pro tips that'll make your brownies the talk of the town.
Gathering Your Ingredients and Tools for Peanut Butter Brownies
Gathering Your Ingredients and Tools for Peanut Butter Brownies
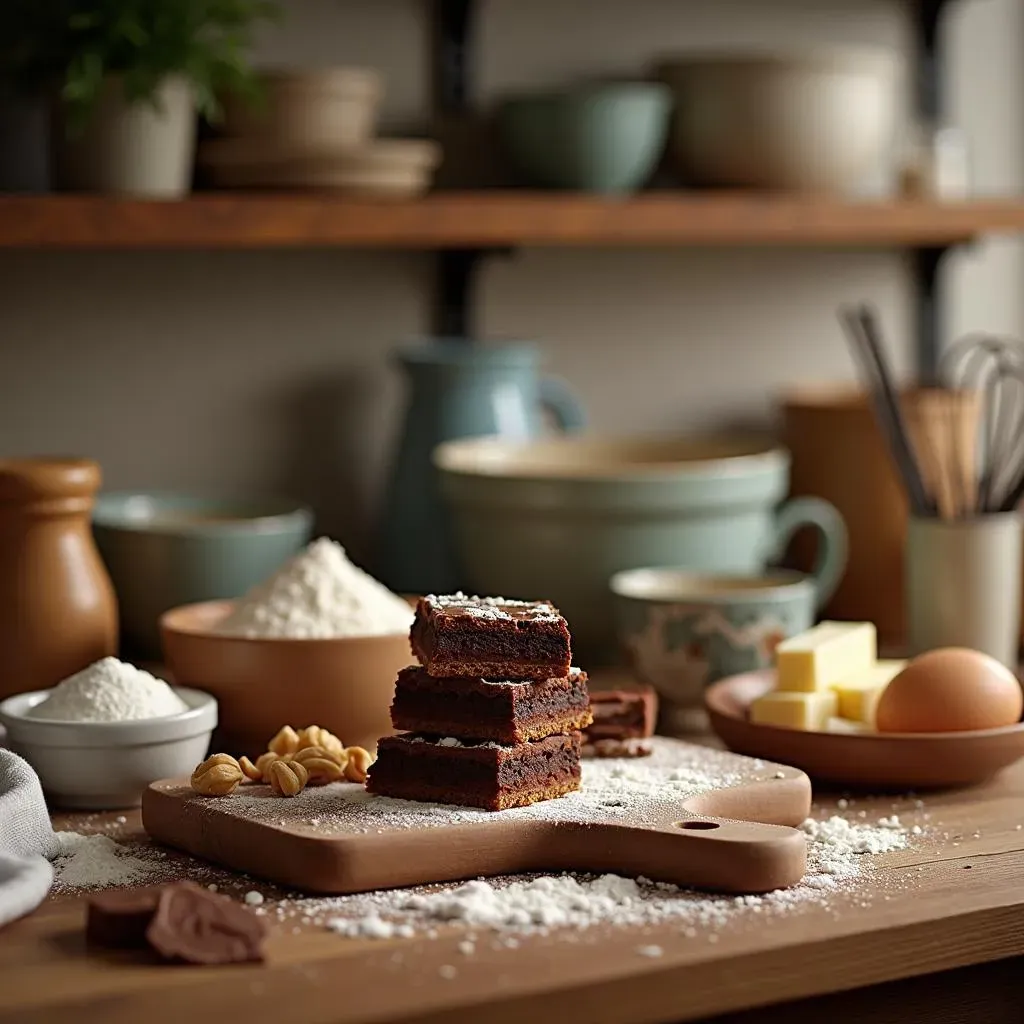
The Essentials: What You'll Need
Okay, so before we even think about turning on the oven, let's make sure we’ve got all our ducks in a row. For these peanut butter brownies, Preppy Kitchen style, it's all about quality ingredients. Think of it like building a house; you need a strong foundation. We're talking good quality chocolate – the kind you’d happily snack on, not the cheap stuff that tastes like cardboard. Butter, the real deal, not margarine, because we’re not cutting corners here. And, of course, the star of the show: creamy peanut butter. The smoother, the better for that glorious swirl. Don't forget the usual suspects like sugar (both white and brown, for that chewy texture), eggs, vanilla extract, flour, and cocoa powder. We want the best flavor explosion possible.
I know it seems like a lot, but having everything prepped and measured makes the whole process so much smoother. Trust me, there's nothing worse than realizing you're out of eggs halfway through mixing. Get your measuring cups and spoons ready, your mixing bowls prepped, and a good 9x13 inch baking pan. Oh, and parchment paper is your best friend for easy cleanup, it’s a total lifesaver. So, before you get your hands dirty, let’s do a quick check to make sure we’ve got everything. It’s like getting your gym bag ready before a big workout, you wouldn’t want to miss a thing.
Ingredient | Why it Matters | Preppy Kitchen Tip |
|---|---|---|
Good Quality Chocolate | Rich Flavor | Use chocolate you enjoy eating on its own |
Real Butter | Flavor and Texture | Don't substitute with margarine |
Creamy Peanut Butter | Smooth Swirl | Choose a brand you love |
Parchment Paper | Easy Cleanup | Line your baking pan for easy removal |
Tools of the Trade: Setting Up Your Kitchen
Now that we have all the ingredients ready, let's talk about the tools. You don't need a fancy kitchen to make great brownies, but having the right equipment makes things easier. A set of good mixing bowls is essential, I prefer to have a variety of sizes for different tasks. A sturdy whisk for those wet ingredients is a must, and a spatula is crucial for folding in the dry ingredients and achieving that perfect batter consistency. A 9x13 inch baking pan is the go-to for this recipe. If you don’t have one, you can adapt to a similar size, but keep an eye on the baking time. And, of course, a trusty oven is non-negotiable.
A kitchen scale is your best friend for accurate measurements, especially when it comes to flour. Too much flour, and your brownies will be dry; too little, and they might be too gooey. A good thermometer is essential, too, for making sure your oven is at the right temperature. It's like having a map for a hike; you need to know where you're going. I like having a timer, because I tend to get distracted. So, double-check that you have all the tools you need. It's like prepping your workout gear before hitting the gym; you need the right equipment to get the best results.
- Mixing Bowls (various sizes)
- Whisk
- Spatula
- 9x13 inch Baking Pan
- Parchment Paper
- Measuring Cups and Spoons
- Kitchen Scale (optional, but recommended)
- Oven Thermometer (optional, but helpful)
StepbyStep: Making the Perfect Peanut Butter Swirl Brownies
StepbyStep: Making the Perfect Peanut Butter Swirl Brownies
Melting and Mixing the Base
Alright, let's get down to business. First things first, we're going to melt the butter and chocolate together. I like to do this in a heatproof bowl set over a simmering pot of water—it's like giving your chocolate a spa day. You can also use the microwave, just go in short bursts to avoid burning it. Once melted, stir it until it's all smooth and glossy like a freshly polished car. Then, in a large mixing bowl, whisk together the white and brown sugars. Add the melted chocolate mixture into the sugar, and stir it well. It's going to look like a dark, sweet, gooey mess—and that’s exactly what we want.
Next, crack in the eggs one at a time, making sure each one is fully incorporated before adding the next. Don’t overmix at this stage, we want to keep the batter light. Now, stir in the vanilla extract, it's like adding a touch of magic. In a separate bowl, whisk together the flour and cocoa powder. Then gently fold the dry ingredients into the wet ingredients, using a spatula. Be careful not to overmix, just fold until everything is just combined. This is where we create the base for our amazing brownies. Overmixing at this stage will make the brownies tough, and we definitely don't want that. It's like trying to build a sandcastle with too much water, it just won’t hold.
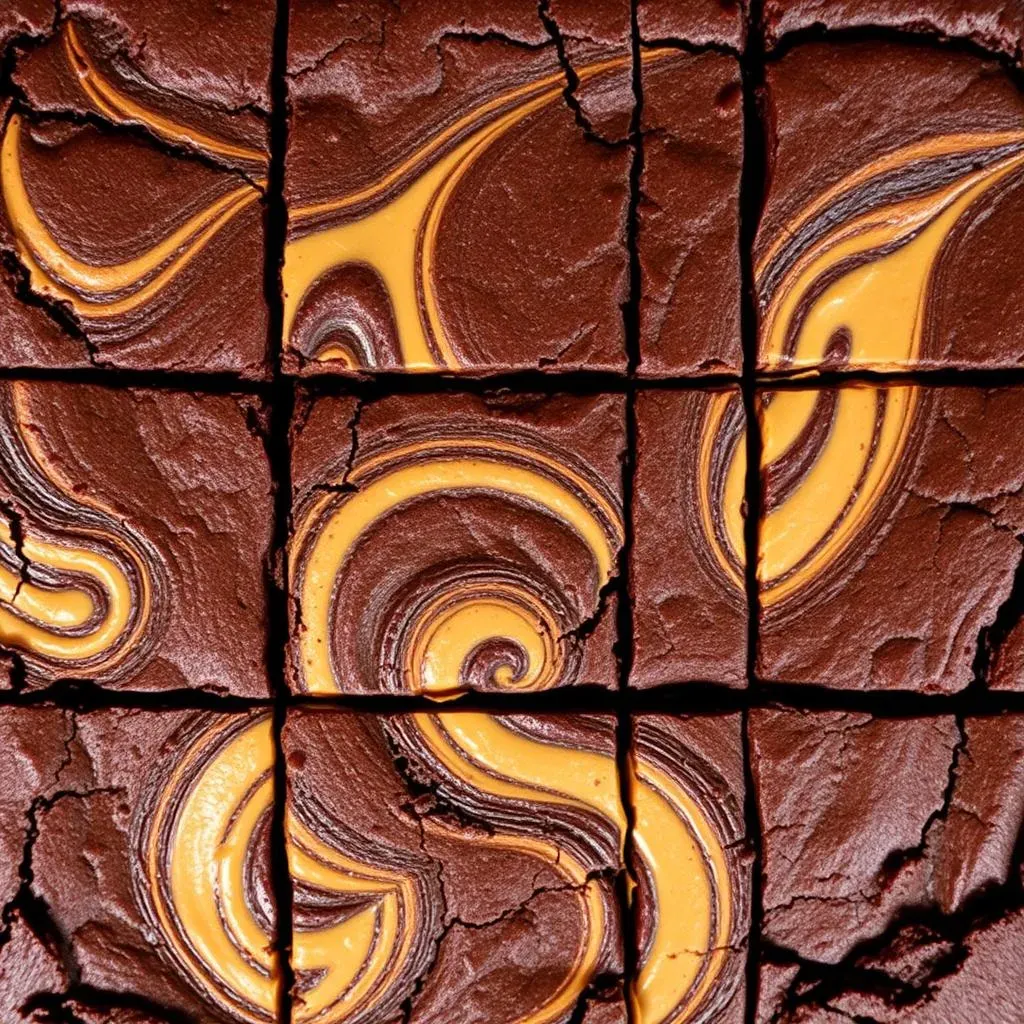
Creating the Peanut Butter Swirl
Now for the fun part! This is where we bring our peanut butter into the picture. Take your creamy peanut butter and dollop it in spoonfuls over the top of the brownie batter. It’s like painting a masterpiece, but with peanut butter. Then take a knife or a skewer and gently swirl the peanut butter into the batter, creating a beautiful marbled effect. Don't overdo it with the swirling, you want to see those distinct ribbons of peanut butter. It's like making a tie-dye shirt; you want the colors to blend but also be unique. This swirl is what makes these brownies extra special, visually stunning and tasty.
Once you've achieved the desired swirl, carefully pour the batter into your prepared baking pan. Make sure to spread it evenly. If you have some extra peanut butter, you can add a little more on top for an extra hit of flavor. Now, it's time to bake! Place the pan in your preheated oven and let the magic happen. Remember to set the timer, because we don’t want burnt edges. It’s like watching a plant grow; you need to give it the right amount of care and time. While they're baking, the aroma will fill your kitchen, and it will be hard to wait before diving in. But patience is key here, we need to let them cool down before cutting them.
Step | Action | Why it Matters |
|---|---|---|
Melt Chocolate & Butter | Combine until smooth | Creates rich base |
Mix Sugars, Eggs, Vanilla | Incorporate well | Adds sweetness and moisture |
Fold in Dry Ingredients | Gently combine | Avoids tough brownies |
Peanut Butter Swirl | Dollop and swirl | Adds flavor and visual appeal |
Baking, Cooling, and Storing Your Preppy Kitchen Peanut Butter Brownies
Baking, Cooling, and Storing Your Preppy Kitchen Peanut Butter Brownies
Baking to Perfection
Okay, so the oven is preheated, and the batter is all swirled and ready to go. Now comes the crucial part: baking. Pop that pan into the center rack of your oven. We’re aiming for a bake time of around 40-45 minutes, but keep an eye on them. You know they're ready when the edges are set, and the center doesn't wobble too much when you give the pan a gentle shake. It's like checking if a cake is done, you want a little give, but not too much. A toothpick inserted into the center should come out with a few moist crumbs attached. Don’t overbake, because we want fudgy, not cakey, brownies. If you're aiming for an even gooier center, you can shave off a few minutes from the baking time, maybe aim for 35-40 minutes. It's like finding the sweet spot on a radio dial; you tweak it until it sounds just right.
I always like to use a timer, because it's easy to forget about the brownies in the oven. Also, I have a tendency to get distracted. Once the timer goes off, don’t just yank them out of the oven. Give them a few minutes in the oven with the door slightly ajar. It’s like letting a swimmer cool down after a race, they need a gradual transition. This helps prevent the brownies from collapsing when you take them out. Then, carefully remove them from the oven and let them rest on a wire rack.
Cooling and Cutting
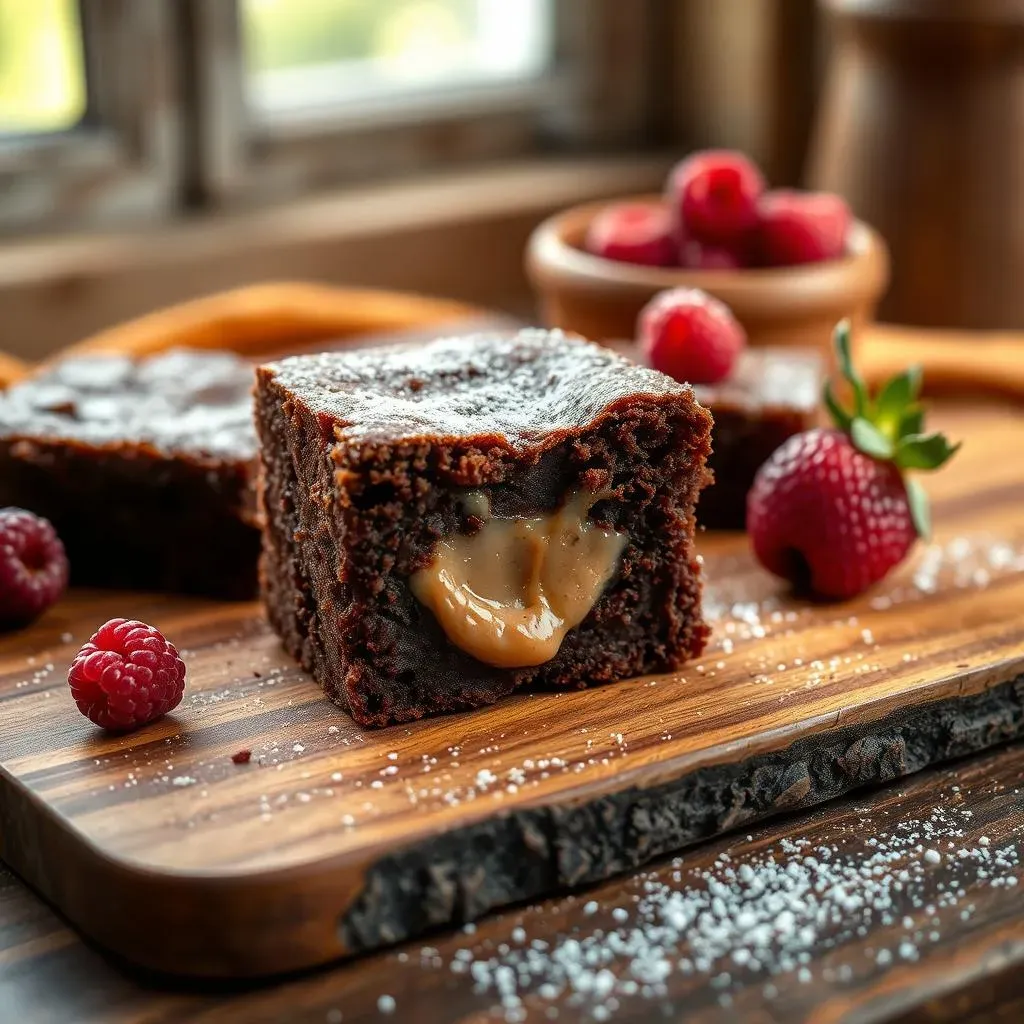
This is where patience becomes a virtue, and it's a hard part for me. You need to let those brownies cool completely before you even think about cutting into them. I know, it's agonizing, but it’s essential for clean cuts and to get that perfect texture. If you cut them while they're still warm, they’ll be a gooey mess, and we want neat, beautiful slices. I usually let them cool in the pan for at least a couple of hours, or even better, overnight. You can also pop them into the fridge to speed up the process, but I usually try to avoid that. Once they're completely cooled, use a sharp knife to cut them into squares. A warm knife will help you cut through the brownies without breaking them. I like to run my knife under some hot water, wipe it clean, and then cut. It's like preparing your tools before starting a new project, you want to make sure everything is in top shape.
If you used parchment paper to line your pan, you can lift the entire slab of brownies out, and then it's easier to cut them, it’s a game changer. This also saves you from having to clean the pan. Now you can see those beautiful peanut butter swirls, and the brownie has that perfect fudgy texture. This is the result of all your hard work. It’s like seeing the final product of an art project; it makes all the effort worthwhile. Now it's time to enjoy them.
Step | Time | Why it Matters |
|---|---|---|
Bake | 40-45 minutes | Sets the edges, moist center |
Cool in Oven | 5-10 minutes | Prevents collapsing |
Cool Completely | 2+ hours | Clean cuts, perfect texture |
Cut with Sharp Knife | Carefully | Neat slices |
Storing Your Brownie Masterpieces
So, you’ve baked these incredible peanut butter brownies, and you might be wondering how to keep them fresh. Well, if you’re planning on eating them within the next 3-4 days, you can store them at room temperature in an airtight container. Make sure they are completely cool before you put them away, this will help prevent them from getting soggy. For longer storage, you can keep them in the fridge for 4-5 days. If you want to make them ahead of time, you can freeze them for up to 3 months. Just wrap them individually in plastic wrap and then put them in a freezer bag. When you're ready to eat them, thaw them at room temperature or in the fridge.
I always like to keep a batch of these brownies on hand, because they are great for when I have guests over. They are also a perfect treat for myself after a long day. If you are going to store them, keep them away from direct sunlight or heat, because they can get a little melty. It is like storing a delicate piece of art, you want to keep it in the best possible conditions. Now you know all the secrets for making, baking, and storing your Preppy Kitchen-inspired peanut butter brownies. Go forth and bake!