Table of Contents
Alright, let's be real, who doesn't love a good brownie? But what if we could take that classic chocolate treat and make it even better? I'm talking about adding peanut butter, of course. We're not just talking a little smear either, but chunks of peanut butter, swirled in and baked to gooey perfection. If you're in New Zealand and wondering how to bake the best peanut butter brownies nz, you've come to the right place. This isn't your average recipe; it's a guide to achieving the ultimate peanut butter and chocolate combo, whether you are a seasoned baker or a newbie in the kitchen. We'll walk you through how to make the perfect batter, how to get that dreamy peanut butter swirl, and give you some pro tips to avoid any baking disasters. Plus, we'll answer all those burning questions you might have. Get your aprons ready, because we're about to make some seriously delicious peanut butter brownies nz!
Making Your Own Peanut Butter Brownies NZ
Making Your Own Peanut Butter Brownies NZ
The Foundation: A Good Brownie Base
Okay, so you want to make some epic peanut butter brownies, right? First things first, we need a solid brownie foundation. Don't skimp on the chocolate here; use good quality stuff, the kind you'd happily eat straight from the wrapper. Melt it down with some butter, get it all smooth and glossy, and you're halfway to brownie heaven. It’s like building a house; if the base isn’t good, everything else is going to crumble. Then, we'll mix in the usual suspects: eggs, sugar, and a bit of flour. But here’s a little secret: don't overmix the batter! We're aiming for a dense, fudgy brownie, not a light and airy cake.
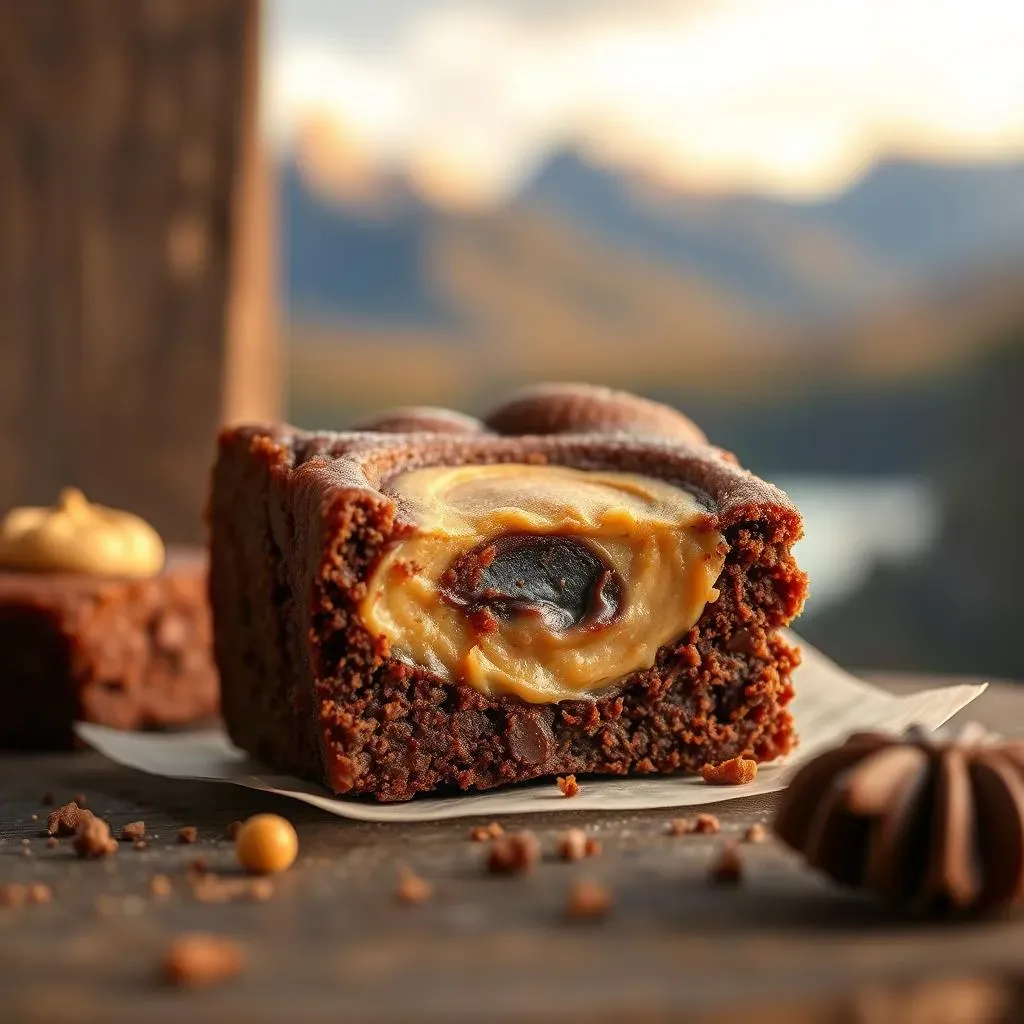
Once your batter is looking luscious and smooth, it's time for the good stuff – the peanut butter. Now, you could just swirl some peanut butter in, but we're going for chunks here, my friend. Dollop spoonfuls of room-temperature peanut butter all over the brownie batter. Don't worry about being neat; the randomness is what makes it look so good. Then, use a knife or a skewer to gently push some of that peanut butter down into the batter. This is where the magic happens. Those little pockets of peanut butter will turn into gooey, melty pockets of happiness once baked.
Ingredient | Why it Matters |
|---|---|
Good Quality Chocolate | Provides rich flavor and texture. |
Room Temperature Peanut Butter | Easier to dollop and swirl. |
Careful Mixing | Ensures a fudgy texture. |
Baking Basics
Now that you've got your batter all peanut-buttered up, it's time to bake. Preheat your oven to 180°C (350°F), and get your baking pan ready. I like to use a square pan lined with baking paper. This makes it super easy to lift the brownies out once they're baked. Pour the batter into the pan and make sure it's evenly spread. Now, here’s the most important part about baking: don't overbake them! You want the brownies to be slightly soft in the middle. If you overbake them, they'll be dry and crumbly, and no one wants that.
Keep a close eye on them while they're baking. Start checking them around the 20-minute mark with a toothpick. When the toothpick comes out with a few moist crumbs attached, it's time to take them out. The middle might seem a little soft, but they will firm up as they cool. Let them cool completely in the pan before cutting them. This is important, or you'll end up with a gooey mess. Trust me, I've been there. Patience is key when it comes to making great peanut butter brownies nz, but the reward is so worth it.
How To Get That Perfect Peanut Butter Swirl in Brownies
How To Get That Perfect Peanut Butter Swirl in Brownies
The Swirl Technique
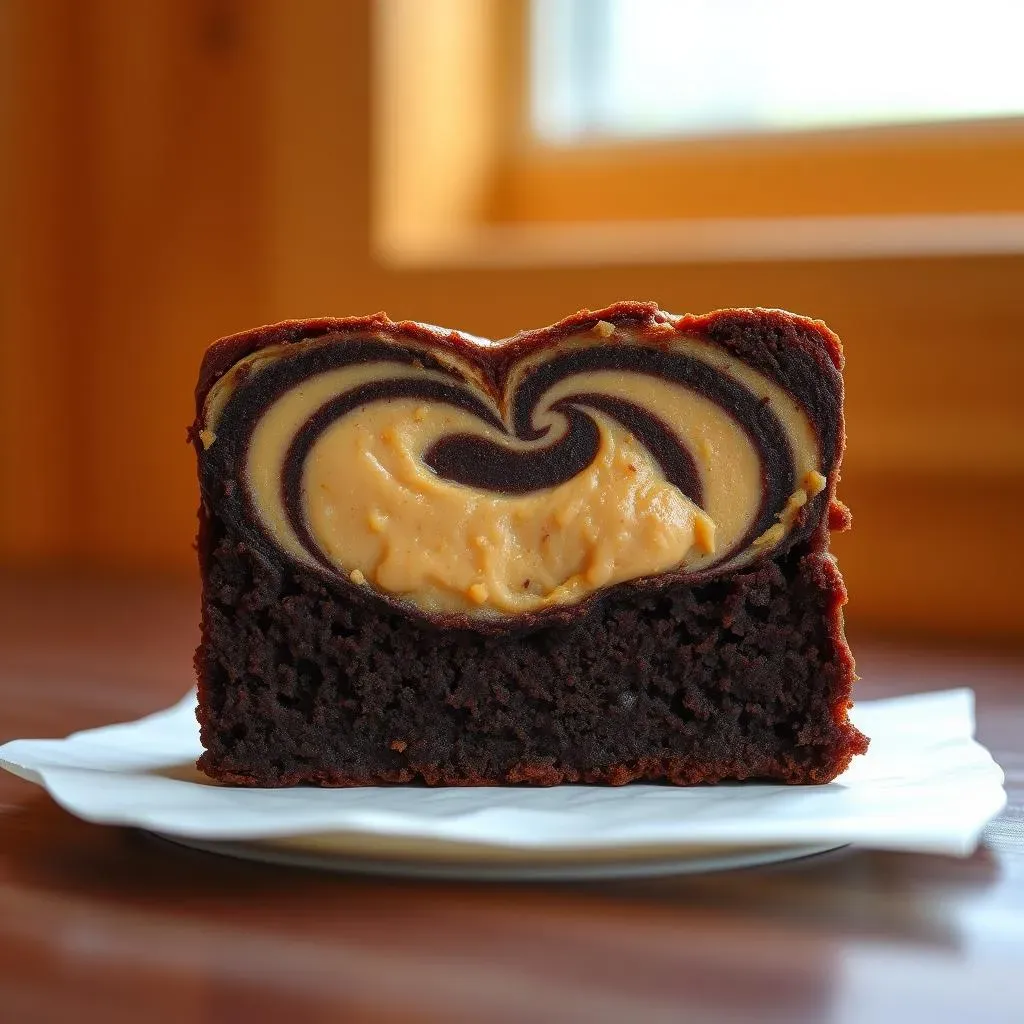
Alright, so you've got your brownie batter and those lovely peanut butter dollops, but how do we get that gorgeous swirl? It’s actually easier than you might think. The key is to work gently and not overdo it. Grab a butter knife or a skewer, and start by running it through the batter in a back-and-forth motion. Think of it like you're drawing a very loose figure-eight, or like you are creating a marble effect. You are not trying to blend the peanut butter in completely, you're just trying to create those beautiful streaks and swirls.
Don’t go too deep with your knife or skewer; you want the peanut butter to stay near the surface for that visible swirl. You also don't want to overmix the batter or you’ll end up with a muddy mess. Less is more, trust me on this. A few graceful swirls are all you need to achieve that perfect marbled look. If you have a piping bag you can put the peanut butter in there, and pipe it on top instead of dolloping it on. This will give you more control and will make it easier to create a nice pattern.
Technique | Why It Works |
|---|---|
Gentle Swirling | Prevents overmixing and keeps swirls visible. |
Surface Level | Ensures peanut butter stays near the top. |
Piping Bag | Offers more control to create patterns. |
Peanut Butter Prep is Key
The type of peanut butter you use can also affect the swirl. I find that creamy peanut butter works best for a smooth, even swirl. If you're using natural peanut butter, give it a good stir before you dollop it onto the batter, as the oil tends to separate. You want it to be nice and smooth so that it spreads easily. If your peanut butter is too thick, you can microwave it for a few seconds to loosen it up. Just be careful not to make it too runny, or it will just sink into the batter.
Another tip is to make sure your peanut butter is at room temperature. This makes it easier to work with and it will spread more evenly. If it's too cold, it will be hard to dollop and swirl, and you might end up with clumps instead of nice streaks. Think of it like trying to spread cold butter on toast, it's just not going to work well. The key is to have your peanut butter at the right consistency so that it blends nicely with the brownie batter.
The Visual Appeal
The swirl isn't just about taste; it's also about presentation. A well-executed peanut butter swirl makes your brownies look like they came straight out of a fancy bakery. When you cut into the brownies, you’ll see those beautiful peanut butter ribbons running through the chocolatey goodness, making them irresistible. It’s that extra touch that takes your brownies from good to great. Don’t be afraid to experiment with different swirling patterns. Some people like a simple swirl, while others like to get a little more creative.
Remember, the goal is to create a visually appealing brownie that is also incredibly delicious. Once you get the hang of it, you'll be swirling like a pro and your peanut butter brownies nz will be the envy of everyone. A little practice goes a long way, and soon you will be creating masterpieces every single time. It's all about having fun in the kitchen and enjoying the process. So, go ahead and get swirling!
Tips and Tricks for the Best Peanut Butter Brownies NZ
Tips and Tricks for the Best Peanut Butter Brownies NZ
The Secret to Fudgy Brownies
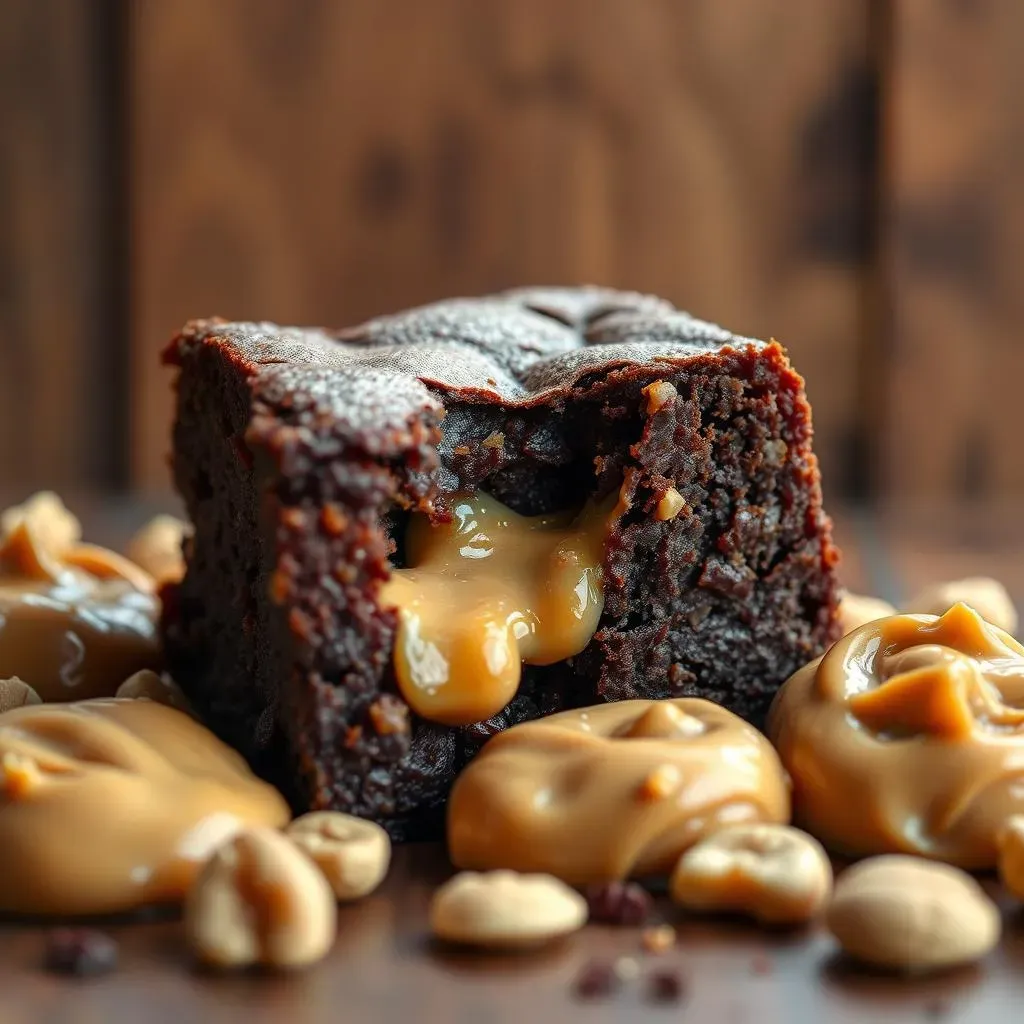
Okay, so you've nailed the swirl, but what about getting that perfect fudgy texture? The key here is to not overbake them. I know I said it before, but it's that important. It's better to take them out a little early than to leave them in too long. They might look a little underdone in the middle, but trust me, they'll continue to bake as they cool. If you want to be extra sure, use a toothpick and check the center. When it comes out with a few moist crumbs, they're ready. Remember, we're not going for a cakey brownie; we want that dense, gooey goodness.
Another thing to keep in mind is the type of chocolate you use. Good quality chocolate makes a huge difference. It's like the base of the whole operation. Go for something you enjoy eating on its own, and you’ll be happy with the results. And don't forget about the butter; it needs to be melted along with the chocolate, and it gives the brownies that rich, tender texture that we all crave. These are simple things but they make a world of difference, trust me.
Tip | Why It Works |
|---|---|
Underbake slightly | Ensures a fudgy center. |
Use quality chocolate | Enhances the overall flavor. |
Melt butter with chocolate | Adds richness and tenderness. |
Cutting Cleanly
So, you've baked your amazing peanut butter brownies, but now you're faced with the challenge of cutting them without making a mess. Here's a trick: wait until they're completely cool before you even think about slicing into them. If you cut them while they're still warm, they'll be too soft and you'll end up with a gooey, crumbly mess. Once they are cool, use a sharp knife, and wipe the blade clean between each cut. This will give you nice, clean squares. If you want to be extra fancy, you can run the knife under hot water before each cut. This will help it glide through the brownies like butter.
Another handy tip is to use a plastic knife. It won’t stick to the brownies as much as a metal knife, making for a much cleaner cut. You can also use a pizza cutter, especially if you're cutting them into smaller squares or rectangles. However you do it, just remember to be patient and take your time. It's worth the effort to get those perfect, neat squares. These extra steps will make your brownies look even more appealing, and who doesn't want that?
Extra Flavor Boosts
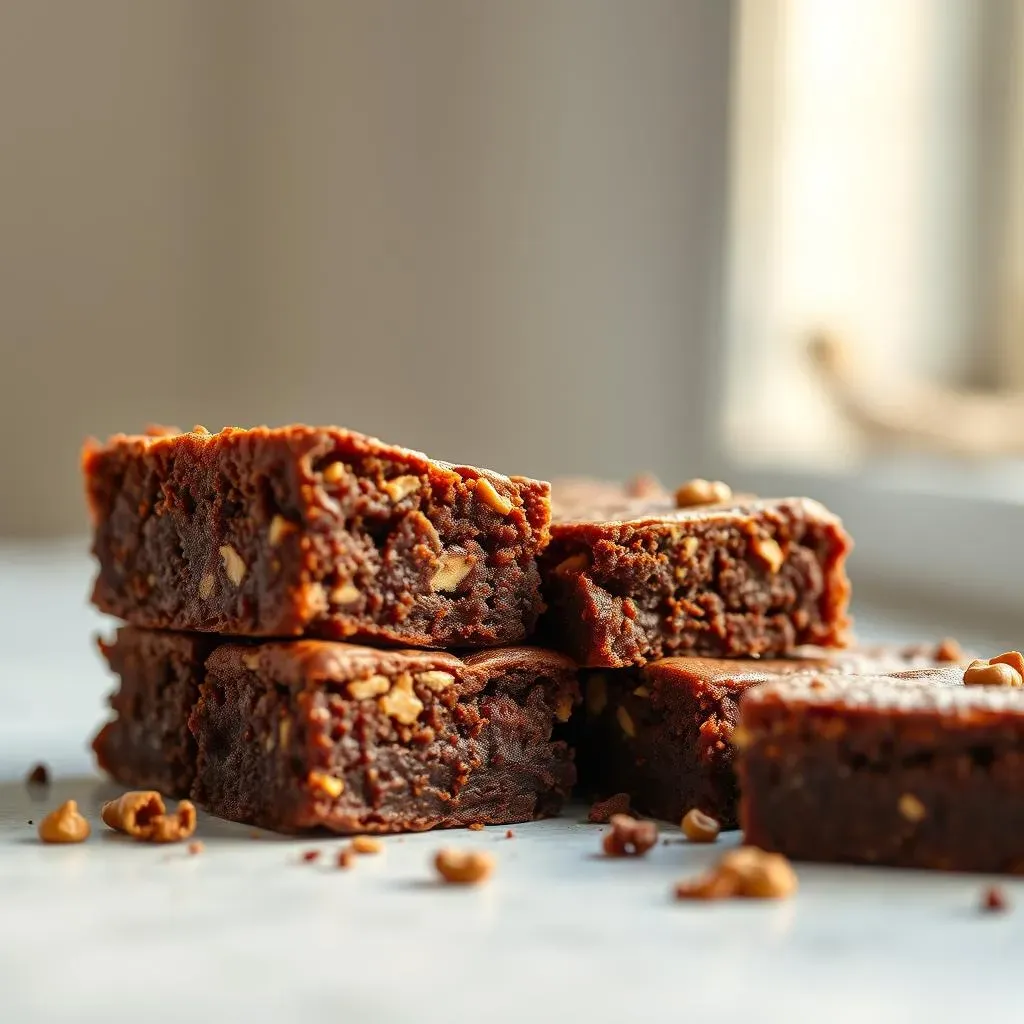
Want to take your peanut butter brownies to the next level? Try adding a few extra flavor boosts. Chocolate chips are always a good idea. You can use milk chocolate, dark chocolate, or even white chocolate, depending on your preference. Nuts are another great addition. Walnuts, pecans, or even chopped peanuts can add a nice crunch and extra flavor. You can also try using different types of peanut butter. Crunchy peanut butter will add texture, while natural peanut butter will give you a more intense flavor.
Don't be afraid to experiment and try new things. Baking is all about having fun and putting your own spin on things. Maybe you want to add a dash of sea salt on top, or a little bit of espresso powder to enhance the chocolate flavor. The possibilities are endless. So, go ahead, get creative, and make these brownies your own! It's all about finding what you like best and making a treat that you'll love every time.
Peanut Butter Brownies NZ: Frequently Asked Questions
Peanut Butter Brownies NZ: Frequently Asked Questions
Storage Solutions
Okay, so you've baked a batch of these incredible peanut butter brownies, and now you're wondering how to keep them fresh. Well, good news, they're pretty easy to store! If you're planning to eat them within a few days, just pop them in an airtight container at room temperature. They'll stay nice and fudgy for about 3-4 days. If you want them to last a bit longer, you can store them in the fridge for up to a week. The fridge might make them a tad firmer, but they'll still be delicious. Just let them come to room temperature before you eat them for that perfect gooey texture.
Now, what if you've baked way too many brownies (is that even a thing?) or you want to save some for later? No problem! You can totally freeze these bad boys. Just wrap them individually in plastic wrap, then put them in a freezer-safe bag or container. They'll keep in the freezer for up to 3 months. When you're ready to eat them, just let them thaw in the fridge overnight, or at room temperature for a few hours. They'll taste just as good as the day you baked them. It's like having a secret stash of deliciousness, ready whenever you need a little treat.
Storage Method | Shelf Life | Texture |
|---|---|---|
Room Temperature | 3-4 days | Fudgy |
Refrigerator | Up to 1 week | Slightly firmer |
Freezer | Up to 3 months | Preserves freshness |
Troubleshooting Tips
Sometimes, things don't go exactly as planned in the kitchen, and that's okay! If your brownies are coming out too cakey, it could be that you’ve overmixed the batter, or you've added too much flour. Remember, we're aiming for a fudgy texture, so mix gently and don't overdo it. Also, double check your oven temperature to make sure it is not to hot. Another common problem is that the peanut butter swirl sinks into the batter. This usually happens when the peanut butter is too runny. Make sure it’s at room temperature and not too melted.
What if your brownies are too dry? This usually means you've overbaked them. Keep a close eye on them while they're in the oven, and take them out when a toothpick inserted into the center comes out with a few moist crumbs. Remember, they'll continue to bake a little as they cool. If you’re finding your brownies are sticking to the pan, make sure to line it with baking paper, and let them cool completely before you even think about cutting them. These are just a few common issues, but don't let them discourage you! Baking is a learning process, and every mistake is a chance to get better. Soon you'll be making perfect peanut butter brownies every time.
"The secret ingredient is always love... and maybe a little extra peanut butter." - A wise baker (probably).