Table of Contents
Welcome, fellow bread enthusiasts! Ready to start on a delicious process into the world of sourdough baking? Sourdough bread, with its tangy flavor and satisfyingly chewy texture, is more than just a loaf; it’s a testament to patience, precision, and the magic of natural fermentation. This comprehensive guide will take you from creating your own sourdough starter—the heart of this ancient baking method—to mastering various techniques and exploring exciting recipe variations. At browniesrecipes.homes, we believe that everyone can bake amazing sourdough, regardless of their experience. We'll equip you with the knowledge and confidence to create your own perfect loaf, so let's get our hands floury!
Topic | Key Takeaway |
|---|---|
Starter Creation | Feed your starter regularly to keep it active and thriving. |
Baking Process | Control temperature and timing for optimal rise and bake. |
Recipe Variations | Experiment with different flours, additions, and shaping techniques. |
Troubleshooting | Address issues like overly sour bread or poor rise by adjusting your starter or process. |
Storage | Store your sourdough bread properly to maintain freshness. |
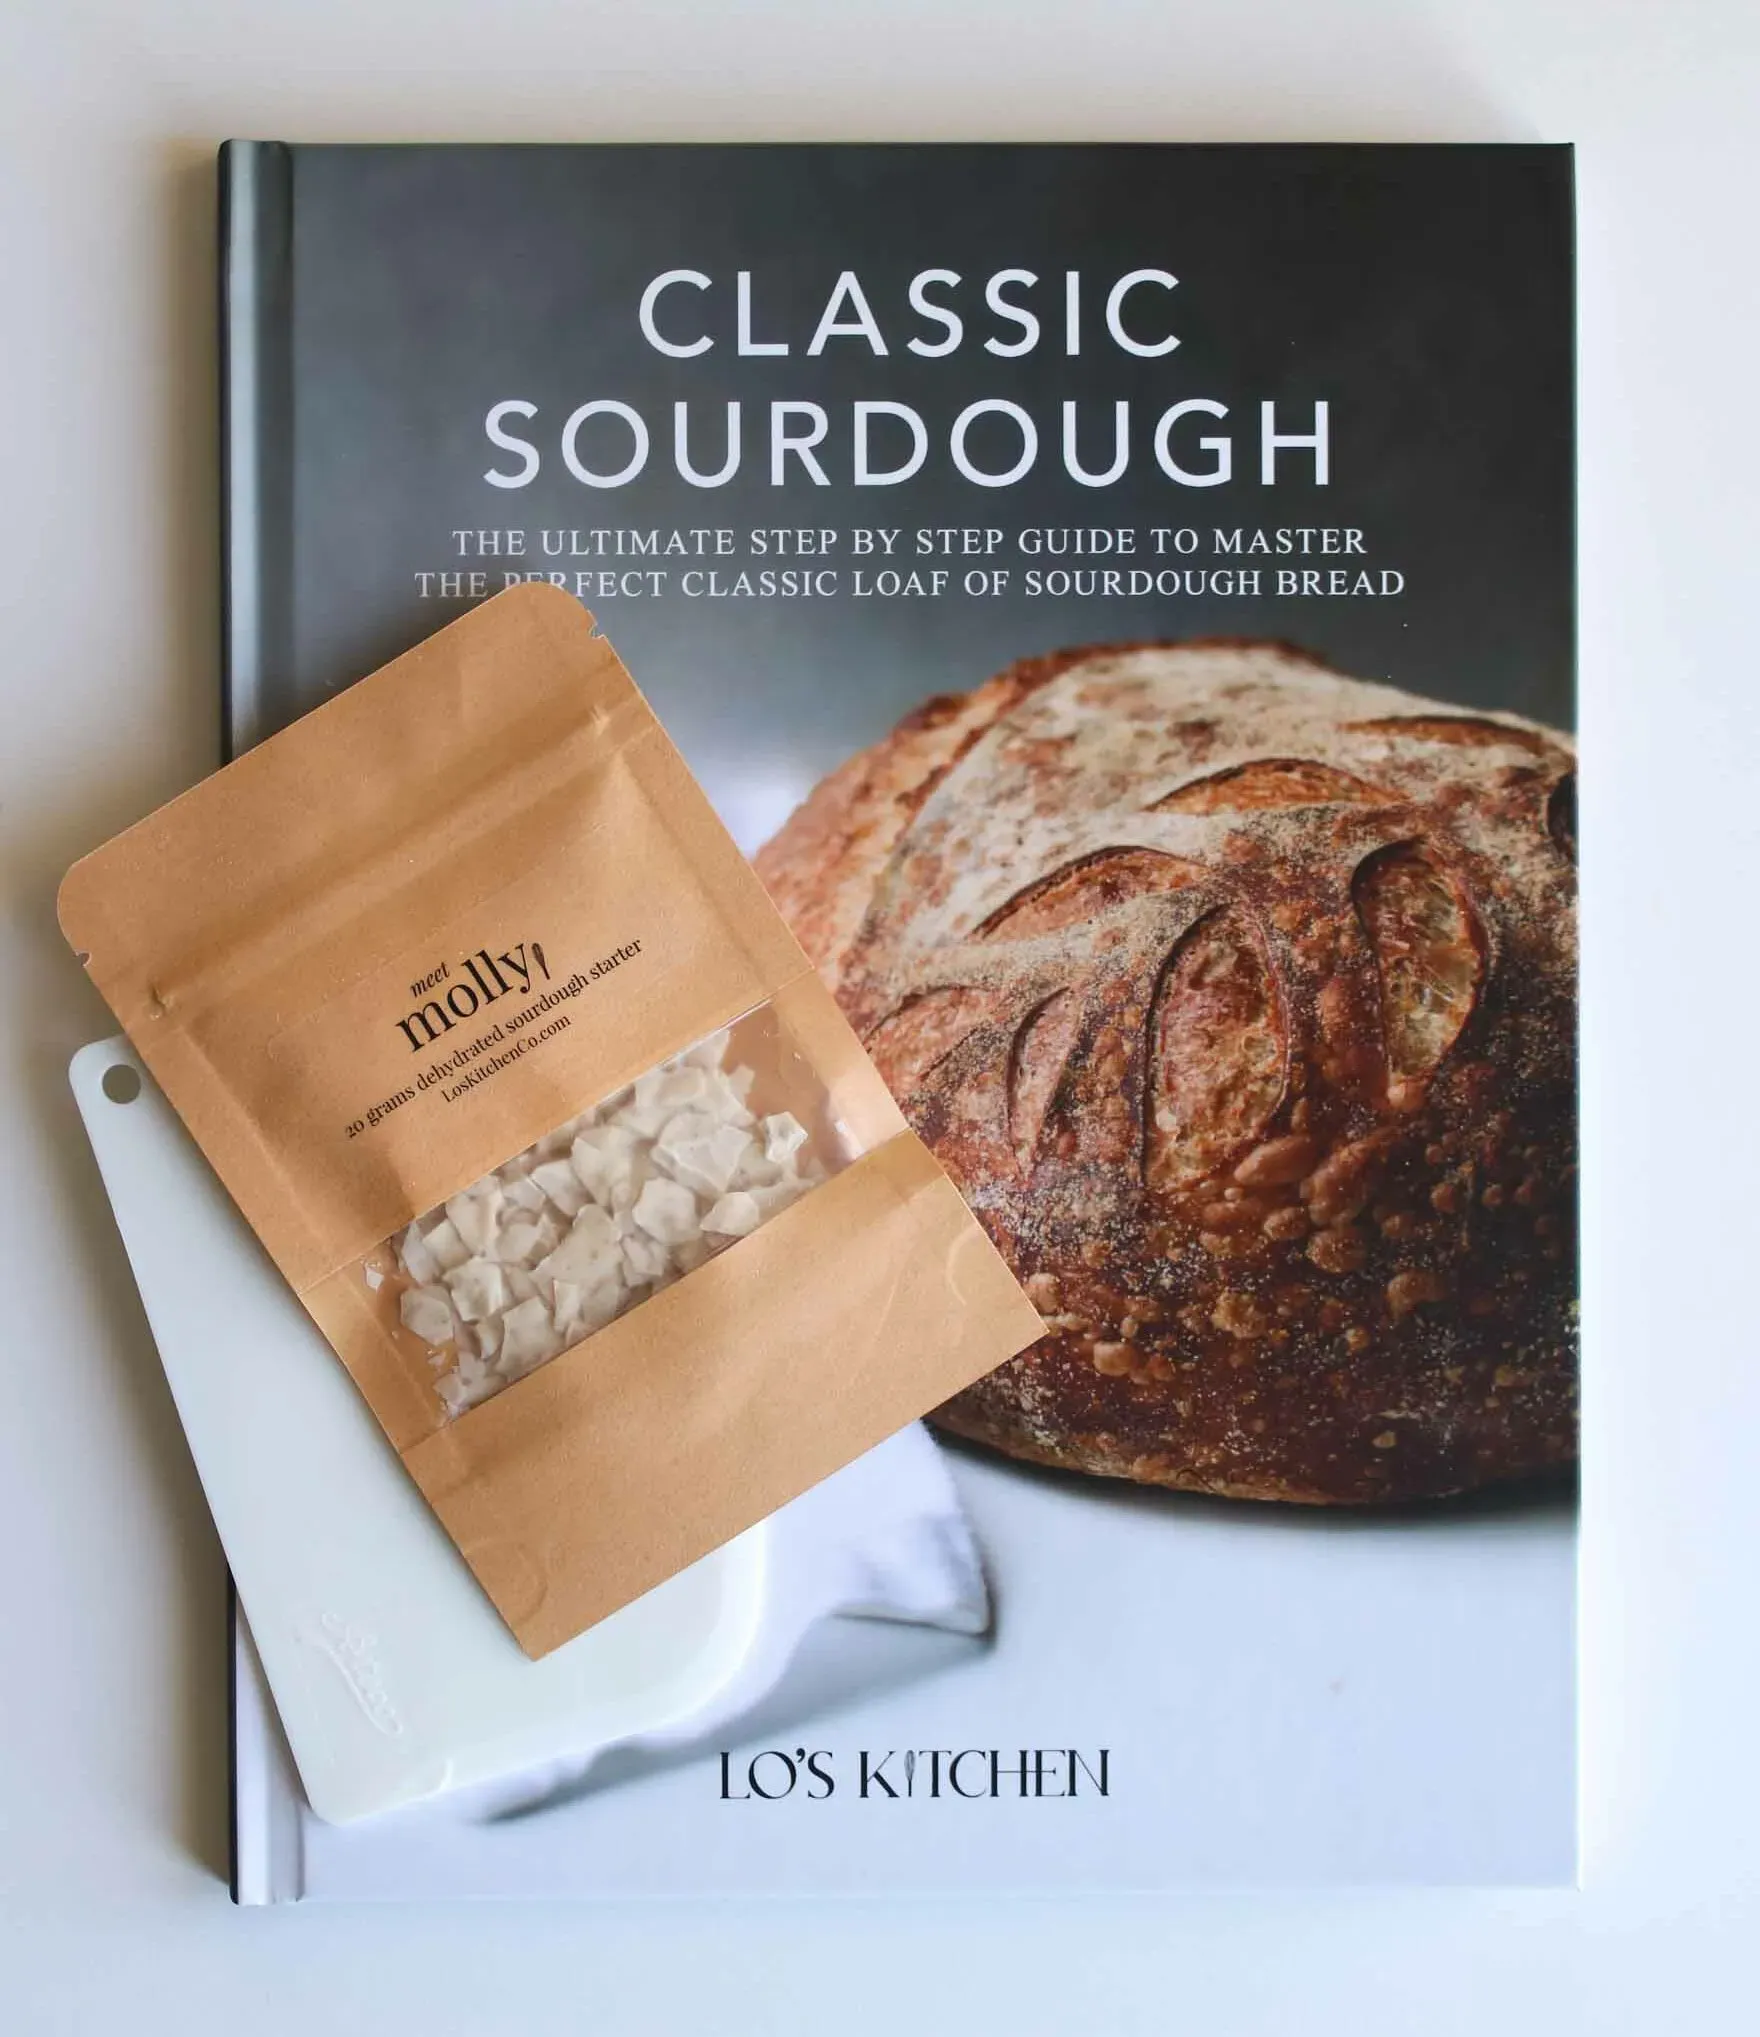
Sourdough Baking: Getting Started with Your Starter
Sourdough Baking Getting Started With Your Starter
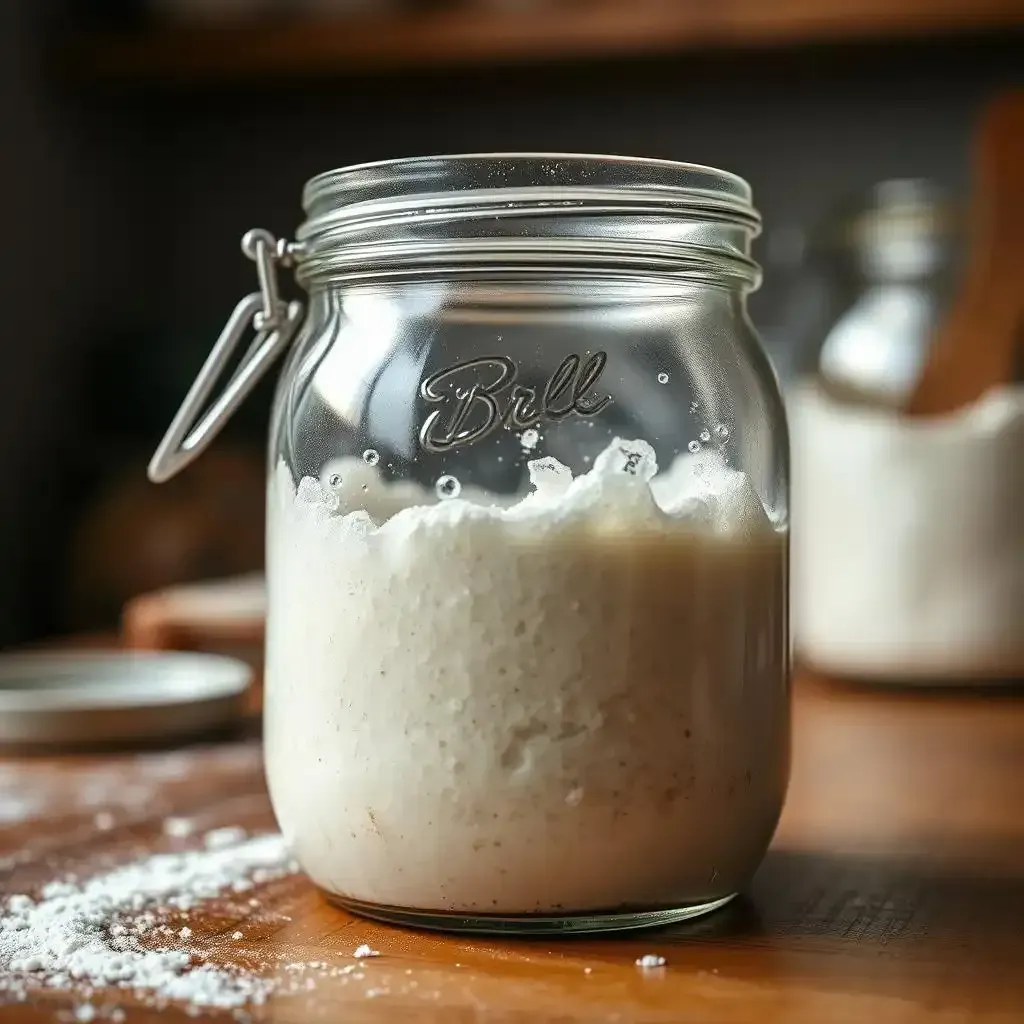
So, you wanna bake sourdough? Awesome! It's like a magical science experiment that results in delicious bread. The key to it all is the starter – think of it as the tiny, bubbly superhero of your baking exploration. It's a mixture of flour and water that, over time, develops a colony of wild yeasts and bacteria. These tiny guys are responsible for the amazing tangy flavor and airy texture of sourdough. Making a starter is super easy, but it needs some patience – think of it as building a really awesome friendship; it takes time.
Day | Action | Notes |
|---|---|---|
1-3 | Mix equal parts flour and water (I use 50 grams of each) in a jar. Stir well. | Keep it at room temperature. Don't worry about being super precise. |
4-7 | Observe the jar. You should see some bubbles (yay!). Stir and discard half of the mix. Add fresh flour and water. | The bubbles are the good bacteria and yeasts doing their thing! |
8+ | Repeat the discarding and feeding every day. It'll start to smell tangy and rise better. | This is when the starter becomes truly alive! Keep it in a cool spot. |
I remember my first starter. It was a bit of a rollercoaster. Some days, it bubbled like crazy; other days, it seemed to sleep. Don't worry if yours does the same – it's totally normal. Just keep feeding and caring for it, and it'll eventually become a reliable baking buddy. Think of it like training a puppy – you need consistency and patience. It's a bit like a pet, really; you need to feed it regularly. You’ll soon notice a pattern.
- Keep your starter in a warm place (around 70-75°F or 21-24°C).
- Feed it regularly, usually once or twice a day, depending on how active it is.
- Use a good quality flour, like bread flour.
- Don't get discouraged if it takes a while to get going!
Mastering the Sourdough Baking Process: Techniques and Tips
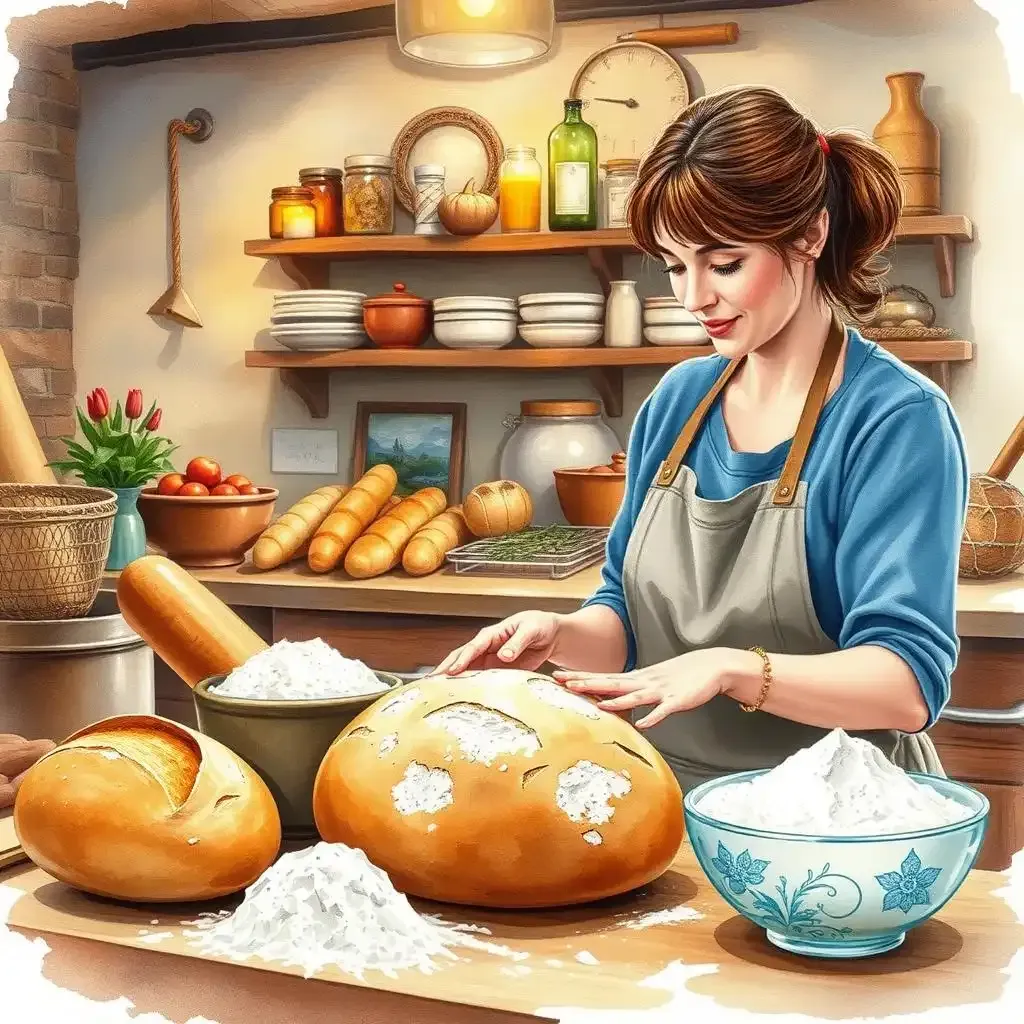
Once you've got a happy, bubbly starter, it's time to get baking! The process might seem a bit daunting at first, but it's really just a series of steps. Think of it as building a magnificent LEGO castle – each step is essential, but the end result is rewarding. The key is to be patient and pay attention to detail. You'll be mixing, kneading, proofing, and baking. I find it incredibly satisfying.
One thing I've learned is the importance of hydration. Hydration refers to the ratio of water to flour in your dough. A higher hydration dough will be wetter and stickier, resulting in a more open crumb structure. A lower hydration dough will be firmer, leading to a denser loaf. It's all about finding your sweet spot. Experiment! You might find you prefer a wetter dough, which produces a beautiful, airy crumb.
Another crucial aspect is proofing. Proofing is when the dough rises. This is where the magic happens – your starter's tiny friends are producing gas, making the dough rise and creating those lovely air pockets. Over-proofing can lead to a flat loaf; under-proofing can result in a dense one. It's like Goldilocks and the Three Bears – you need the "just right" amount of proofing.
Stage | Description | Time |
|---|---|---|
Bulk Fermentation | The dough rises after mixing. | 4-6 hours (depending on temperature and hydration). |
Shaping | Form the dough into a loaf. | 15-20 minutes. |
Final Proof | The shaped dough rises again. | 4-8 hours, sometimes overnight. |
Baking | Bake in a hot oven. | 45-60 minutes. |
Exploring Sourdough Baking Recipes and Variations
Now for the fun part – recipes! There are endless possibilities when it comes to sourdough. You can stick to the basics, with just flour, water, and salt, or you can get creative and add all sorts of delicious things. Think of it as building with LEGOs again – you can make a simple house or a complex spaceship; it's all up to you. Start simple, then go wild!
One of my favorite things to do is add seeds. Sunflower seeds, pumpkin seeds, flax seeds – they all add texture and nutrients. You can also add nuts, dried fruit, or even herbs! I recently tried making a sourdough with roasted garlic and rosemary – it was incredible. The possibilities are endless, really! I've even experimented with adding different types of flour, like rye or whole wheat. Each flour has its unique characteristics, so the results vary. It's a progression of discovery.
- Basic Sourdough Bread: Flour, water, salt, starter.
- Sourdough with Seeds: Add your favorite seeds during mixing.
- Sourdough with Fruit: Incorporate dried cranberries, raisins, or other dried fruit.
- Sourdough with Herbs: Add fresh or dried herbs to the dough.
Don't be afraid to experiment. Baking sourdough is a trip, not a destination. Some loaves will be better than others, and that's okay. Embrace the imperfections. Each loaf tells a story – a story of your process into the wonderful world of sourdough baking.
Mastering the Sourdough Baking Process: Techniques and Tips
Okay, so you've got your starter buzzing like a beehive – congrats! Now, let's talk about actually making bread. It's less intimidating than it sounds. Think of it like building with LEGOs: you follow the instructions, but you can still get creative. The first big thing is mixing your dough. It's all about getting the right balance of water and flour – this is called hydration. Too much water, and you've got a sticky mess. Too little, and you'll end up with something dense as a brick. I usually aim for around 70% hydration for a nice, manageable dough, but you'll find your own sweet spot with time. It's a progression of discovery, not a race to the finish line!
- Use a kitchen scale for precise measurements – trust me, it makes a difference.
- Don't be afraid to get your hands dirty! Kneading the dough develops the gluten, which gives your bread that lovely chewy texture.
- Let the dough rest – this is called bulk fermentation. This is where the magic happens, letting those tiny yeasts and bacteria work their wonders.
Next up is shaping and proofing. Shaping your dough might seem tricky at first, but it’s like sculpting with clay. You’re gently coaxing it into the shape of a beautiful loaf. Then comes proofing – this is where the dough rises, getting all puffy and ready for the oven. Think of it as giving your bread a nice long nap before its big moment. Don't rush this part; patience is key. Over-proofing leads to a flat loaf; under-proofing leaves it dense. There's a Goldilocks zone for proofing – you'll learn to recognize it.
Stage | Description | Time (Approximate) |
|---|---|---|
Mixing | Combine ingredients until a shaggy dough forms. | 10-15 minutes |
Bulk Fermentation | Let the dough rise in a warm place. | 4-6 hours |
Shaping | Gently shape the dough into a loaf. | 15-20 minutes |
Final Proof | Let the shaped dough rise again. | 4-8 hours (or overnight) |
Baking | Bake in a preheated oven. | 45-60 minutes |
Finally, baking. This is the exciting part! I love the smell of freshly baked sourdough. A hot oven is crucial here – it creates that beautiful crust. And don’t forget the steam – it helps create a lovely, airy crumb. You might want to use a Dutch oven for even baking, but a regular baking sheet works great too. Experiment and see what you prefer. Every oven is different; the temperature may vary.
Remember, every loaf is a learning experience. Don't get discouraged if your first few attempts aren't perfect. It takes time and practice to master the art of sourdough baking. But trust me, the reward – that first bite of perfectly tangy, chewy sourdough – makes it all worthwhile. It's a process, not a sprint. You'll get there!
- Start with a simple recipe. Don't try to tackle a complex recipe on your first attempt.
- Pay attention to detail. Small changes in your process can make a big difference in the final product.
- Have fun! Baking should be enjoyable. Don't get too stressed out if things don't go perfectly.
Exploring Sourdough Baking Recipes and Variations
Exploring Sourdough Baking Recipes And Variations
Basic Sourdough: The Foundation of Flavor
Let's start with the simplest sourdough recipe – it's like the building blocks of LEGOs, you can build anything from it! You only need four ingredients: flour (I prefer bread flour, it's got more protein for a chewier loaf), water (lukewarm's best), your trusty sourdough starter (fed and bubbly!), and a pinch of salt. Mixing it is like making mud pies – get your hands dirty! You'll knead the dough until it's smooth and elastic. Then, let it rise, or "bulk ferment," for a few hours. This is where the magic happens; your starter's little helpers are busy making the dough rise. Then you shape it into a loaf, let it rise again ("proof"), and bake it until it’s golden brown and sounds hollow when you tap the bottom. The first time I made it, I was so proud! It smelled amazing.
- Use a kitchen scale for precise measurements.
- Don't be afraid to experiment with different types of flour.
- Let the dough rise in a warm place.
Beyond the Basics: Adding Your Own Twist
Once you've mastered the basic recipe, it's time to get creative! Think of it like decorating a cake – you can add sprinkles, frosting, and candles! You can add seeds (sunflower, pumpkin, flax – they add texture and nutrients!), nuts (walnuts, pecans, even almonds!), dried fruits (cranberries, raisins, chopped apricots – yum!), and herbs (rosemary, thyme, even a little bit of lavender!). I once added some caramelized onions to my sourdough; it was surprisingly delicious. Remember: experimentation is key! Don't be afraid to try new things. The worst that can happen is you end up with a slightly weird-tasting loaf – and then you can learn from your mistake. You’ll become a sourdough chef!
Addition | Flavor Profile | Texture |
|---|---|---|
Seeds | Nutty, earthy | Chewy, crunchy |
Dried Fruit | Sweet, tangy | Chewy, moist |
Nuts | Rich, buttery | Chewy, crunchy |
Herbs | Savory, aromatic | Slightly herby |
Sourdough Adventures: Exploring Different Flours
Different flours give you different results. It’s like using different paints to create a imagine. Bread flour is my go-to because it’s got lots of protein, which makes for a chewy loaf. But you can also use whole wheat flour for a nuttier flavor and a denser crumb. Rye flour adds a distinctive tang and a darker color. I even tried using a mix of flours once – part bread flour, part whole wheat – and it turned out amazing. It's all about experimentation. Find the combinations you love. It's like finding your perfect pizza toppings. It might take a few tries, but the process is half the fun! You’ll find your perfect sourdough recipe eventually.
Final Thought
So, there you have it – a progression into the wonderful world of sourdough baking. Remember, practice makes perfect, and each loaf is a learning opportunity. Don't be afraid to experiment with different flours, hydration levels, and shaping techniques to find what suits your palate and style. The beauty of sourdough lies in its adaptability and the unique personality each loaf develops. Happy baking!