Table of Contents
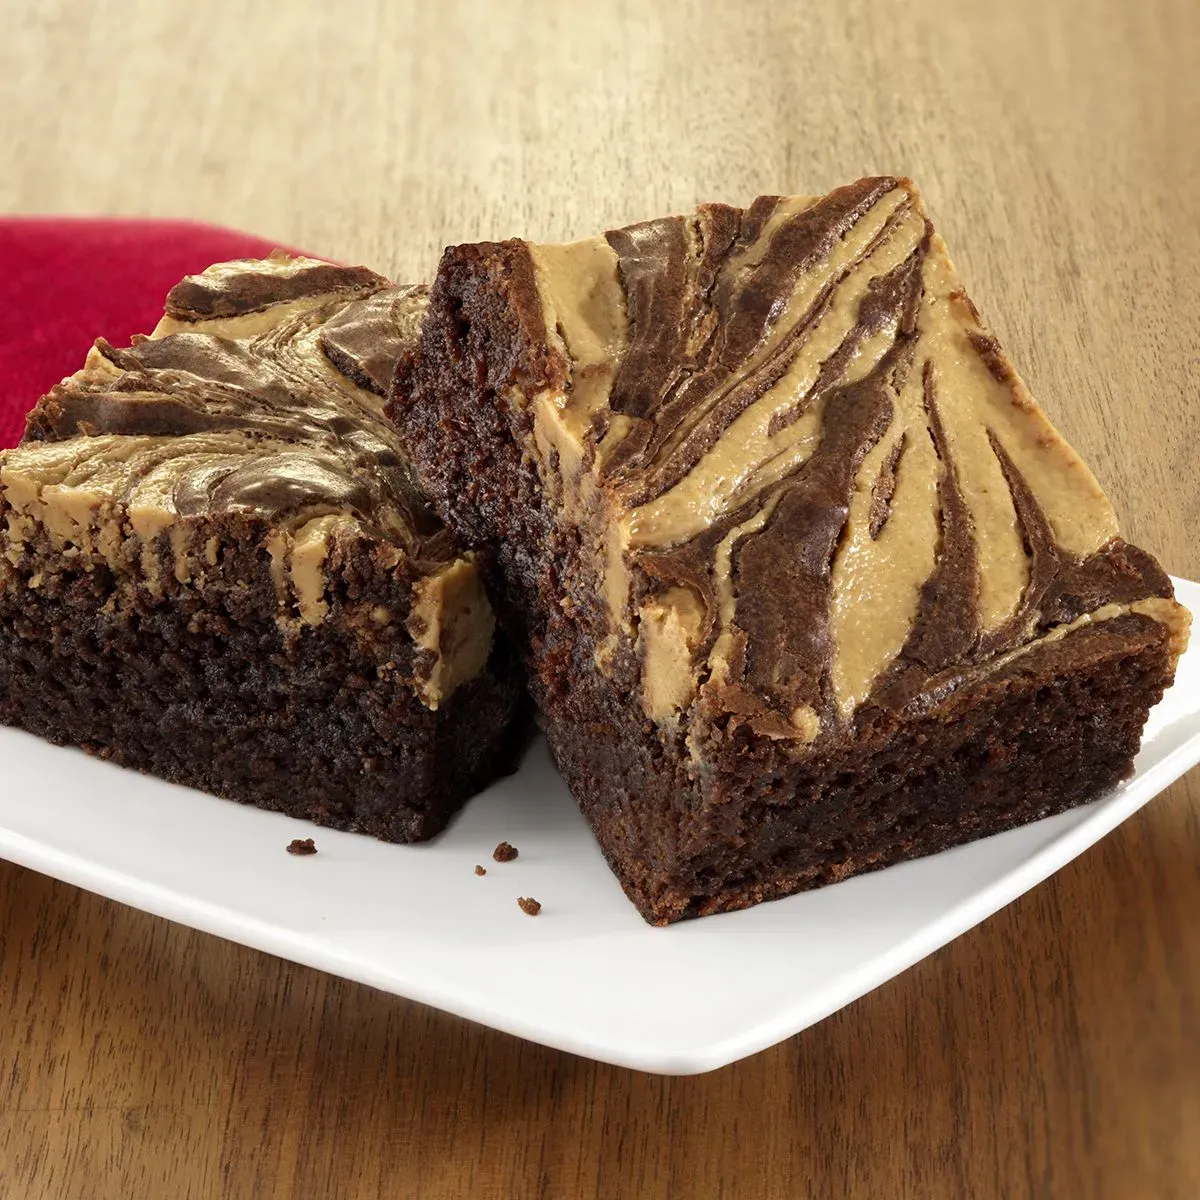
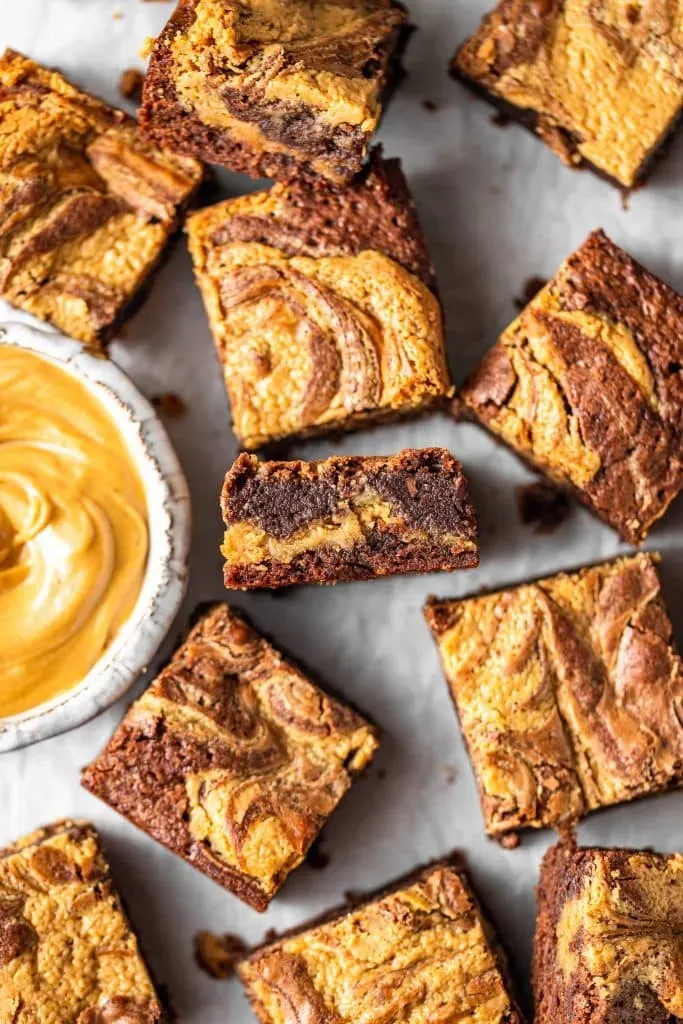
Let's be honest. Brownies are great. Peanut butter is great. But put them together? That's where the magic happens. Specifically, the kind of magic that involves rich chocolate and nutty ribbons weaving through each bite. If you've ever tried to achieve that glorious look and taste yourself, you might have ended up with sad blobs or streaks that disappeared entirely. Mastering how to swirl peanut butter in brownies isn't as simple as just dolloping it on top and dragging a knife through. There's a knack to it, a few small details that make the difference between a messy failure and a stunning, delicious success.
The Quest for the Perfect Peanut Butter Swirl Brownie
The Quest for the Perfect Peanut Butter Swirl Brownie
so you're setting out on the noble path of baking peanut butter swirl brownies. This isn't just about throwing some chocolate and peanut butter together; it's about creating a visual and textural masterpiece. You want those distinct ribbons of nutty goodness cutting through the rich, dark chocolate base, not just a muddy mess or, worse, the peanut butter vanishing altogether. It sounds simple enough, right? Pour batter, dollop peanut butter, swirl. If only it were that easy. The reality is, getting a clean, defined swirl that bakes up beautifully requires a little finesse. It’s a common baking challenge, one I wrestled with myself for a while, ending up with some truly tragic-looking batches before figuring out the nuances.
Getting Your Swirl On: Prepping the Peanut Butter
Getting Your Swirl On: Prepping the Peanut Butter
Why Your Peanut Butter Needs a Little TLC
Alright, listen up. You can't just grab a jar of cold, straight-from-the-fridge peanut butter and expect it to perform miracles in your brownie batter. That stuff is stiff. Trying to swirl cold, thick peanut butter into your equally thick brownie batter is like trying to finger paint with concrete. It won't flow, it won't marble nicely, and it'll likely just sit there in stubborn clumps or drag the brownie batter around in an ugly fashion. Prepping the peanut butter is arguably the most critical step in achieving those beautiful, defined swirls. It needs to be the right consistency – fluid enough to swirl, but not so runny it just disappears into the chocolate abyss.
Picking the Right Peanut Butter for the Job
Not all peanut butter is created equal, especially when it comes to swirling. Natural peanut butter, the kind where the oil separates and you have to stir it yourself, can be tricky. It tends to be thinner once stirred, but can also seize up or become grainy when heated. Your best bet for consistent, swirlable results is a conventional, no-stir peanut butter. Think Jif or Skippy. They have a more stable consistency thanks to added stabilizers and sugars. Avoid anything labeled "peanut butter spread" or low-fat versions; they often have weird textures and won't swirl properly.
- Conventional creamy peanut butter (e.g., Jif, Skippy) - Easiest to work with.
- Conventional crunchy peanut butter - Adds texture, but swirls might be less defined.
- Natural creamy peanut butter - Can work, but requires careful stirring and heating.
- Natural crunchy peanut butter - Generally too thick and chunky for clean swirls.
- Low-fat or "spreads" - Avoid these; inconsistent results.
Warming It Up: The Key to a Smooth Swirl
Once you have your peanut butter of choice, you need to make it swirl-ready. The goal is to loosen it up just enough so it flows smoothly. The easiest way to do this is to gently warm it. You can do this in a microwave-safe bowl in 15-second increments, stirring well after each, until it's smooth and pourable but not hot. Alternatively, you can set the bowl over a pot of simmering water (a double boiler method) and stir until it reaches the desired consistency. A tablespoon or two of melted butter or a neutral oil can also help thin it out if it's still too stiff. This simple step is the secret weapon for how to swirl peanut butter in brownies effectively.
Mastering the Swirl: How to Swirl Peanut Butter in Brownies
Mastering the Swirl: How to Swirl Peanut Butter in Brownies
Layering the Batter and Peanut Butter
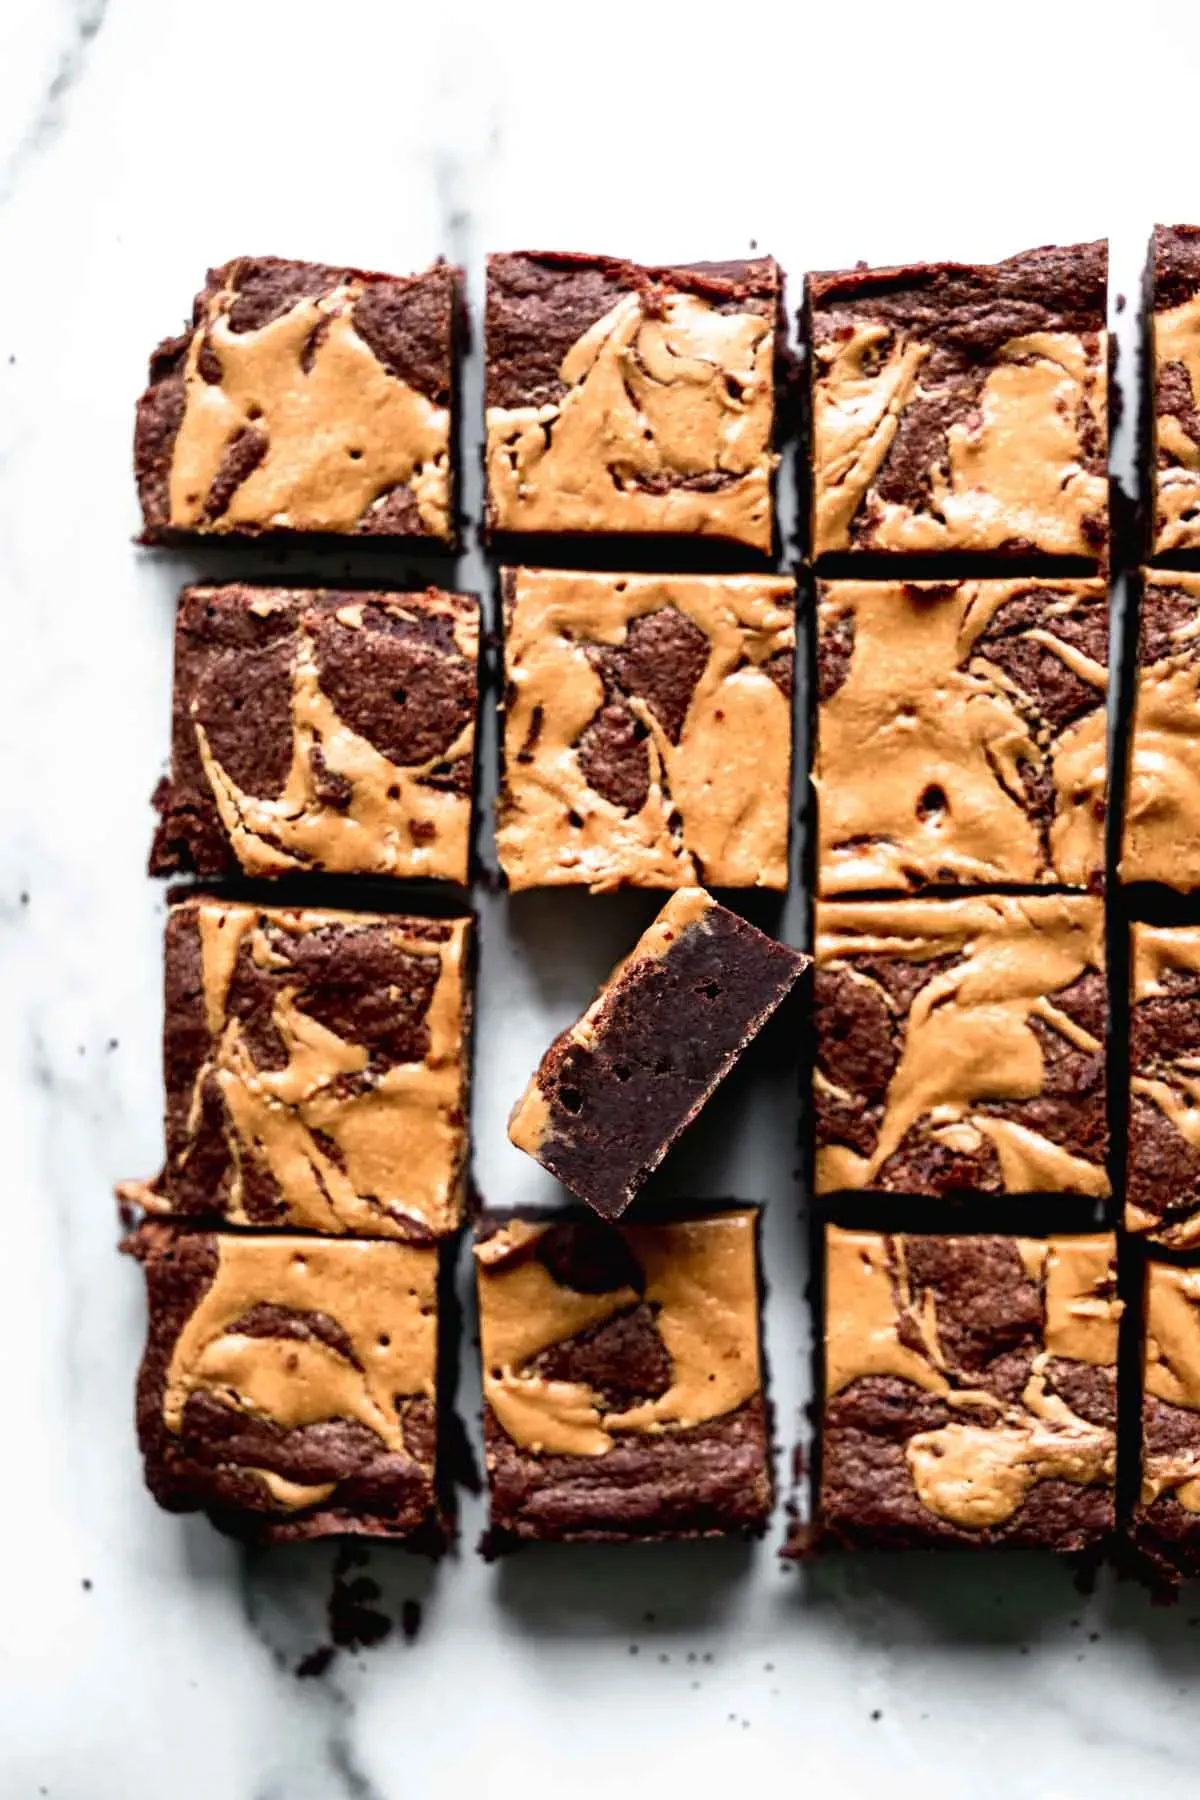
your brownie batter is ready, poured into the prepared pan. You've also got your peanut butter, warmed and smooth, ready for action. Don't just dump the peanut butter randomly. The best approach is to dollop spoonfuls of the warmed peanut butter over the top of the brownie batter. Think strategically. Place dollops relatively evenly spaced across the surface. You don't need to cover every inch; you're creating pockets to swirl into. The amount of peanut butter is up to you, but a good starting point is about half to two-thirds the amount of peanut butter by volume compared to the brownie batter. Too little, and your swirls will be sparse; too much, and it might overwhelm the chocolate or make the brownies greasy. Aim for dollops about the size of a silver dollar.
Executing the Perfect Swirl Pattern
Now for the main event: the swirl itself. Grab a knife, a skewer, or even a chopstick. Don't use a whisk or a fork; you want a tool that will cut through the batter cleanly. Insert your tool into the batter and move it in a swirling or figure-eight motion. Don't go too deep; you only need to go about halfway or two-thirds of the way down into the batter. You're aiming to marble the peanut butter and chocolate together, not fully combine them. Over-swirling is a common mistake; it leads to muddy, indistinct patterns. A few deliberate passes are better than frantic swirling. Lift the tool occasionally to see the pattern developing. Remember, you're creating art here, albeit delicious, edible art.
Swirling Tool | Pros | Cons |
|---|---|---|
Butter Knife | Commonly available, good width for distinct lines. | Can be too wide for intricate swirls. |
Skewer or Chopstick | Allows for finer, more controlled patterns. | Can be too thin, might need more passes. |
Offset Spatula | Good for dragging broad swirls on top. | Harder to get deep marbling. |
Tips for Defined, Beautiful Swirls
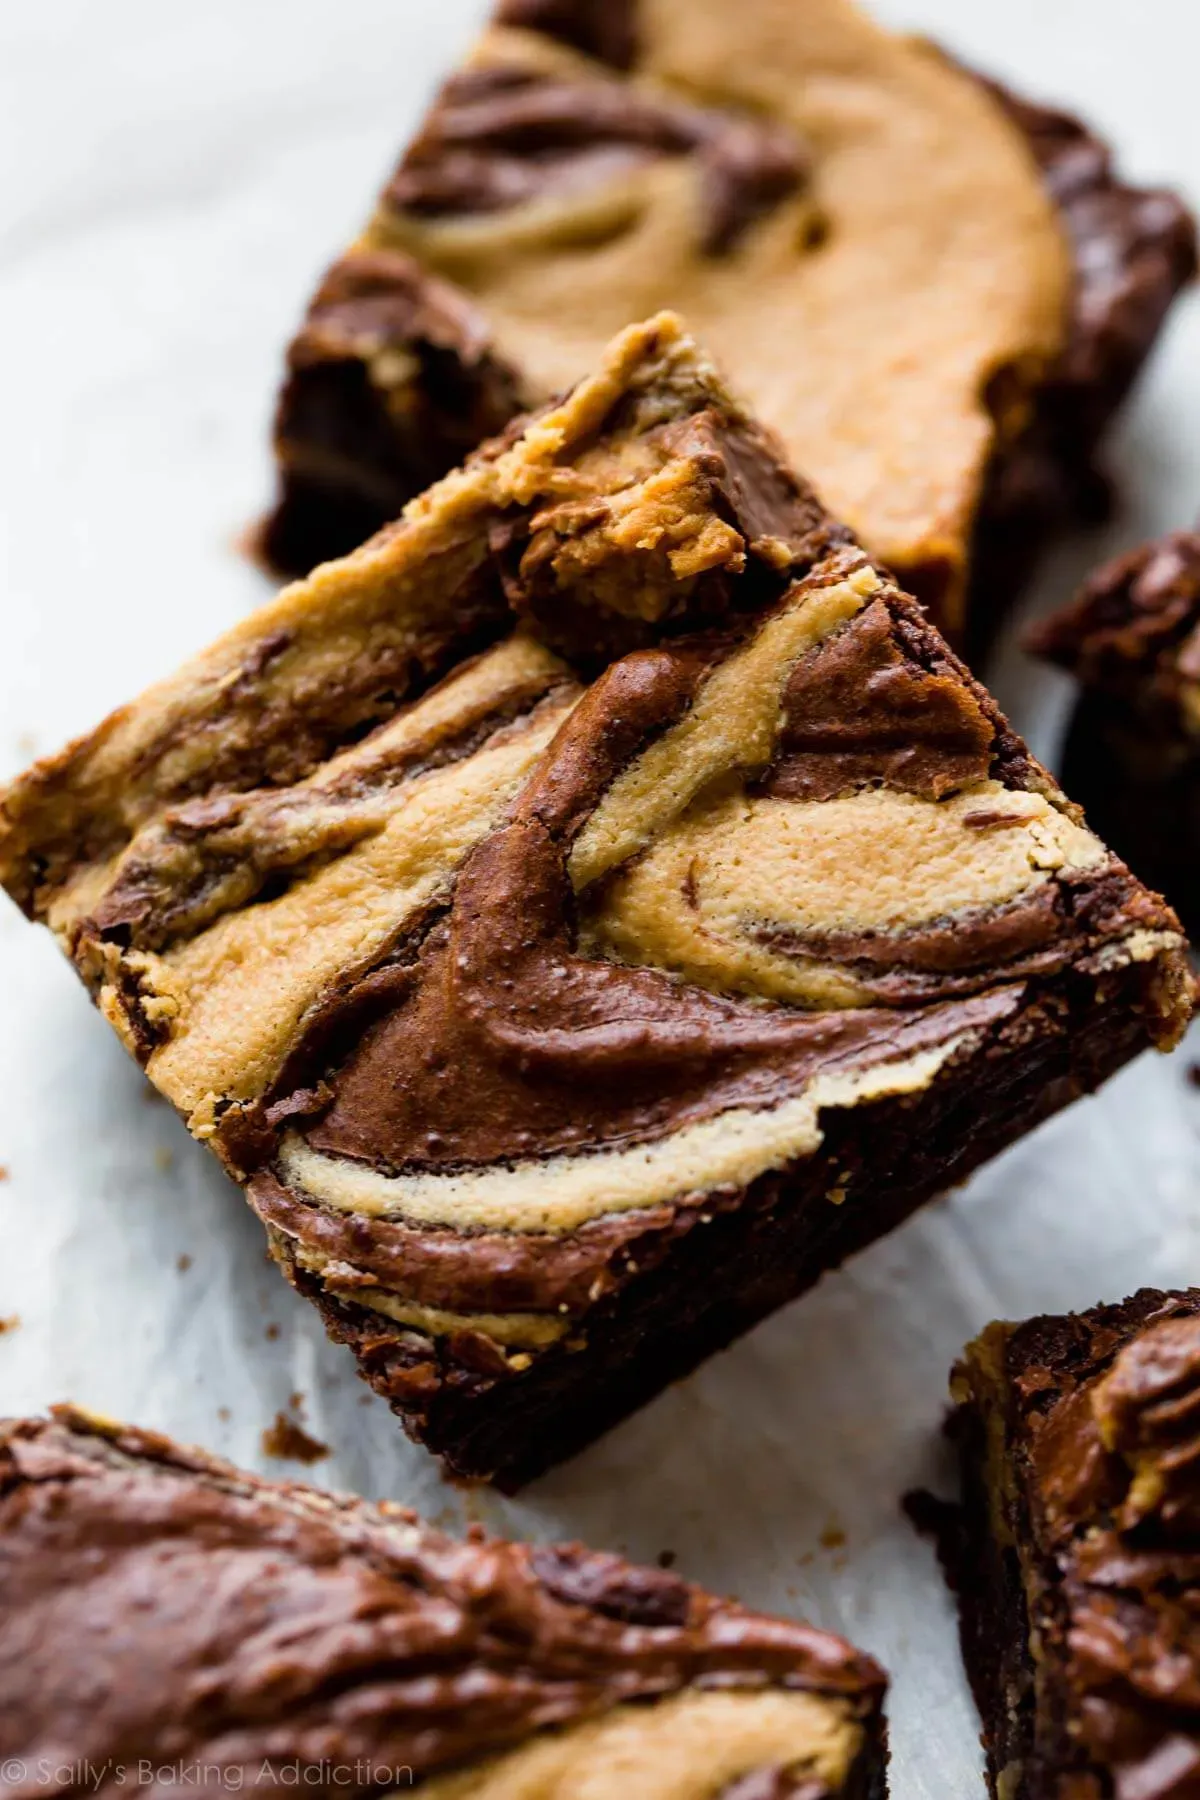
Want those swirls to pop? It's not just about the motion; it's about contrast. Make sure your brownie batter is dark. Using good quality cocoa powder or melted dark chocolate helps achieve a deep, rich base that makes the lighter peanut butter stand out. Also, ensure your warmed peanut butter is still warm when you swirl it; as it cools, it stiffens and becomes harder to work with. If it cools down mid-swirl, give it another quick 5-10 seconds in the microwave. Don't be afraid to leave some areas less swirled than others; a mix of defined lines and larger patches of peanut butter adds visual interest. This careful attention to detail is crucial when learning how to swirl peanut butter in brownies effectively for that bakery-quality look.
Beyond the Basic Swirl: Tips and Tricks
Beyond the Basic Swirl: Tips and Tricks
Taking Your Swirl Game Up a Notch
so you've nailed the basic technique for how to swirl peanut butter in brownies. You're getting defined lines, the peanut butter isn't sinking, and they look pretty darn good. But why stop there? You can elevate your swirl game with a few simple tweaks. Consider adding a sprinkle of flaky sea salt over the peanut butter before swirling; that sweet and salty combo is a classic for a reason. Or, if you used creamy peanut butter, try adding a handful of chopped roasted peanuts *after* swirling but before baking for a textural contrast. You could even mix a little melted chocolate into your warmed peanut butter for a richer, slightly darker swirl that complements the brownie base differently. These small additions can transform a standard peanut butter swirl brownie into something truly memorable.
Troubleshooting Common Swirl Disasters
Even with the right technique for how to swirl peanut butter in brownies, sometimes things go sideways. If your peanut butter disappeared entirely, it was likely too hot and thin when you swirled it, or you overwirled it into oblivion. Cool it down slightly and use fewer, more deliberate passes next time. If it just sat on top in stubborn blobs, it wasn't warm or loose enough; gently reheat it and maybe add a tiny bit more melted butter or oil. Muddy, indistinct swirls usually mean you either overwirled significantly or your peanut butter wasn't distinct enough from your brownie batter in color or consistency. Practice makes perfect, but knowing what went wrong is half the battle.
- Peanut butter too thin/disappeared? Cool it down, swirl less.
- Peanut butter too thick/blobby? Warm it more, add a touch of fat.
- Swirls look muddy? Don't overwirl, ensure good color contrast between batter and peanut butter.
- Peanut butter sank? Could be overwirling or batter too thin.
Swirl Success: The Final Word
So there you have it. Achieving that coveted peanut butter swirl in your brownies isn't some mythical baking feat reserved for pastry chefs. It boils down to understanding the basics: consistency, temperature, and a deliberate hand. You've learned that melted peanut butter isn't your friend here, and that a gentle touch is far more effective than aggressive slashing. The swirls you create now won't just be visible; they'll be integral to the texture and flavor of every square. Go forth and swirl, perhaps experimenting with a sprinkle of flaky sea salt on top before baking for an extra layer of complexity. May your future brownies be perfectly swirled and promptly devoured.