Table of Contents
Let's be honest. Store-bought brownies? Mostly a disappointment. Dry, bland, a pale imitation of the real deal. And those fancy bakery ones? Your wallet weeps. But a truly killer brownie, one that hits that deep chocolate note while wrestling delightfully with salty, creamy peanut butter? That's the stuff of dreams. Maybe you've tried making them before and ended up with something closer to chocolate-flavored concrete. Or perhaps you just stare at recipes online, wondering if it's actually possible to replicate that perfect texture and intense flavor at home without a culinary degree.
Gather Your Gear: Ingredients for Peanut Butter Brownies
Gather Your Gear: Ingredients for Peanut Butter Brownies
Stocking the Brownie Basics
Alright, let's talk ingredients. Before we even think about that glorious peanut butter swirl, you need a solid foundation. You're going to need good quality unsalted butter. Don't skimp here; it makes a difference in flavor and texture. Granulated sugar and brown sugar are next – the mix gives you both sweetness and that crucial chewiness. You'll also need eggs, and please, let them sit out for a bit to come to room temperature. It helps everything emulsify better. Flour, of course, but just all-purpose is fine. And cocoa powder. Use unsweetened natural cocoa powder for a classic chocolate punch. Skip the Dutch-processed unless the recipe specifically calls for it; they react differently with leaveners.
A pinch of salt is non-negotiable; it elevates all the other flavors. Vanilla extract? Absolutely. It rounds things out. That's your core brownie mix. Simple, right? These are pantry staples for most people, so you likely have a head start. Think of this as building the perfect stage for the peanut butter star.
Peanut Butter Power Players
Now for the hero of the swirl: peanut butter. You want creamy peanut butter here, not crunchy. Natural peanut butter can be a bit tricky because the oils separate, sometimes making the swirl less predictable. I usually stick to the no-stir kind for consistency, but if you use natural, make sure it's *really* well mixed before you start. You'll also need a bit more sugar and maybe a tiny splash of milk or melted butter to thin it out just enough to swirl easily without sinking straight to the bottom.
Some recipes add an egg yolk to the peanut butter mix for richness, but I find it's often unnecessary and adds an extra step. Keeping it simple is key. We're aiming for decadent, not complicated. That salty-sweet magic happens when these simple components meet the rich chocolate base.
- Unsalted butter
- Granulated sugar
- Brown sugar
- Large eggs
- All-purpose flour
- Unsweetened cocoa powder
- Salt
- Vanilla extract
- Creamy peanut butter (no-stir recommended)
- Optional: Milk or melted butter for thinning peanut butter
Whipping Up the Chocolate Base

Whipping Up the Chocolate Base
Melting Magic: Butter Meets Chocolate
Alright, your ingredients are standing by. The first move in learning how to make peanut butter chocolate brownies is getting that rich, dark chocolate base just right. Forget creaming butter and sugar like you're making cookies; we're melting things here. Grab your unsalted butter and a decent-sized saucepan. Melt the butter over medium heat. Once it's fully liquid, take it off the heat immediately. You don't want browned butter for this unless you're specifically aiming for a nutty flavor (which we aren't right now, focus!).
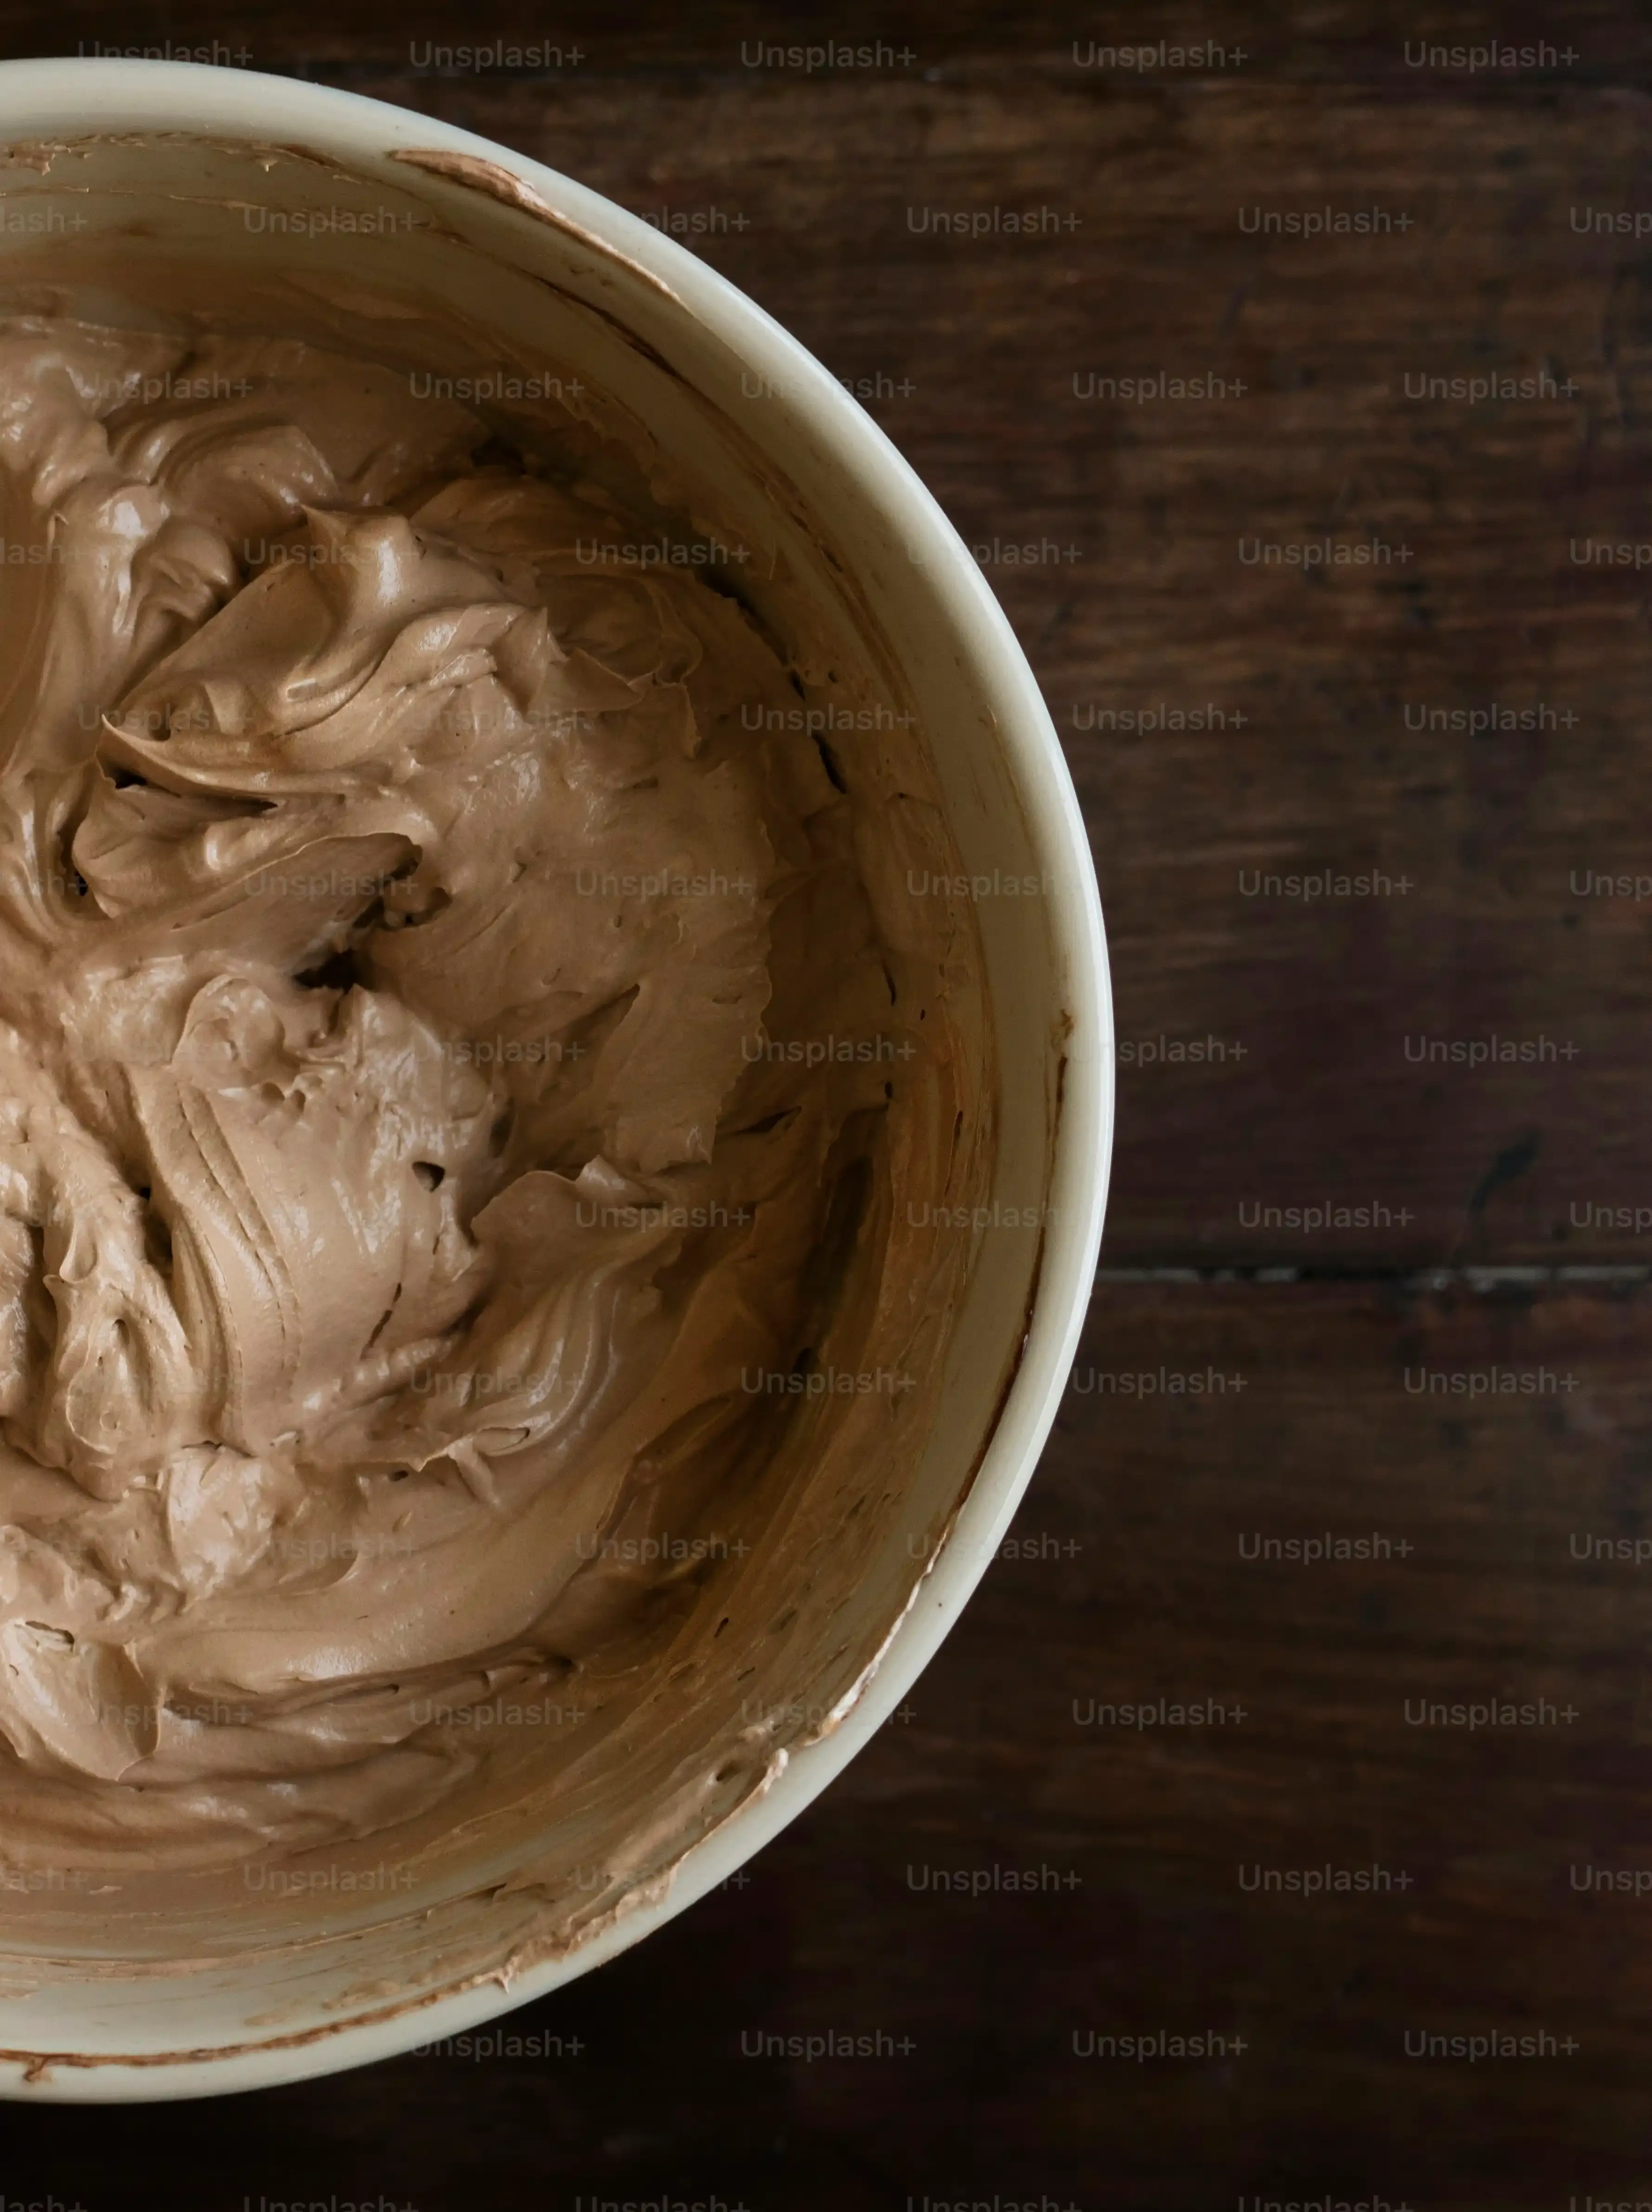
Now, whisk in your sugar – both granulated and brown. Stir it until it's mostly dissolved and the mixture looks glossy. This is where some of that chewy texture starts to develop. Next comes the cocoa powder. Sift it in if you want to be fancy and avoid clumps, but vigorous whisking usually does the trick. Stir until the cocoa is completely incorporated and the mixture is smooth and dark. It should look almost like a thick, glossy syrup. Let this sit for a few minutes to cool slightly while you deal with the eggs.
Bringing It All Together: Wet and Dry
While your chocolate-butter-sugar mix is cooling slightly, whisk your room-temperature eggs and vanilla extract in a separate bowl. Whisk them until they're just combined, not frothy. Adding cool eggs to hot chocolate mix is a recipe for scrambled eggs in your brownies, and nobody wants that culinary tragedy. Once the chocolate mixture has cooled enough that it's warm but not hot to the touch, pour in the egg mixture. Whisk it in until everything is beautifully combined and the batter looks even glossier and slightly thicker.
Finally, it's time for the dry stuff: the flour and salt. Add them to the wet ingredients. Switch from a whisk to a spatula or wooden spoon here. Mix gently until *just* combined. You'll still see a few streaks of flour, and that's okay. Overmixing develops the gluten in the flour, leading to tough, cake-like brownies. We want fudgy, dense perfection, not a sad chocolate sponge. Stop mixing the moment you don't see large pockets of dry flour anymore. Your chocolate base is ready for its peanut butter partner.
- Melt butter gently, off heat.
- Whisk in sugars until glossy.
- Add cocoa, whisk until smooth.
- Cool mixture slightly before adding eggs.
- Whisk in eggs and vanilla until combined.
- Add flour and salt.
- Mix *just* until combined – do not overmix!
Adding the Swirl: How to Make Peanut Butter Chocolate Brownies Swirl
Adding the Swirl: How to Make Peanut Butter Chocolate Brownies Swirl
The Art of the Swirl
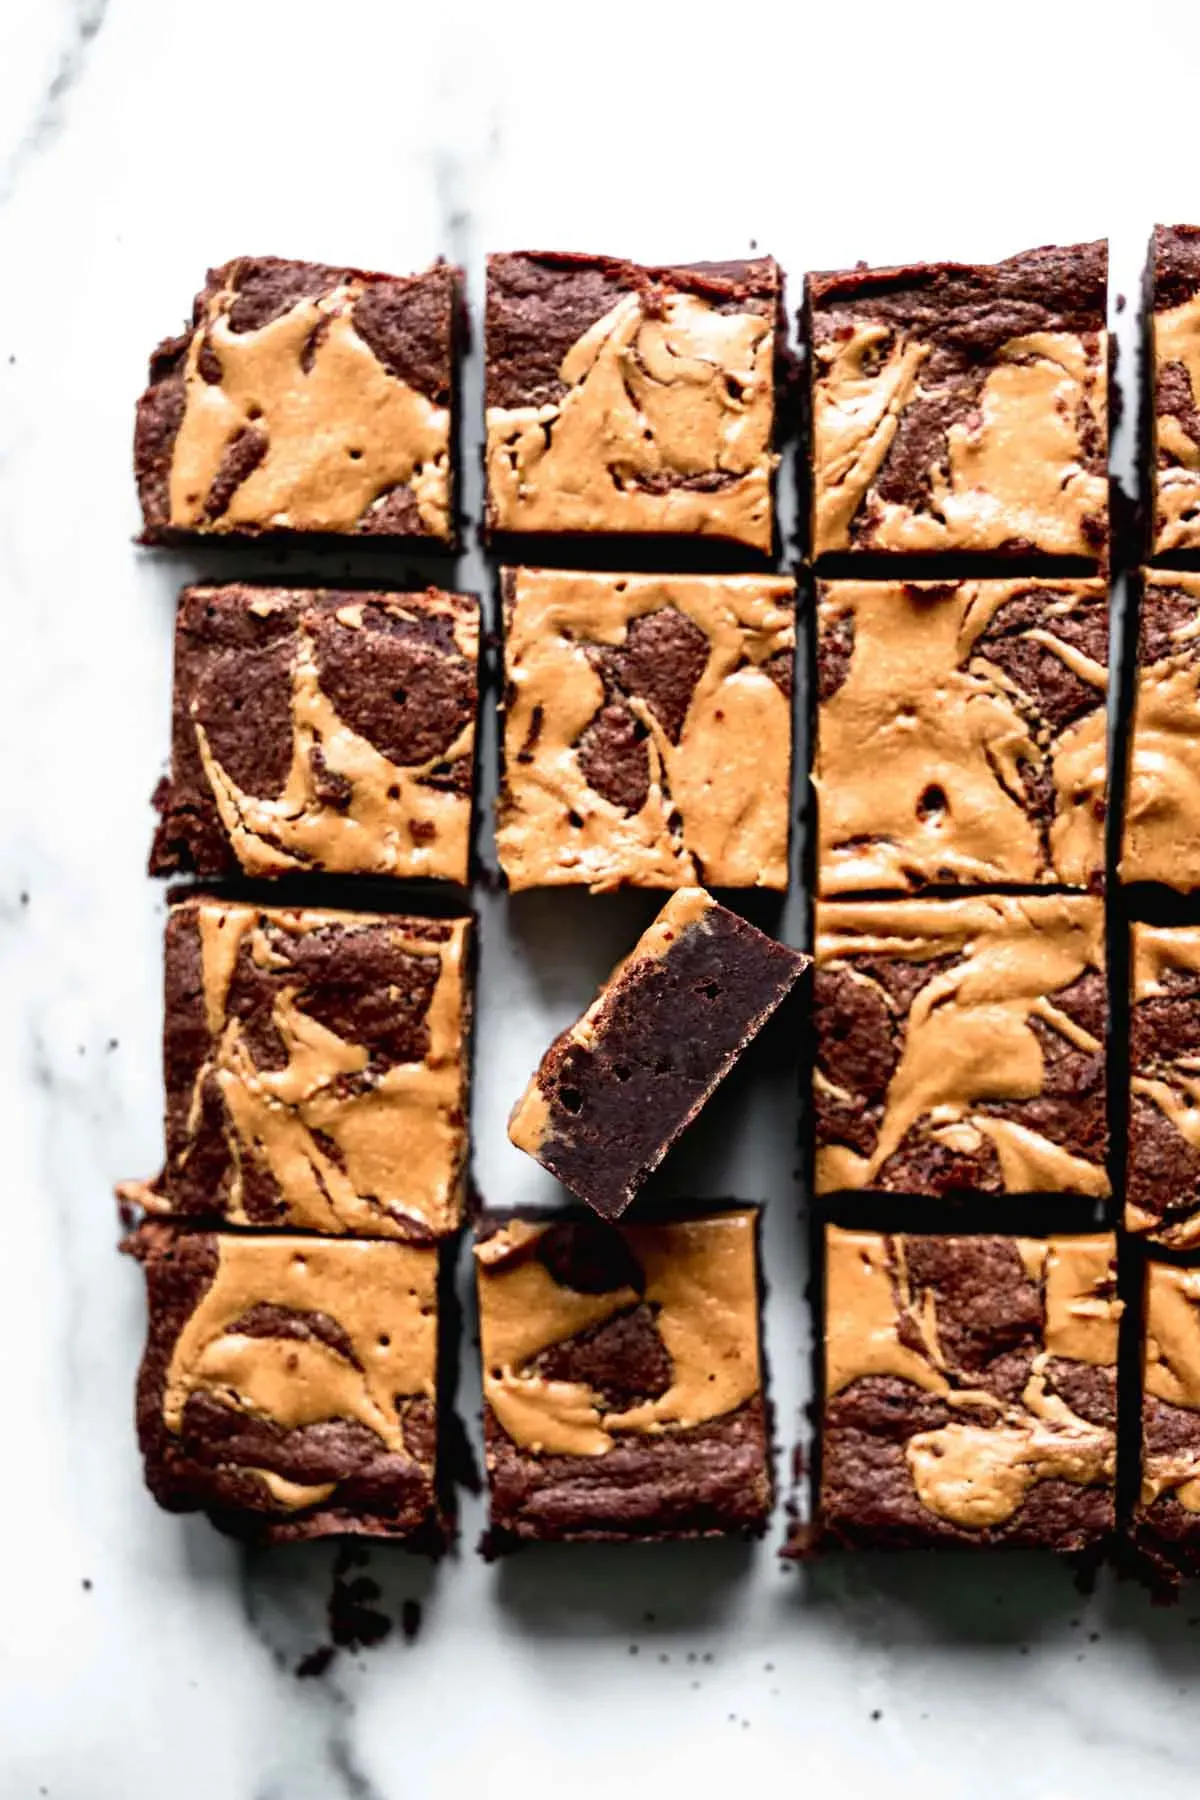
This is where the magic happens, the step that transforms a mere chocolate brownie into a peanut butter chocolate masterpiece. First, get your creamy peanut butter ready. If it's a little stiff, you can microwave it for about 15-20 seconds, or stir in a tiny bit of melted butter or milk – just enough to make it pourable but not runny. You want it to sit on top of the batter, not sink like a stone. Dollop spoonfuls of this thinned peanut butter mixture randomly over the top of your prepared chocolate batter, which should be spread evenly in your pan. Don't be shy, but don't cover every single inch either. We're aiming for swirls, not a solid layer of peanut butter.
Now for the fun part of how to make peanut butter chocolate brownies swirl. Grab a knife or a skewer. Gently drag it through the batter, slicing through the dollops of peanut butter and swirling them into the chocolate. Don't overdo it. Too much swirling turns the beautiful contrast into a muddy mess. About 5-10 passes through the pan is usually enough to create those lovely ribbons and pockets of peanut butter goodness. Resist the urge to keep going; subtle is better than overworked here. You're creating edible art, remember?
Baking, Cooling, and Savoring Your Peanut Butter Chocolate Brownies
Baking, Cooling, and Savoring Your Peanut Butter Chocolate Brownies
Into the Oven: The Crucial Bake
You've swirled, you've preheated, now it's time for the moment of truth: baking these glorious creations. Slide your pan into the preheated oven. The temperature is critical here, usually around 350°F (175°C). Baking time is less about a specific number of minutes and more about observation. It typically falls between 25 and 35 minutes, but ovens vary wildly. You're looking for edges that are set and pulling slightly away from the pan, while the center still looks a little soft and maybe even slightly underbaked. A toothpick inserted into the center should come out with moist crumbs clinging to it, not clean. If it comes out clean, you've gone too far – hello, cakey disappointment.
Don't overbake them. I repeat: do not overbake them. That slightly gooey center is the hallmark of a truly fudgy brownie. Pull them out when they look just about done, because they continue to cook from the residual heat of the pan. This carryover cooking is your friend in achieving that perfect texture. Trust your gut and your eyes more than the clock in this final step of how to make peanut butter chocolate brownies.
The Patience Game: Cooling is Non-Negotiable
I know, I know. The smell filling your kitchen right now is probably making you want to dive face-first into the pan. Resist the urge. Cooling is not a suggestion; it's a requirement for good brownies, especially when learning how to make peanut butter chocolate brownies. If you try to cut them while they're hot, you'll end up with a crumbly, molten mess. The structure needs time to set. Let the pan sit on a wire rack until it's completely cool to the touch. This can take a couple of hours.
Cutting them warm guarantees a ragged edge and a less satisfying texture. Think of it as building anticipation. The longer you wait, the cleaner your cuts will be, and the better the texture will be when you finally bite into one. For the cleanest squares, you can even chill them in the fridge for 30-60 minutes after they've cooled on the counter.
- Cool completely in the pan on a wire rack.
- Do not cut while warm.
- Chill briefly for cleaner cuts if desired.
- Patience is a virtue (and key to good brownies).
The Sweet Reward: Savoring Every Bite
*now* you can cut them. Use a sharp knife, wiping it clean between cuts for those bakery-worthy edges. Slice them into whatever size squares your conscience allows. Small ones for portion control (ha!), or giant slabs because you earned it. Look at those distinct layers and swirls – the dark, intense chocolate base contrasting with the creamy, slightly salty peanut butter ribbons. This is why you went through the effort of how to make peanut butter chocolate brownies yourself.
Serve them as is, maybe with a glass of cold milk. Or, if you're feeling extra indulgent, warm one up slightly and top it with a scoop of vanilla ice cream. The warm brownie melting the cold ice cream, the rich chocolate, the salty peanut butter... it's a multi-sensory experience. These aren't just brownies; they're an event. Enjoy every single bite you worked for.
The Verdict on Your Brownies
So there they are. A pan of dense, fudgy chocolate wrestling with pockets of salty, sweet peanut butter. They probably didn't look exactly like the airbrushed photos you see online – real life baking rarely does. There might be a few crumbs on the counter, maybe a smear of chocolate on your shirt. But crack open that first square. Taste the difference. This isn't just some sad, dry cake pretending to be a brownie. This is the real deal, and you made it happen. Try not to eat the entire pan in one sitting. Good luck with that.