
Table of Contents
Let's be honest. Boxed brownie mix? It's fine. It gets the job done when you need a chocolate fix fast. But "fine" isn't exactly "fantastic," is it?
Transforming Brownie Mix with Peanut Butter Swirls
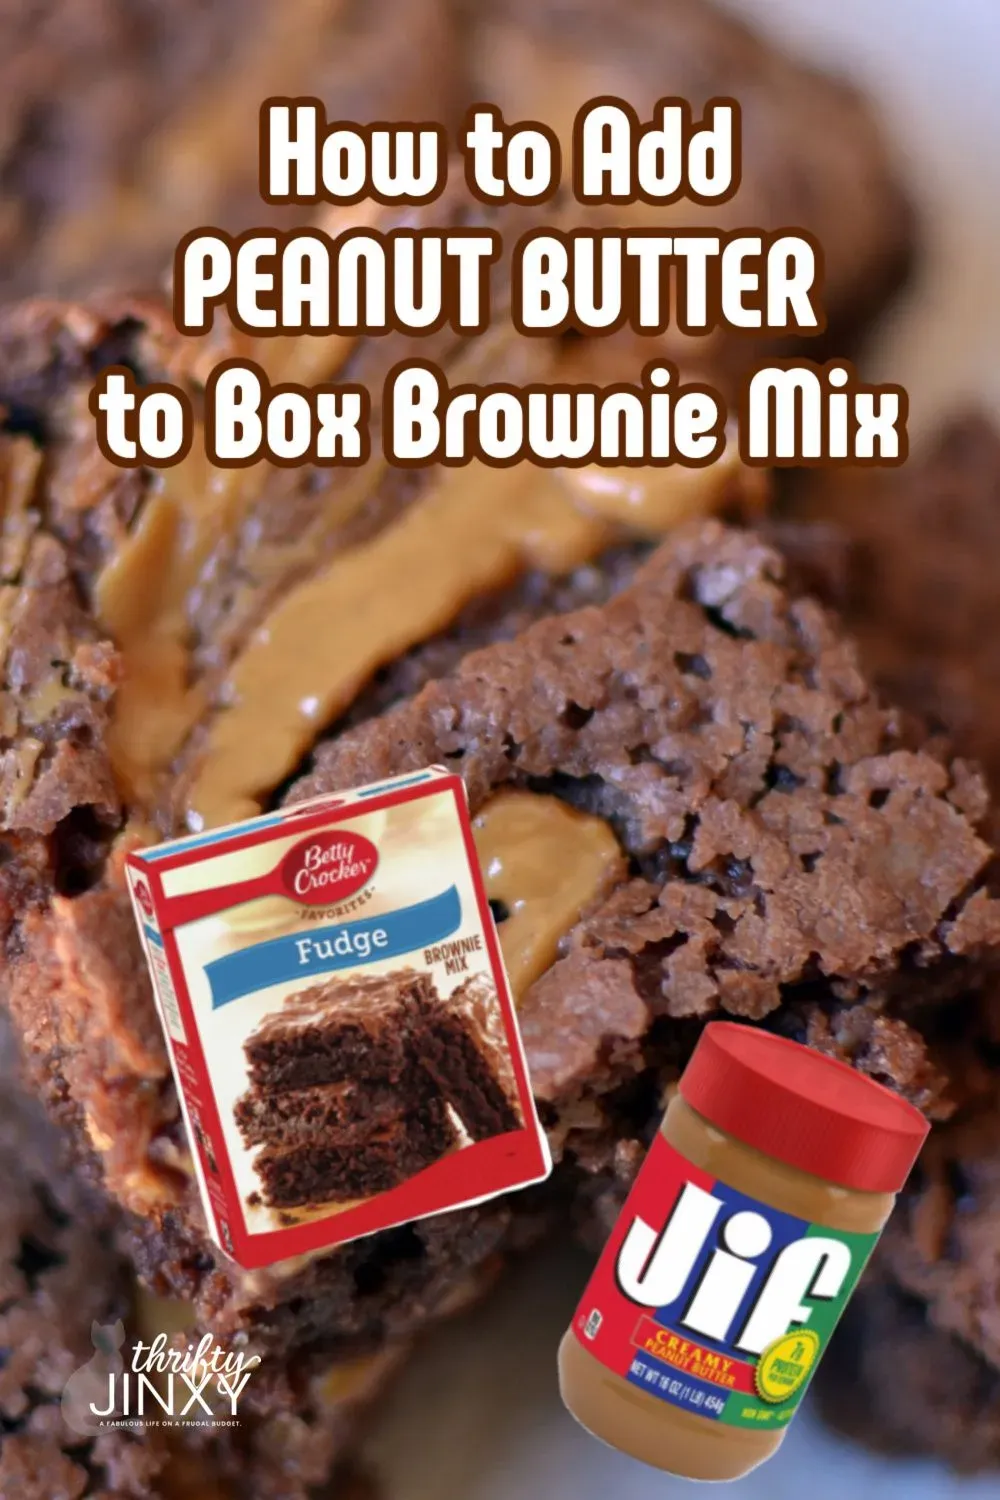
Transforming Brownie Mix with Peanut Butter Swirls
Beyond the Box: Why Bother?
Let's face it, pulling a box of brownie mix off the shelf is about convenience. You get predictable results, usually edible, sometimes even decent. But predictable isn't exciting. It's like ordering plain toast when the menu has French toast with berries and whipped cream. Why settle?
This isn't about ditching the box entirely. It's about giving it a serious glow-up. We're taking that humble foundation and layering in something dynamic, something that cuts through the chocolatey richness with a salty, nutty counterpoint. It's about elevating the ordinary into something memorable with minimal extra effort. Think of it as hacking the system for better brownies.
The Magic of the Swirl
The real trick in **Transforming Brownie Mix with Peanut Butter Swirls** isn't just dumping peanut butter in the batter (please, don't do that; it messes with the texture). It's the swirl. That intentional, slightly messy ribbon of peanut butter woven through the dark chocolate batter creates pockets of intense flavor and a visual appeal that screams "I put more effort into this than I actually did."
This technique ensures you get that distinct peanut butter taste and creamy texture in every bite, without compromising the fudgy integrity of the brownie itself. It’s a simple step that yields disproportionately delicious results, making your standard box mix brownies feel decidedly gourmet.
- Why swirl instead of mix?
- Does the type of peanut butter matter?
- Can I swirl other things?
Choosing the Best Brownie Mix for Peanut Butter Bliss
Choosing the Best Brownie Mix for Peanut Butter Bliss
Alright, so you're convinced the swirl is where it's at. Now, about the base layer. Not all box mixes are created equal when you plan to mess with them. You want a mix that's robust enough to handle the extra fat and moisture from the peanut butter without turning into a greasy, flat mess. Generally, the standard 18.3-ounce boxes are your best bet for **Choosing the Best Brownie Mix for Peanut Butter Bliss**. They're formulated to produce a decent volume of batter, which gives you plenty of surface area for swirling. Avoid those "family size" or smaller 8x8 mixes unless you plan to adjust the peanut butter amount significantly – too little batter means your beautiful swirl just takes over everything. Look for mixes that promise a fudgy texture on the box; they tend to have a higher fat content already, which complements the peanut butter nicely, unlike cakey versions that might just feel heavy.
Mastering the Swirl: How to Add Peanut Butter to Brownie Mix
Mastering the Swirl: How to Add Peanut Butter to Brownie Mix
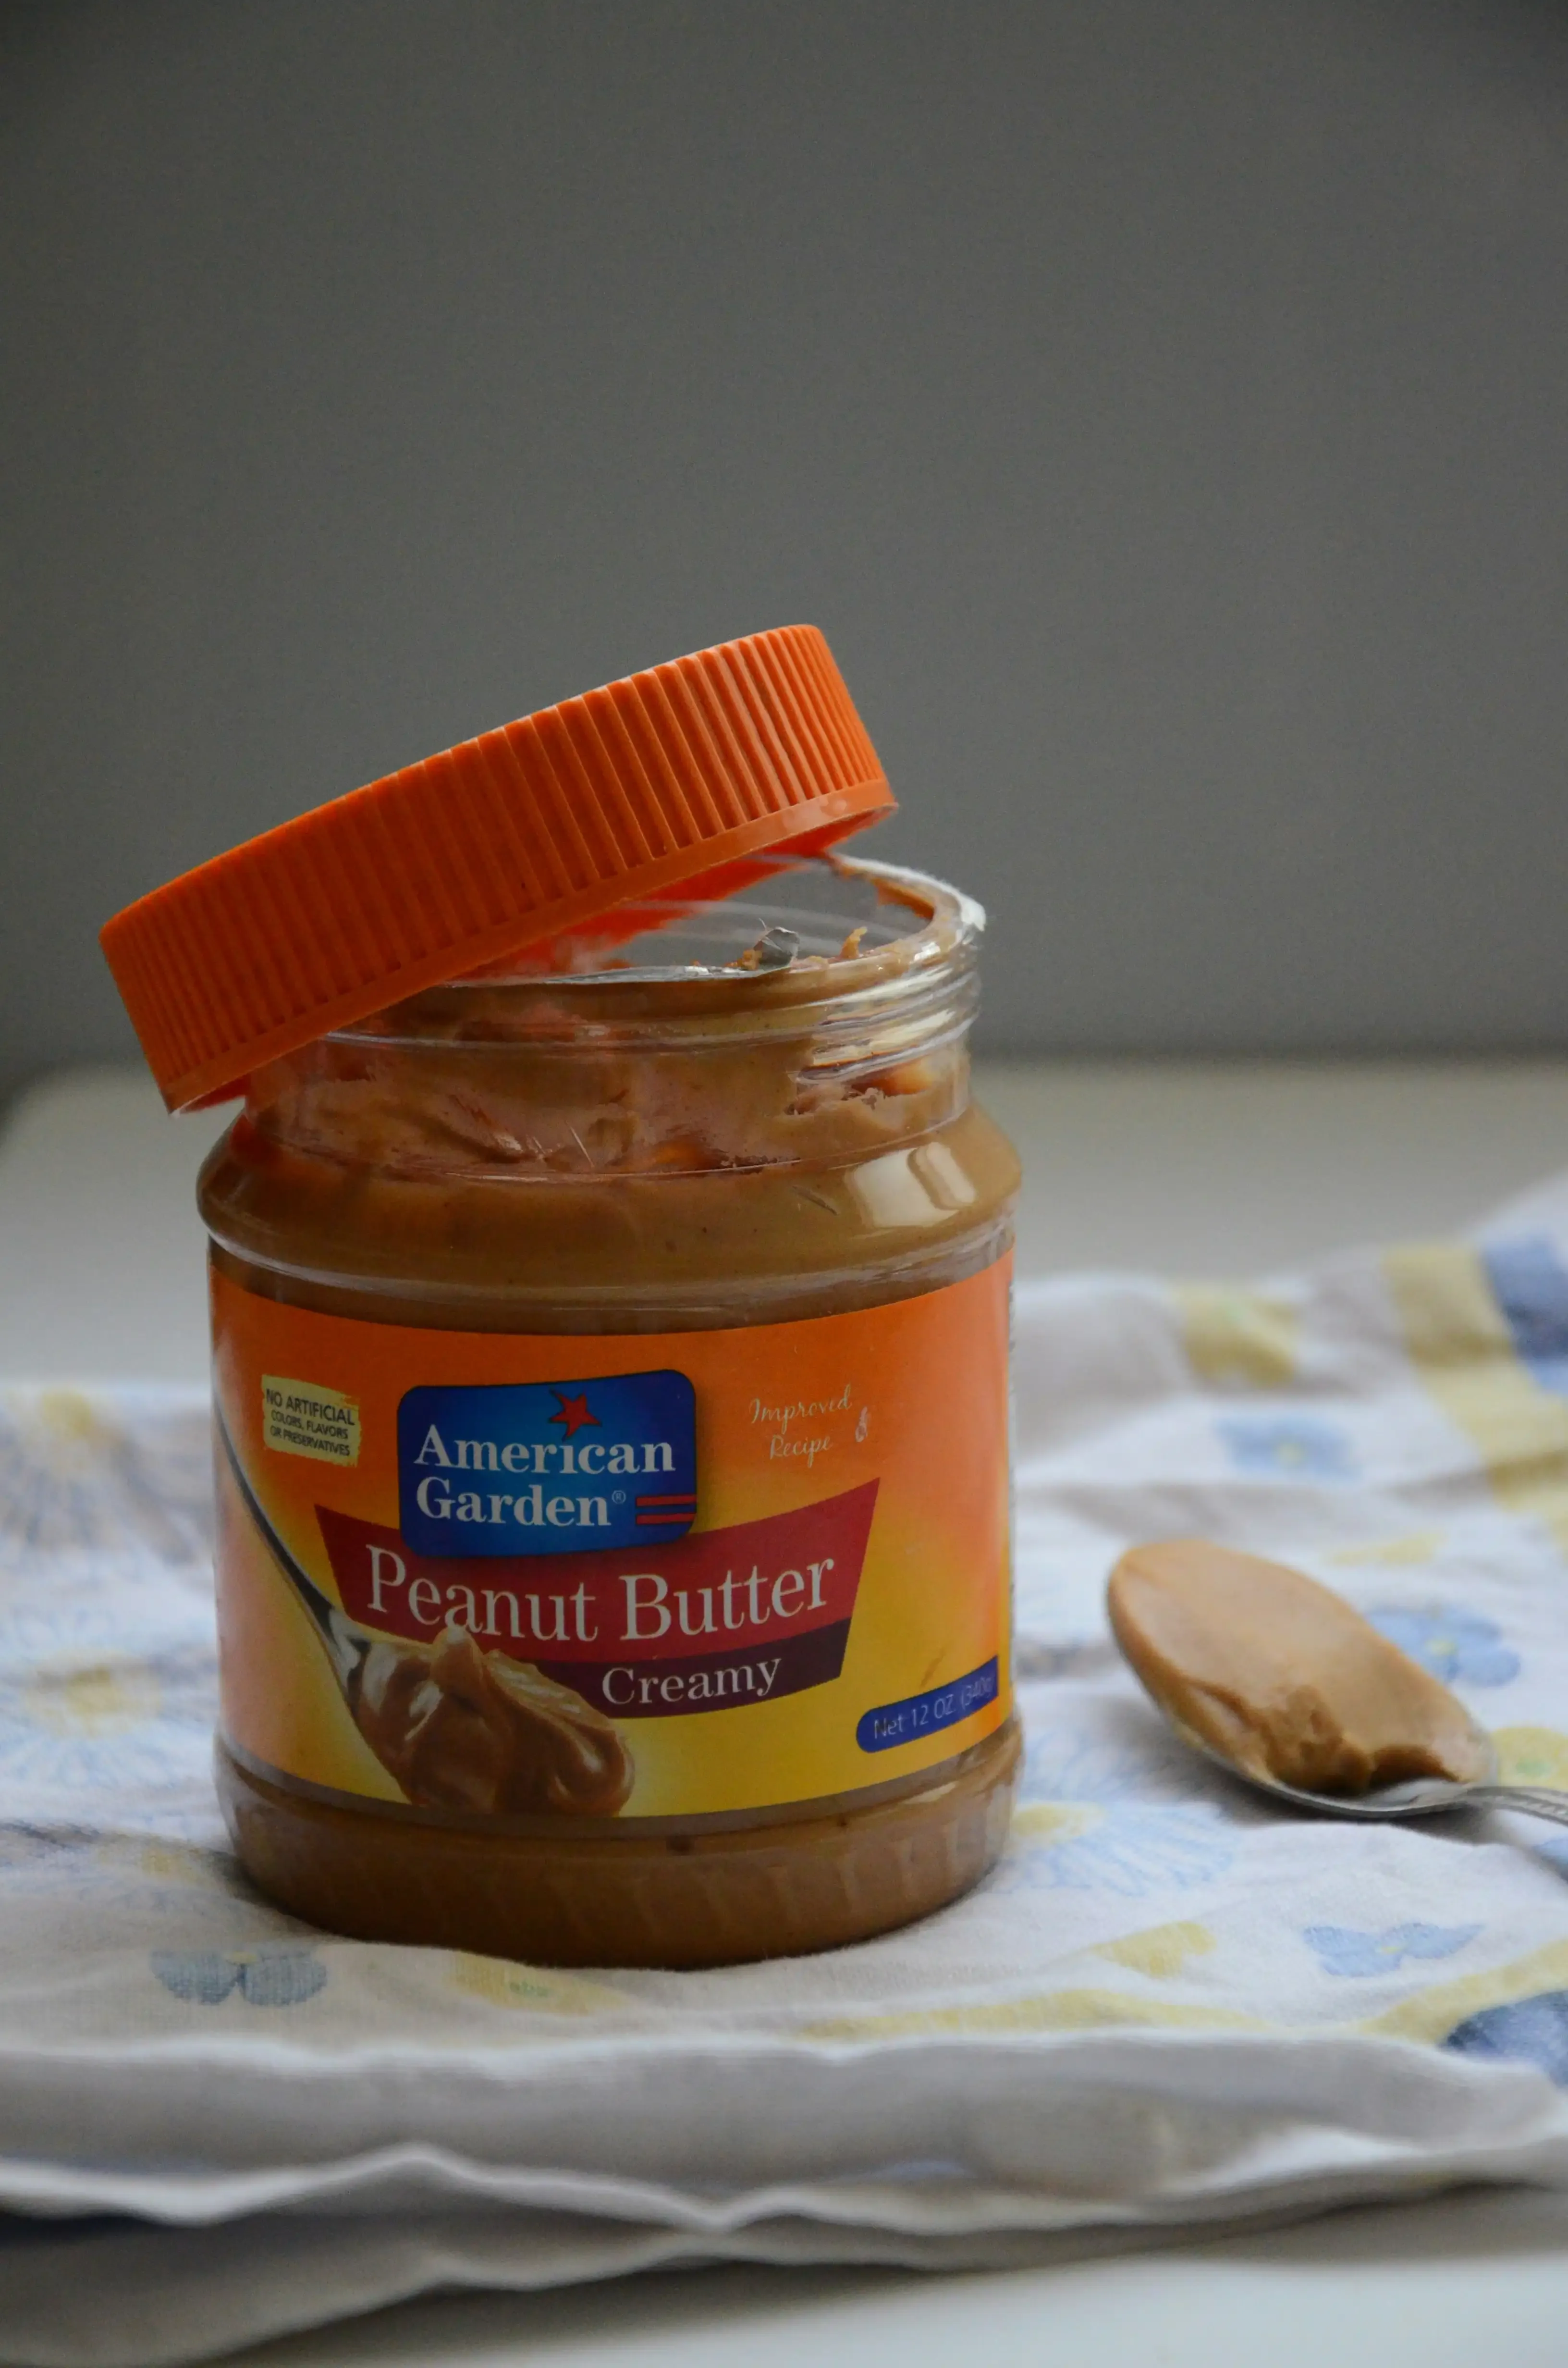
Prepping Your Peanut Butter for the Perfect Ribbon
you've got your brownie mix sorted, batter mixed according to the box (minus any chocolate chips for now, we'll add those later). Now for the star of the show: the peanut butter. Don't just grab it from the fridge and expect magic. Cold, stiff peanut butter is a swirling disaster. You want it smooth and pourable, or at least easily dollop-able. The easiest way to achieve this is a quick zap in the microwave. Take about 1/2 to 2/3 cup of creamy peanut butter (natural or regular, your call, but creamy works best for swirls) and microwave it in a microwave-safe bowl for about 20-30 seconds on high. Give it a stir. It should be runny enough to drizzle or dollop easily. If it's still too thick, give it another 10 seconds. Don't overheat it; you're not trying to cook it, just loosen it up.
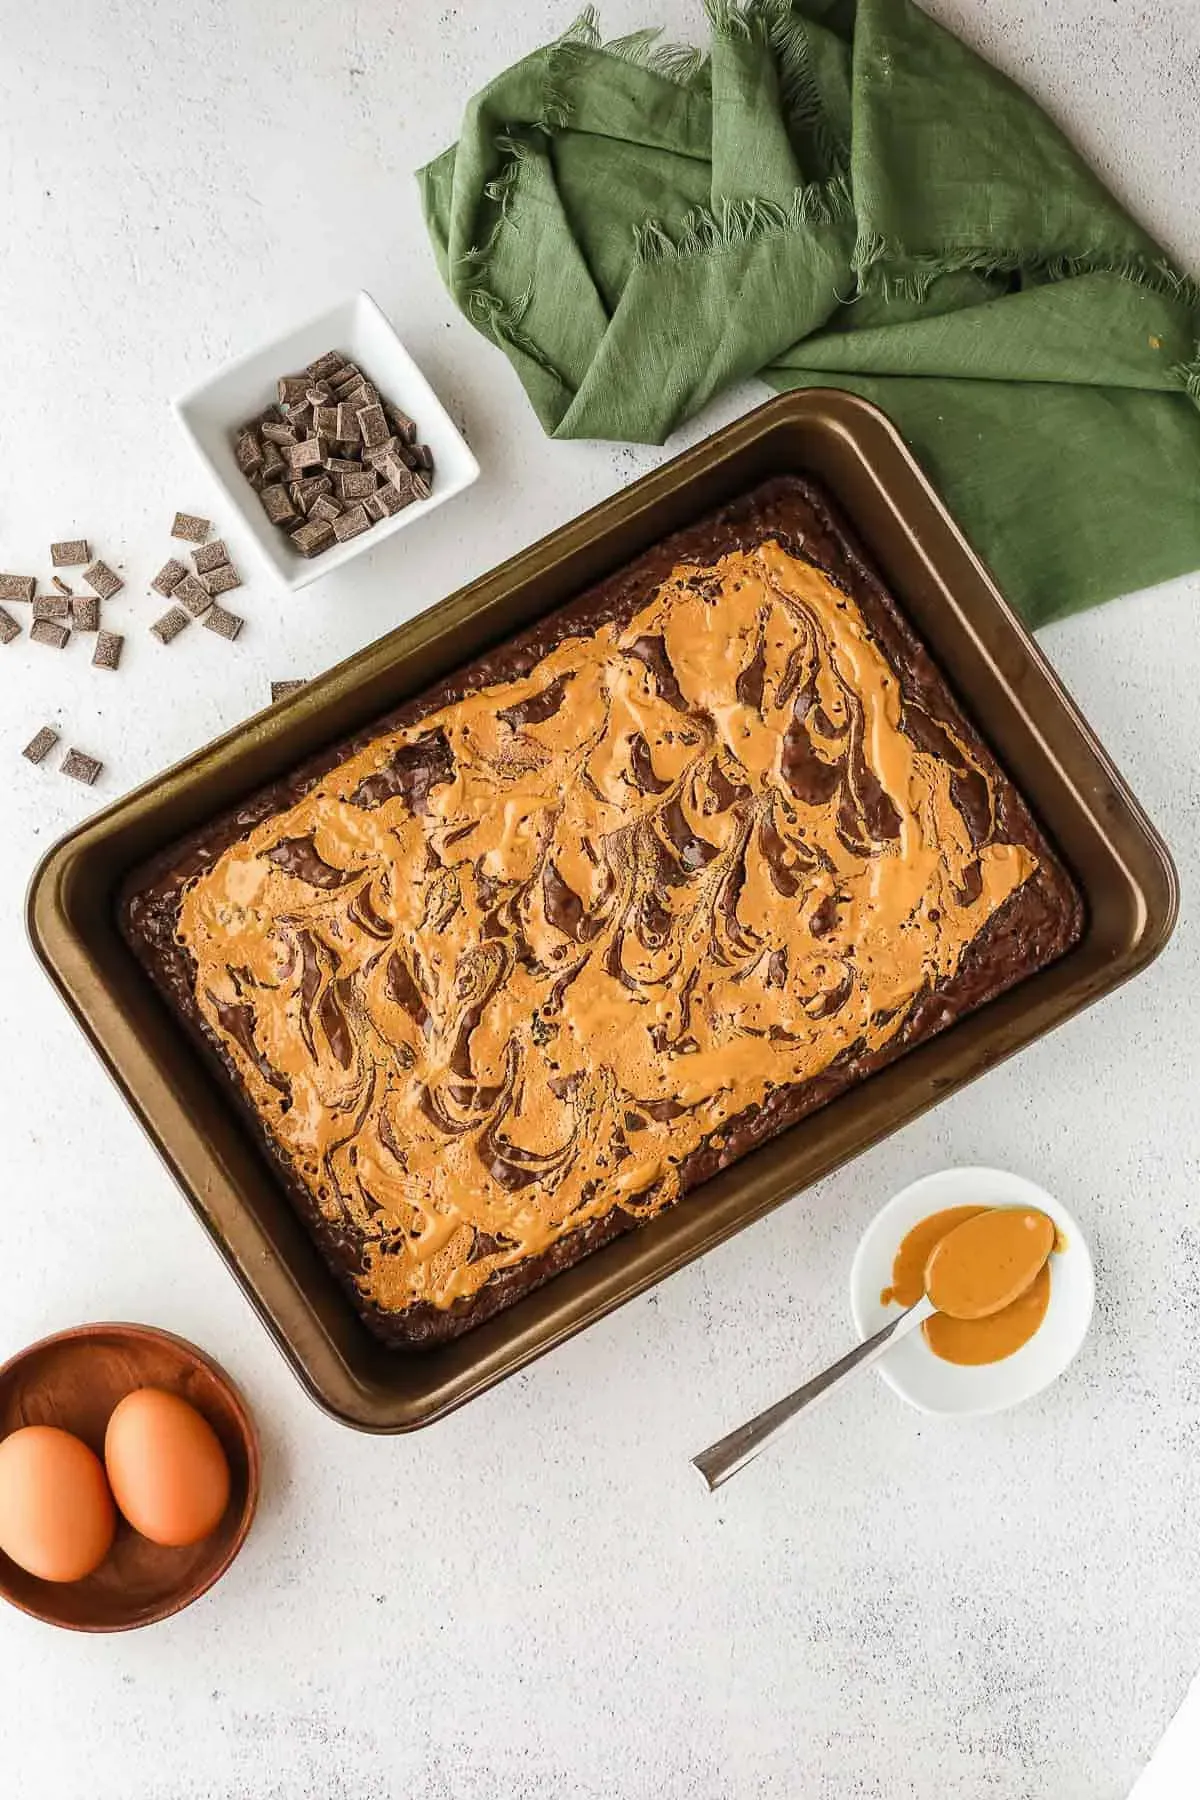
Executing the Swirl: The Art of controlled Chaos
Pour your prepared brownie batter into your greased baking pan. Level it out roughly. Now, take your slightly warmed, smooth peanut butter. You have a couple of options here. You can just dollop spoonfuls randomly over the top of the batter – maybe 8-10 dollops depending on the size of your pan and how much peanut butter you want. Or, if you're feeling fancy, you can drizzle it in lines or circles. The key is to get the peanut butter on top of the batter, not mixed in. Once the peanut butter is on the surface, grab a knife, a skewer, or even a chopstick. Gently drag the tool through the batter and peanut butter, making swirls and figure-eights. Don't overdo it. You want distinct ribbons, not a homogenous tan mess. A few passes are usually enough to get that beautiful marbled effect that makes these brownies look like you spent ages on them.
- Use creamy peanut butter for smoother swirls.
- Warm the peanut butter slightly in the microwave.
- Dollop or drizzle the peanut butter onto the batter surface.
- Swirl gently with a knife or skewer.
- Avoid over-swirling; aim for distinct ribbons.
Baking for That Fudgy Finish
With your beautiful peanut butter swirls in place, it's time to bake. Pop the pan into your preheated oven (usually 350°F, but double-check your specific box mix instructions). The baking time will be similar to what the box recommends, typically 28-35 minutes for a standard 9x13 inch pan. Keep an eye on them. You're looking for the edges to be set and maybe pulling away slightly from the pan. The center should look mostly set but not completely dry. A toothpick inserted into the *chocolate* part of the brownie should come out with moist crumbs attached, maybe even a little fudgy smear, but not wet batter. If it comes out clean, you've likely overbaked, and nobody wants dry brownies. Let them cool in the pan on a wire rack completely before cutting. Warm peanut butter swirls are messy, but cool ones hold their shape beautifully. This patience is crucial for clean slices.
Tips, Tricks, and Variations for Perfect Peanut Butter Brownies
Tips, Tricks, and Variations for Perfect Peanut Butter Brownies
Don't Fear the Fat (But Manage It)
so you've got the swirl down. Now, let's talk fine-tuning. One common issue people run into when figuring out **how to add peanut butter to brownie mix** is ending up with brownies that are either too dry or weirdly greasy. This usually comes down to managing the fat. Box mixes already have a specific fat ratio designed to work with their dry ingredients. When you add peanut butter, you're adding more fat and some moisture. Using creamy, slightly warmed peanut butter is key, as we covered. Don't use natural peanut butter that's separated unless you stir it *really* well first; that oil slick on top will throw everything off. Also, resist the urge to add extra oil or butter to the brownie batter itself beyond what the box calls for. The peanut butter is your added richness.
Another quick tip? Make sure your oven temperature is accurate. Too hot and the edges burn before the center cooks; too cool and they can spread too much and get greasy. An oven thermometer is a cheap tool that saves a lot of heartache (and wasted brownies).
Level Up with Add-Ins and Different Butters
Once you've mastered the basic peanut butter swirl, why stop there? The beauty of using a mix is you have a reliable base to experiment with. Chocolate chips are a no-brainer – toss about a half cup into the brownie batter before you pour it into the pan. Peanut butter chips? Even better for a double dose of nutty flavor. White chocolate chips can also provide a nice contrast. Don't limit yourself to just peanut butter either. While peanut butter is the classic for a reason, almond butter or even cashew butter can create interesting flavor profiles, though their textures might require slight adjustments to the warming time.
Consider adding flaky sea salt on top of the finished swirls before baking. That little sprinkle of salt enhances both the chocolate and the peanut butter flavors dramatically. It's a simple trick that makes a big difference.
- Add chocolate or peanut butter chips to the batter.
- Sprinkle flaky sea salt over the swirls before baking.
- Experiment with almond or cashew butter for variations.
- Stir in chopped peanuts for crunch.
Cooling is Not Optional
I know, I know. The smell of warm peanut butter swirled brownies fresh from the oven is intoxicating. You want to dive in immediately. But cutting into hot brownies, especially ones with gooey swirls, is a recipe for a crumbly, messy disaster. They need time to set up. Let them cool in the pan on a wire rack for at least an hour, preferably two, or until the pan is cool to the touch. For the cleanest cuts, some people even pop the cooled brownies in the fridge for 30 minutes before slicing. Use a sharp knife and wipe it clean between cuts.
Store any leftovers (if there are any, which is a big "if") in an airtight container at room temperature. They usually stay good for 3-4 days, though the texture might change slightly over time. If you want to store them longer, they freeze well. Just wrap individual brownies tightly in plastic wrap and then foil, and stick them in the freezer for up to 3 months. Thaw at room temperature.
Boxed Brownies, Amplified
So there you have it. Taking a simple box of brownie mix and giving it the peanut butter treatment isn't brain surgery. It's a straightforward way to make something good even better. You've got the tools now: pick a solid mix, warm that peanut butter just right, and get swirling. The result? Brownies that actually make people ask, "Wait, you made these from a box?" And you can just smile and say, "Yeah, but I gave them a little help."