Table of Contents
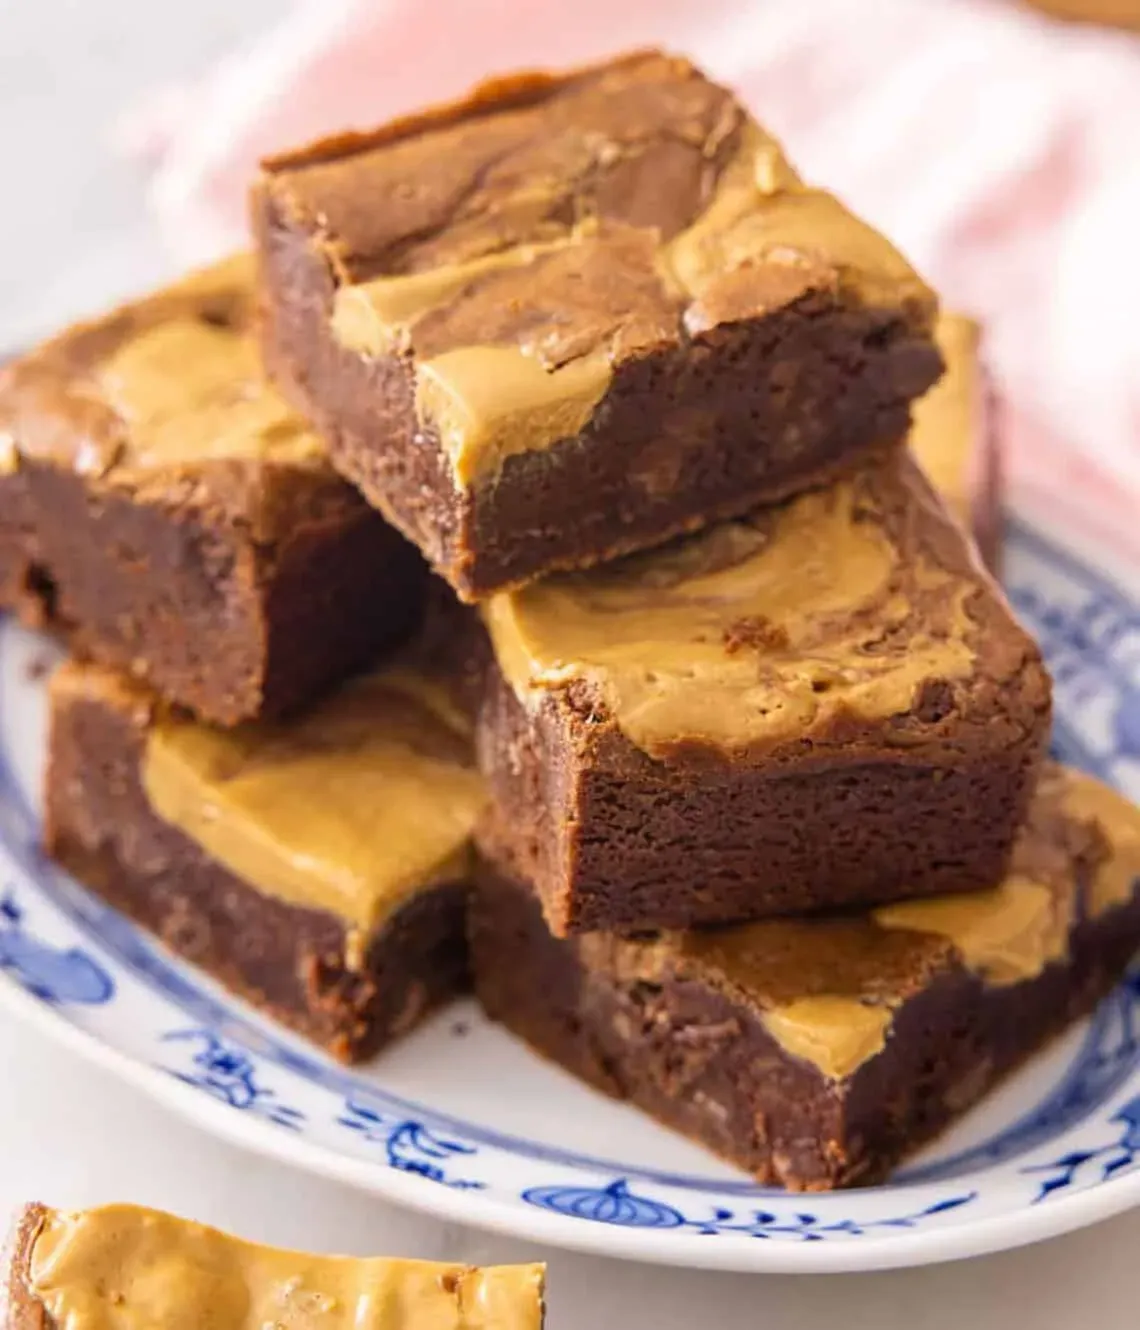
Let's be honest. Sometimes a regular chocolate brownie just doesn't cut it. You're craving something extra, something that hits that sweet and salty spot, something that makes you slightly question your life choices in the best possible way. That's where the peanut butter swirl comes in. It elevates a simple brownie from "pretty good" to "hide the pan from your family" territory.
Gather Your Gear: What You Need to Make Peanut Butter Brownies
Gather Your Gear: What You Need to Make Peanut Butter Brownies
Stocking the Brownie Base
Alright, before we even think about swirling, you need a solid foundation. That means gathering your standard brownie players. Don't skimp on the chocolate here. Using good quality unsweetened or semi-sweet chocolate, melted down with some unsalted butter, makes a world of difference compared to just cocoa powder. You'll also need sugar, a couple of eggs to bind it all together, some all-purpose flour – not too much, we want fudgy, not cakey – a splash of vanilla extract for warmth, and a pinch of salt to balance the sweetness.
Beyond the ingredients, grab your mixing bowls – one for melting chocolate and butter, another for whisking in the wet stuff. A sturdy whisk is your best friend for getting everything smooth. And you'll definitely need a baking pan. An 8x8 inch square pan is classic for thicker brownies, but a 9x13 inch works if you want more surface area for swirling (and slightly thinner brownies). Line it with parchment paper, leaving some overhang; trust me, it makes getting the finished brownies out a million times easier.
Prepping for the Peanut Butter Swirl
Now for the star of the show, the peanut butter layer. You'll need creamy peanut butter. Natural, drippy stuff works, but sometimes a slightly more stable, conventional creamy peanut butter swirls a bit cleaner. Read the label; just peanuts and salt is fine, maybe a touch of sugar. If you want a smoother, more pourable swirl that doesn't sink straight to the bottom, you might melt it gently with a tiny bit of butter or even a spoonful of sugar or powdered sugar to thicken it slightly.
You won't need much extra gear for the swirl itself. A small microwave-safe bowl or a tiny saucepan to gently warm the peanut butter if you choose to melt it is handy. And for the actual swirling part? A butter knife, a skewer, or even a chopstick works perfectly. No fancy tools required. Just something to drag through the batter to create those beautiful patterns.
Here's a quick checklist:
- Unsweetened or Semi-Sweet Chocolate (good quality!)
- Unsalted Butter
- Granulated Sugar
- Eggs
- All-Purpose Flour
- Vanilla Extract
- Salt
- Creamy Peanut Butter
- Mixing Bowls (at least two)
- Whisk
- Spatula or Wooden Spoon
- 8x8 or 9x13 inch Baking Pan
- Parchment Paper
- Small bowl or saucepan (optional, for melting PB)
- Butter knife, skewer, or chopstick (for swirling)
Mixing Magic: The Basic Steps for How Do You Make Peanut Butter Brownies
Mixing Magic: The Basic Steps for How Do You Make Peanut Butter Brownies
Getting the Base Batter Right
you have your ingredients lined up. First order of business: melting the chocolate and butter. Do this gently over a double boiler or in the microwave in short bursts, stirring between each one. You don't want to scorch that good chocolate. Once it's smooth and glossy, set it aside for a minute to cool slightly. While that's happening, grab your other bowl and whisk together the sugar and eggs. Beat them until the mixture lightens in color and gets a little thick. This adds structure and that slightly chewy edge we all love in a good brownie.
Now, pour the slightly cooled chocolate-butter mixture into the sugar-egg mix. Stir until it's just combined. Don't go crazy here; you're not making meringue. Add the vanilla extract and give it another gentle stir. This wet base is where the magic starts for how do you make peanut butter brownies. It needs to be rich and flavorful before anything else joins the party.
Incorporating the Dry Stuff
Time to bring in the flour and salt. Add these dry ingredients to your wet mixture. Now, this is crucial: mix only until you see no dry streaks of flour remaining. Stop right there. Overmixing develops the gluten in the flour, turning your potentially fudgy brownies into something closer to a cake or, worse, a brick. A few gentle folds with a spatula are usually enough. The batter should look thick and slightly lumpy, not smooth like cake batter. This is the secret to that dense, fudgy texture you're aiming for.
You've probably heard it a thousand times, but it bears repeating: less is more when mixing in the flour for brownies. Think of it as just persuading the flour to join the party, not forcing it into submission. You want just enough mixing to hydrate the flour and bring the batter together. Anything beyond that is just asking for trouble and a less-than-ideal brownie texture.
Common Mixing Pitfalls to Avoid:
- Overheating chocolate/butter: Results in a grainy or burnt mess.
- Not beating sugar and eggs enough: Misses out on crucial structure and chewiness.
- Adding hot chocolate mixture to eggs: Scrambled eggs in your brownies? No thanks.
- Overmixing after adding flour: Hello, dry, tough brownies.
- Ignoring the salt: Brownies need that little salty kick to balance the sweetness.
Adding the Swirl: Mastering the Peanut Butter Layer
Adding the Swirl: Mastering the Peanut Butter Layer
Getting the Peanut Butter Ready
you've got your gorgeous, fudgy brownie batter waiting in the pan. Now for the fun part: the peanut butter. As we talked about, creamy is usually the way to go here. If your peanut butter is straight from the fridge and feels like concrete, you'll have a tough time swirling it. Give it a little warm-up. A few seconds in the microwave or a gentle stir in a small pan over low heat does the trick. You want it softened, maybe slightly runny, but not piping hot or completely liquid. Think "easily pourable" rather than "soup."
Some folks like to add a tiny bit of powdered sugar or even a half-teaspoon of oil to their peanut butter at this stage. This isn't strictly necessary, but it can help keep the peanut butter from sinking too much into the brownie batter while baking and gives it a smoother texture for swirling. Just a little tweak if you want to experiment with getting a really distinct swirl.
Dolloping the Gold
Now, grab your warmed peanut butter. Don't just pour it all over like you're making a PB&J. The goal is distinct pockets of peanut butter goodness. Take spoonfuls and dollop them randomly over the top of the brownie batter in the pan. Leave some gaps of plain brownie batter showing. You want a good distribution, but not so much peanut butter that it overwhelms the chocolate.
How much peanut butter? That's a matter of personal preference, but a good starting point is usually around half a cup to a full cup, depending on the size of your pan and how peanut-buttery you want things. Just dollop away, aiming for spoonfuls about the size of a silver dollar spread across the surface.
Things to consider when dolloping:
- Use softened peanut butter for easier dolloping.
- Dollop spoonfuls, don't pour a solid layer.
- Leave space between dollops of peanut butter.
- Aim for even distribution across the pan.
- Don't be afraid to experiment with the amount in future batches.
Creating the Swirls
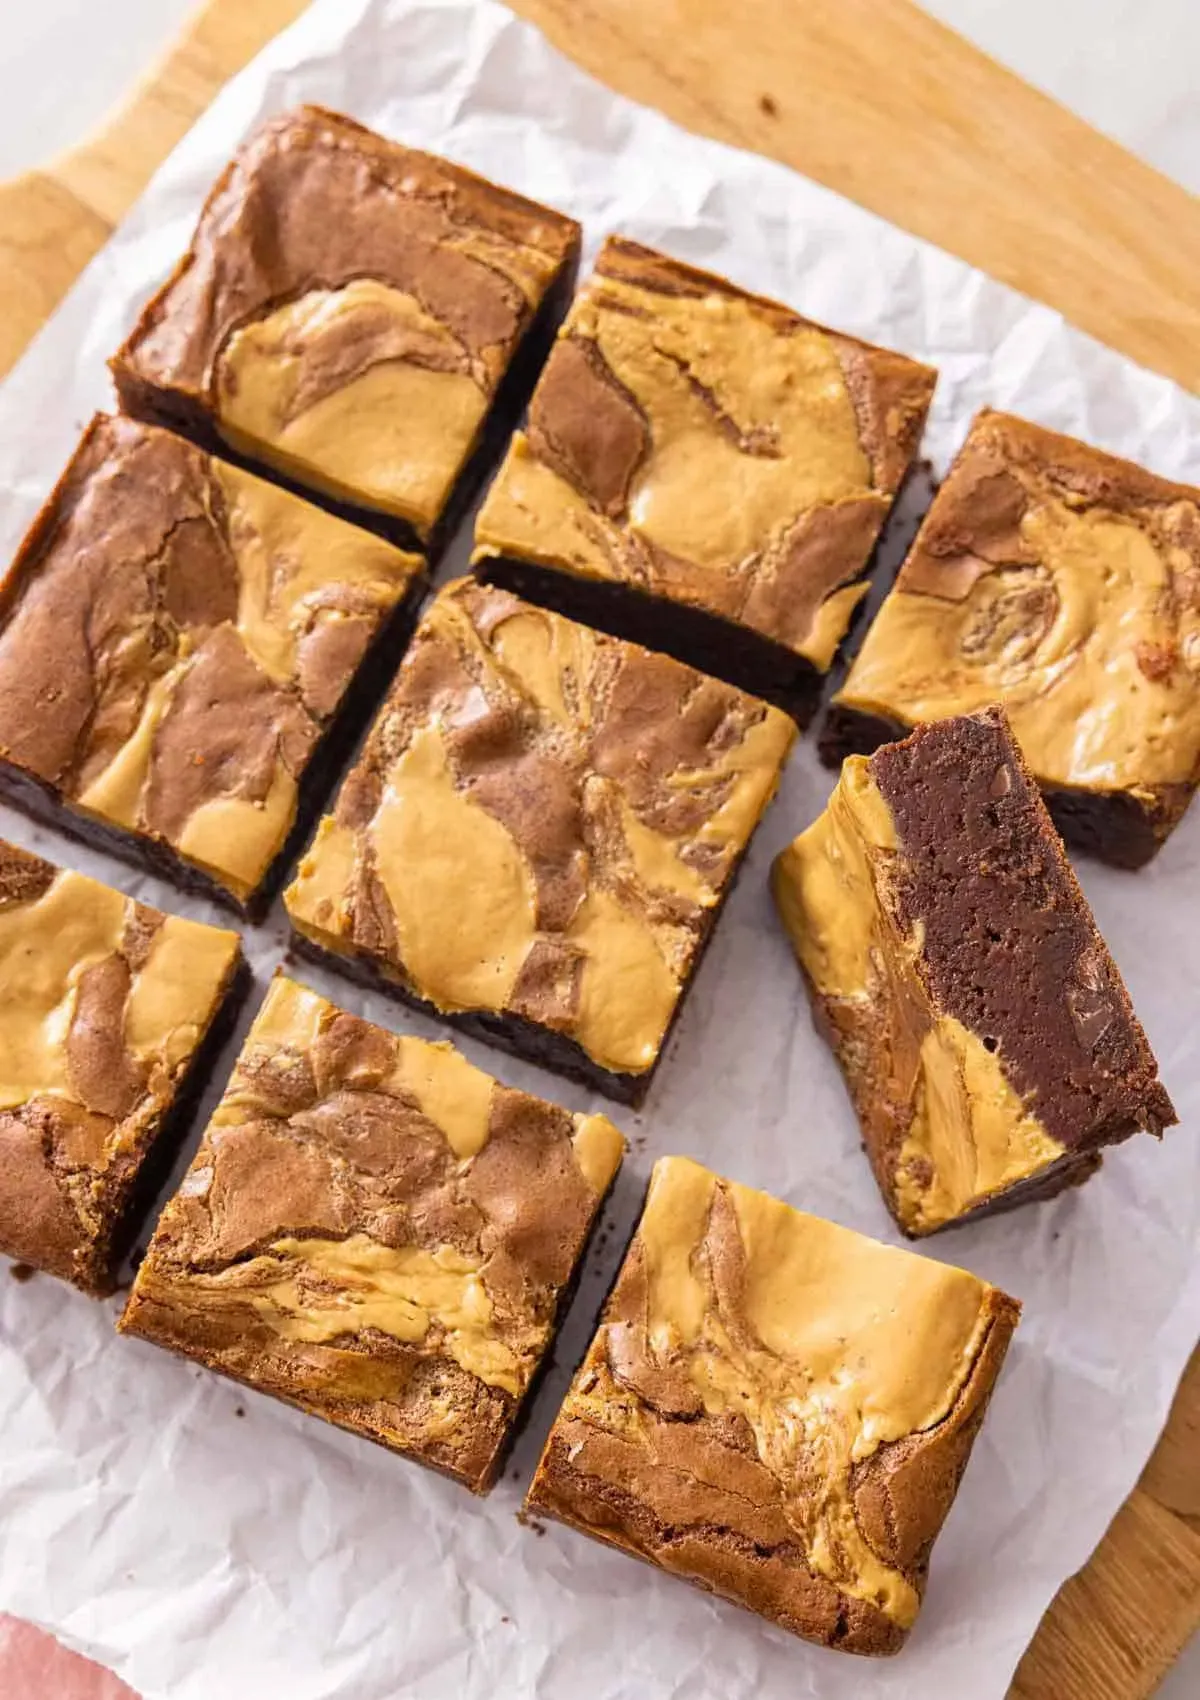
Here’s where the artistry comes in, though calling it "artistry" feels a bit grand for dragging a stick through batter. Grab your butter knife, skewer, or chopstick. Insert the tip into the batter, going maybe halfway to the bottom of the pan. Now, gently drag it through the batter and the peanut butter dollops in a swirling motion. Don't overmix! The key is just a few passes to marble the two layers together. You want to see distinct streaks of chocolate and peanut butter, not a uniform, muddy color.
Think "figure eights" or random zigzags. Lift the tool occasionally as you swirl to break the pattern and create different shapes. Stop when you're happy with how it looks. Seriously, stop. Over-swirling is a common mistake that eliminates those beautiful, defined layers. A few swirls are better than twenty. You're just coaxing the two elements to mingle slightly, not blend completely.
Baking and Beyond: Tips for Perfect Peanut Butter Brownies
Baking and Beyond: Tips for Perfect Peanut Butter Brownies
Into the Oven and Out Again
Alright, your beautifully swirled peanut butter brownie batter is sitting pretty in the pan. Now comes the heat. Preheat your oven to 350°F (175°C). Consistency is key here, so maybe double-check your oven temperature if you suspect it runs hot or cold. Slide the pan into the preheated oven. Baking time is the tricky part and varies wildly depending on your oven, the pan material, and how fudgy you like your brownies. A good starting point for an 8x8 pan is usually 25-35 minutes. For a 9x13, it might be closer to 20-30 minutes. You're looking for the edges to be set and slightly pulled away from the sides of the pan, but the center should still look a little soft and maybe even a tiny bit wobbly. A toothpick inserted near the center should come out with moist crumbs attached, not completely clean like a cake, and definitely not with wet batter. This tells you how do you make peanut butter brownies that are fudgy, not dry.
Mission Accomplished: Your Peanut Butter Brownies Await
So there you have it. The mystery of how do you make peanut butter brownies is officially solved. See? It wasn't some dark art or complicated science experiment. Just a bit of mixing, a swirl that looks fancier than it is, and some time in a hot box. You've transformed simple ingredients into something pretty spectacular – fudgy, rich, and with that unmistakable peanut butter counterpoint. Now comes the best part: letting them cool (if you have the willpower, which, let's be real, is debatable) and then digging in. Try not to eat the whole pan in one sitting. Or do. We're not judging.