
Table of Contents
Let's be honest, a plain chocolate brownie is fine. It does the job. But sometimes, "fine" just doesn't cut it, does it? You crave something a little extra, a twist on the classic that makes people stop and ask, " what IS that?" That's where the magic happens. Adding peanut butter isn't just a tweak; it's an upgrade. It introduces that salty, nutty counterpoint to the deep, dark chocolate, creating a swirl of flavor that's frankly addictive.
Gather Your Ingredients: What You Need to Make Peanut Butter Brownies
Gather Your Ingredients: What You Need to Make Peanut Butter Brownies
The Foundation: Butter, Sugar, and Eggs
Alright, let's get down to brass tacks. You want fudgy brownies, not cakey ones. That starts with the right base. We're talking unsalted butter, melted. Melting it helps create that dense, chewy texture we're after. Don't skimp on the sugar – a mix of granulated and brown sugar gives you both sweetness and moisture. Eggs? You'll need a few. They bind everything together and contribute to that rich texture. Make sure they're at room temperature; it helps them incorporate better into the batter, leading to a smoother result. Nobody wants scrambled egg bits in their brownies.
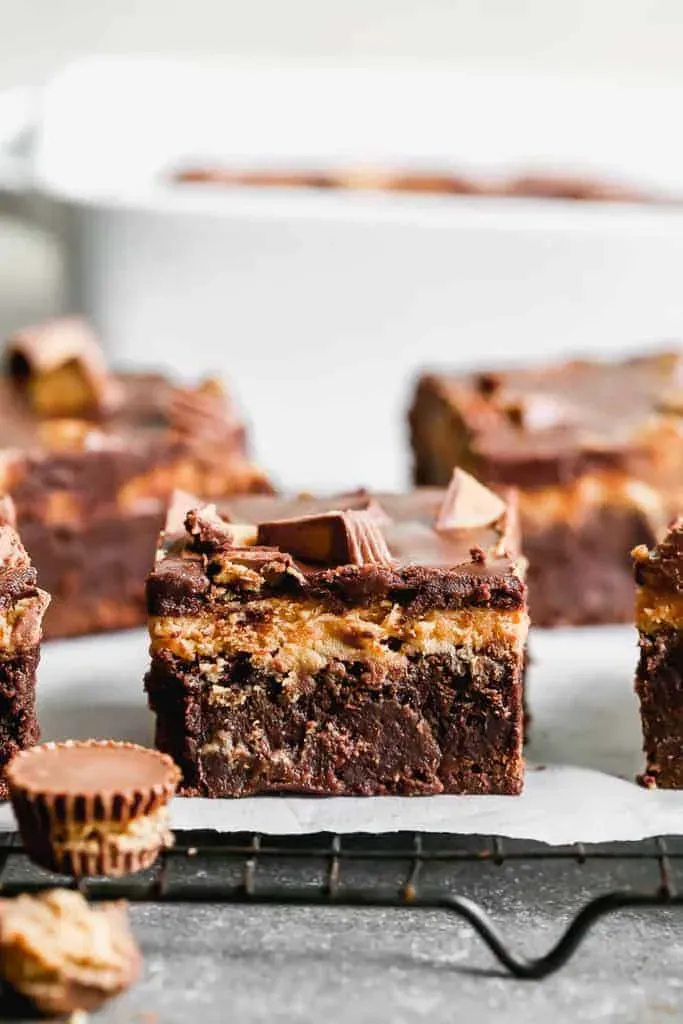
Chocolate Matters: Cocoa Powder vs. Melted Chocolate
Now for the chocolate. You have options, and they make a difference. Using good quality unsweetened cocoa powder gives a deep, intense chocolate flavor. If you want something even richer, almost ganache-like, you'll melt down some good quality chocolate – think semi-sweet or dark, around 60-70% cocoa. Combining both? That's often the sweet spot for maximum chocolate impact. Flour? Just enough to hold it together. Too much, and you're back to cake. A pinch of salt is non-negotiable; it balances the sweetness and actually makes the chocolate taste *more* chocolatey.
- Unsalted Butter (melted)
- Granulated Sugar
- Brown Sugar (packed)
- Large Eggs (room temperature)
- Vanilla Extract
- Unsweetened Cocoa Powder
- Good Quality Chocolate (chopped or chips)
- All-Purpose Flour
- Salt
- Peanut Butter (creamy is easiest for swirling)
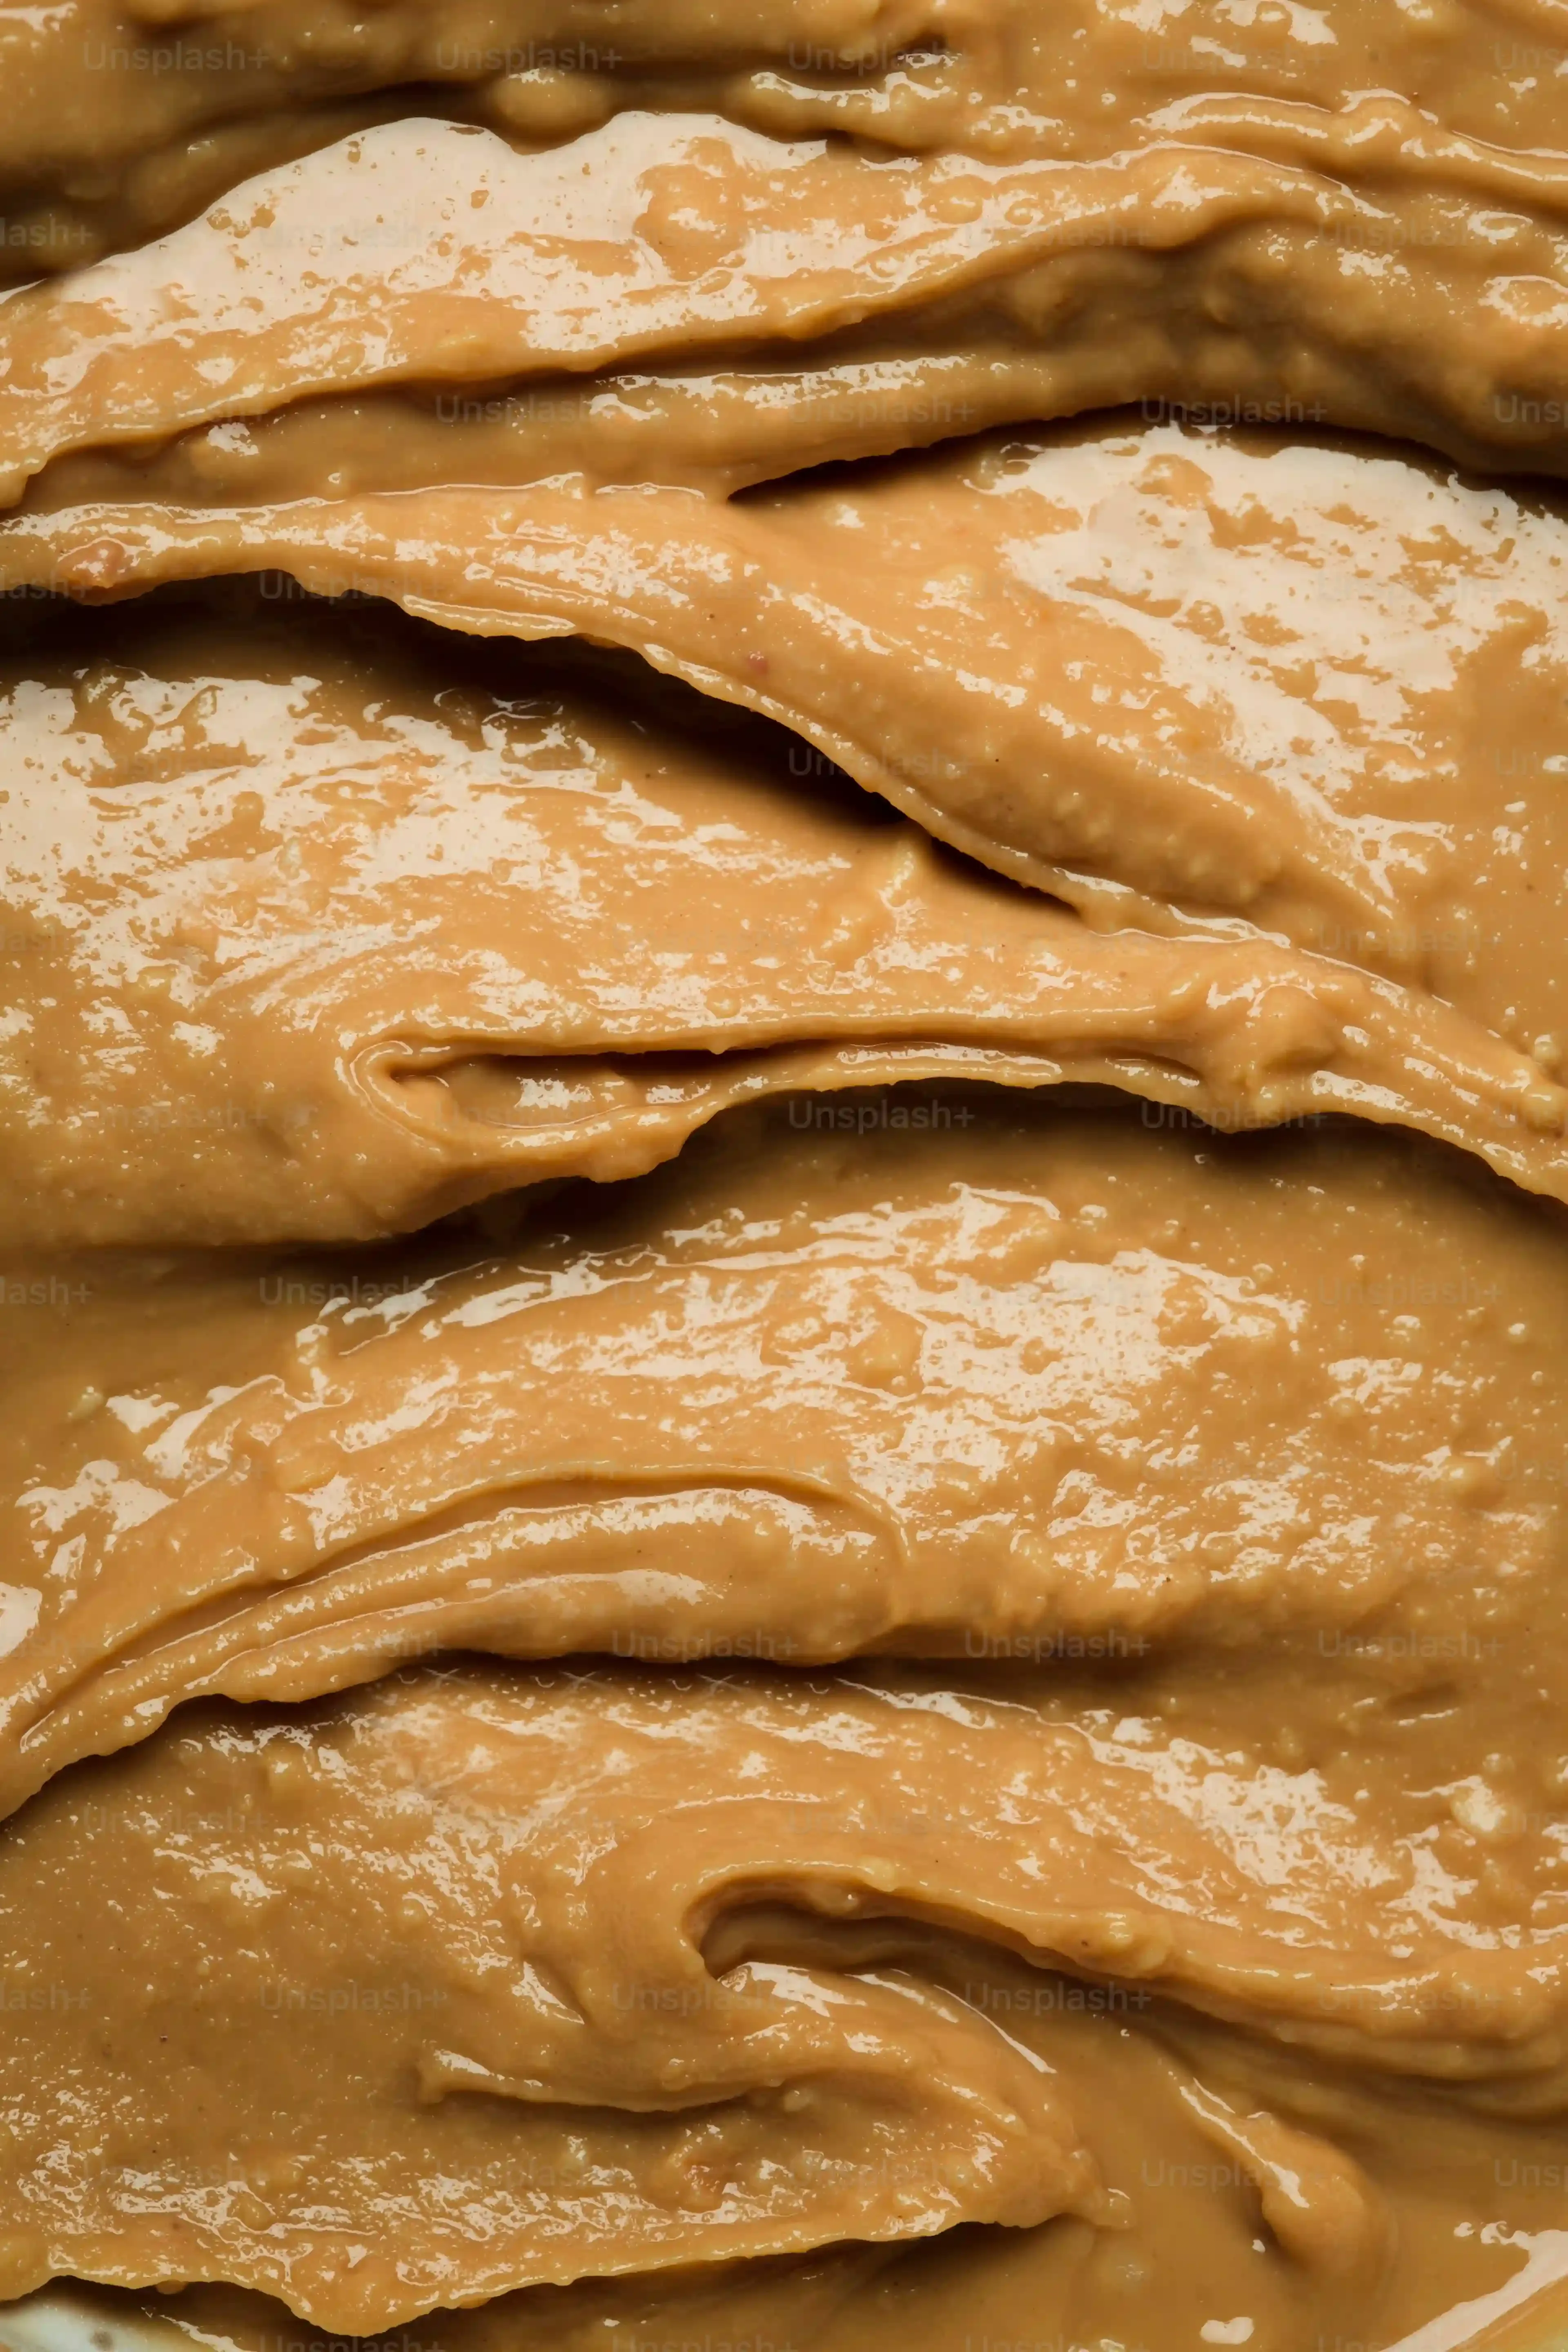
The Peanut Butter Side: Creamy, Crunchy, and Swirl-Ready
And for the star of the show, the peanut butter. Creamy peanut butter is your best friend for that signature swirl. Natural, oil-separation-heavy types can work, but they are trickier to get smooth. If you're a crunchy person, save it for topping or mixing *into* the batter rather than swirling. You might need a little extra something to make the peanut butter swirl-able – sometimes a tiny bit of melted butter or a splash of oil helps loosen it up. Have everything measured out before you start. Chaos in the kitchen leads to baking mistakes, and nobody wants to waste good chocolate and peanut butter.
Mixing the Magic: Crafting Your Brownie Batter
Mixing the Magic: Crafting Your Brownie Batter
Starting with the Wet Stuff and Sugar
Alright, bowls out. Grab that melted butter first. Pour it into a decent-sized mixing bowl. Now, dump in your granulated and brown sugars. This isn't just about sweetness; the sugar crystals cut into the fat and help create that crackly top later. Whisk them together until everything looks wet and sandy, no dry sugar patches left. Then, crack in those room-temperature eggs, one at a time, whisking well after each addition. You'll see it start to thicken and get glossy. This step is crucial for that smooth, cohesive batter. Finally, stir in the vanilla extract. That little bit of vanilla boosts the chocolate flavor significantly.
Bringing in the Dry & The Chocolate
In a separate bowl, whisk together your cocoa powder, flour, and salt. Whisking dry ingredients isn't just busywork; it helps distribute everything evenly and breaks up any clumps in the cocoa. Now, add the dry mix to the wet ingredients. Don't grab the electric mixer here; a wooden spoon or spatula is your friend. Mix until *just* combined. Seriously, stop as soon as you don't see dry streaks. Overmixing develops the gluten in the flour, and that leads to tough brownies, not fudgy ones. Finally, fold in your chopped chocolate or chips. This adds pockets of melted chocolate goodness throughout the finished brownies. Don't worry about being too gentle, just get them mixed in evenly.
Common Mixing Mistakes to Avoid:
- Overmixing the batter after adding flour.
- Using cold eggs straight from the fridge.
- Not whisking dry ingredients before adding them.
- Using a mixer instead of a spatula for the final mix.
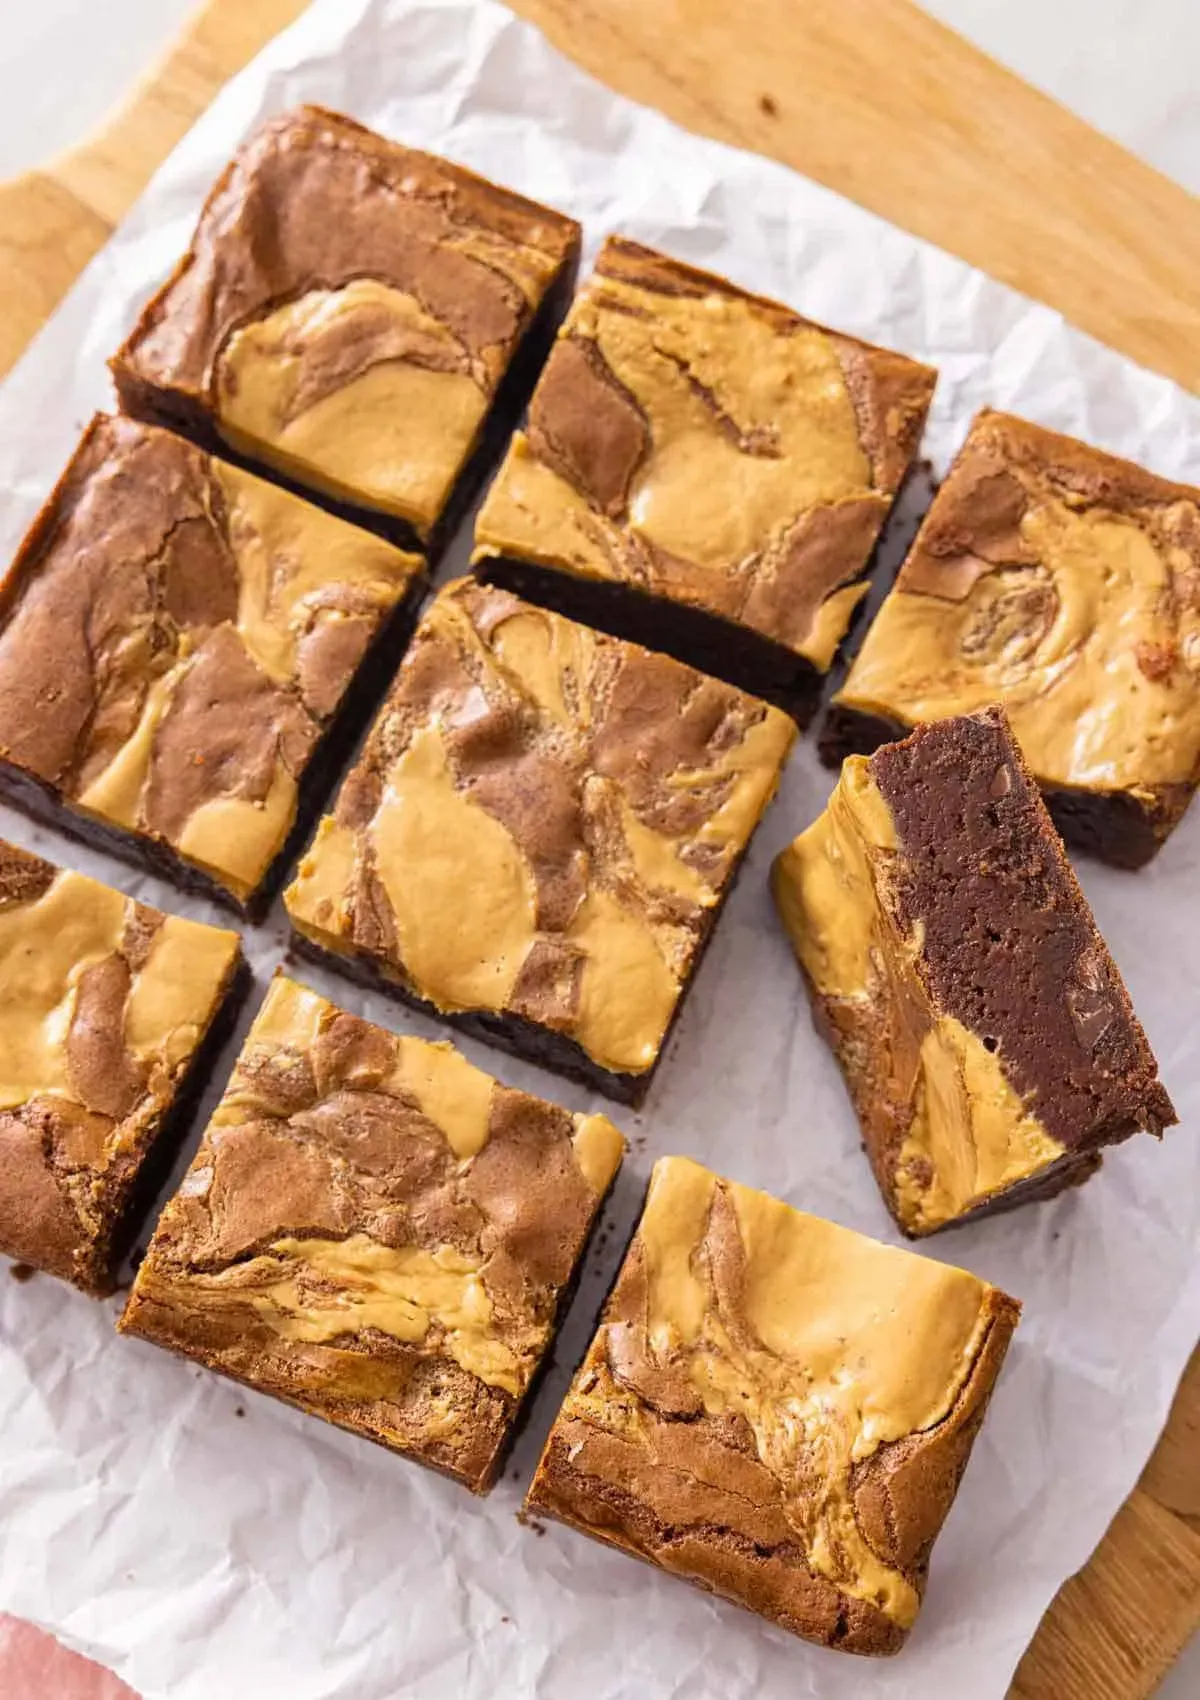
The Swirl Factor: How to Add Peanut Butter to Brownies
Mastering the Marble
Now for the part that makes these stand out: the swirl. You've got your beautiful, dark chocolate batter in the pan, spread evenly. Take your creamy peanut butter – if it's a bit stiff, warm it gently in the microwave for a few seconds just to make it pourable, not hot. Dollop spoonfuls of the warmed peanut butter over the surface of the brownie batter. Don't cover the whole thing, leave plenty of chocolate spots showing. Think random blobs, maybe a little bigger than a quarter. Now, grab a butter knife, a skewer, or even a chopstick. Dip it into the batter and swirl through the peanut butter blobs and the chocolate. Don't overdo it; you want distinct swirls, not a muddy mess. One or two passes through each section is usually enough to create those lovely marbled patterns that scream "homemade" and "delicious." This is where you get to be a bit artistic, but remember, less is often more for a defined swirl.
Baking Perfection: Getting That Gooey Texture
Baking Perfection: Getting That Gooey Texture
The Oven's Role in Gooeyness
Now, getting that perfect gooey center when you're learning how do I make peanut butter brownies is all about the oven. You need a preheated oven, usually around 350°F (175°C). Baking time is critical, and it's often where people go wrong. You are not baking a cake here; you want to pull these out when the center looks *slightly* underdone. The edges should be set and pulling away just a touch from the pan, but if you insert a toothpick into the *center*, it should come out with moist crumbs attached, not clean. A clean toothpick means dry brownies. It takes nerve to pull them when they look a bit wobbly, but trust the process. They will continue to cook and set as they cool in the hot pan.
Cooling Down: Finishing Your Homemade Peanut Butter Brownies
Cooling Down: Finishing Your Homemade Peanut Butter Brownies
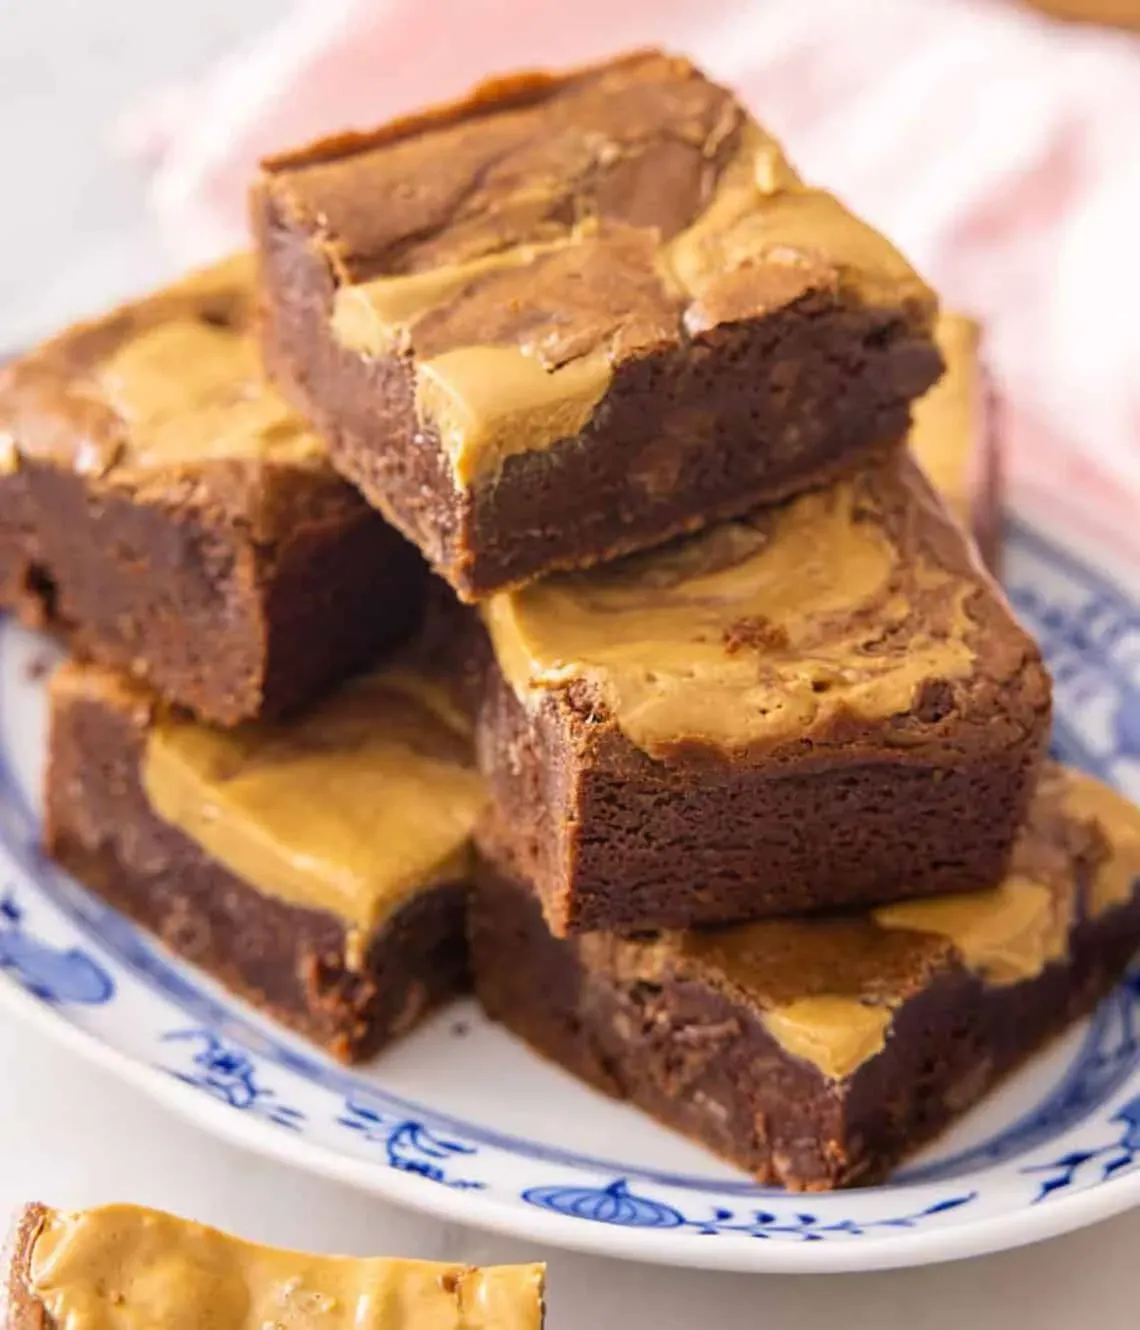
you pulled them out of the oven, they look glorious, the peanut butter swirls are distinct, and the smell is driving you slightly mad. The absolute hardest part comes now: waiting. Seriously, resist the urge to dive in immediately. These brownies need to cool. Why? Because they're still cooking internally, and cooling allows them to set properly. Cutting into hot brownies is a recipe for a crumbly, gooey mess that sticks to the knife and resembles something you might scrape off the bottom of a pan, not a clean square. Let them cool in the pan on a wire rack for at least an hour, preferably two. This lets the heat dissipate evenly and finishes the setting process. Trying to lift them out too early will result in structural failure. Patience here pays off with clean cuts and that perfect fudgy texture.
Enjoying Your Peanut Butter Swirl Brownies
So there you have it. No more wondering how do I make peanut butter brownies that actually work. You've navigated the steps, from gathering your supplies to pulling that glorious, swirled creation from the oven. The hardest part now is waiting for them to cool enough to cut without making a complete mess (though let's be real, warm brownie scraps are a perk). These aren't just brownies; they're proof that sometimes, the best things happen when two good things decide to team up and create something even better. Share them, or don't. We won't judge.