Table of Contents
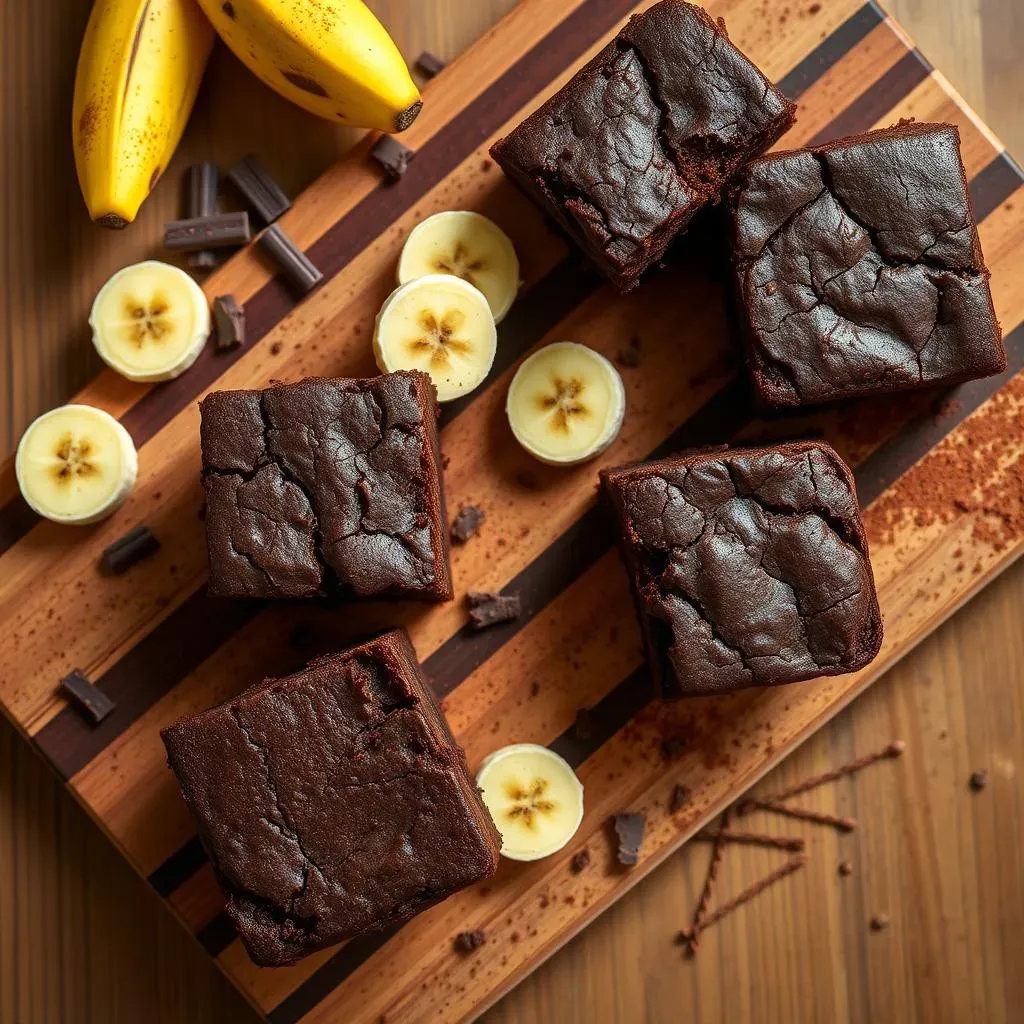
Who says you can't have your cake and eat it too? Or, in this case, your brownie? If you're anything like me, the words "healthy" and "brownie" probably don't often find themselves in the same sentence. But get ready to have your mind blown! This healthy banana brownie recipe is about to change the way you think about dessert. We're talking fudgy, chocolatey goodness that's actually good for you (well, relatively speaking!).
Why This Healthy Banana Brownie Recipe Rocks
Why This Healthy Banana Brownie Recipe Rocks
Fudgy Goodness Without the Guilt
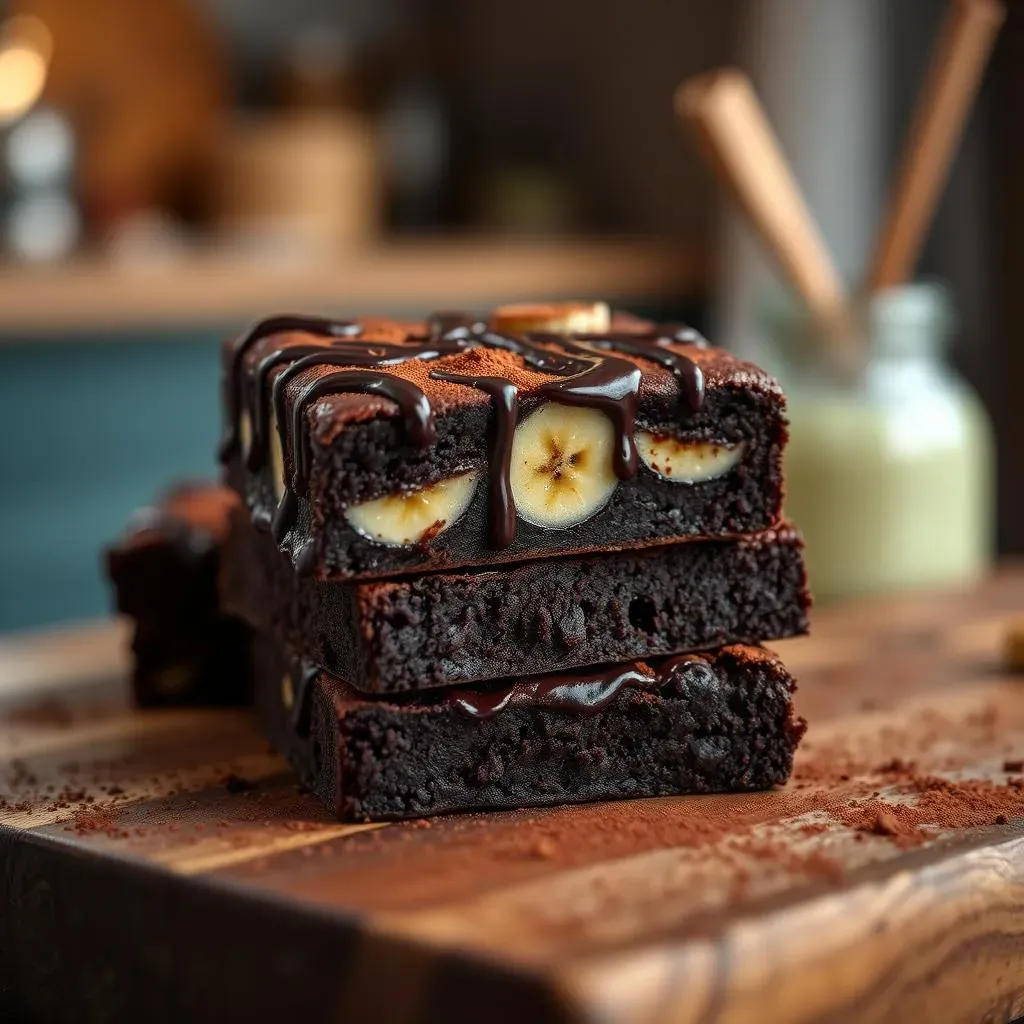
Let's be honest, most "healthy" desserts leave you feeling, well, a little deprived. Not these brownies! The magic lies in the bananas. They provide natural sweetness and a moist, fudgy texture that rivals any traditional brownie. You get that rich, chocolatey satisfaction without the refined sugar crash. It's a win-win!
Plus, this recipe is incredibly versatile. You can easily customize it to fit your dietary needs and preferences. Gluten-free? No problem! Vegan? Absolutely! Nut allergy? Swap out the peanut butter (more on that later). It's a blank canvas for your healthy baking creativity. I once added a pinch of cayenne pepper for a spicy kick – surprisingly delicious!
Simple, Accessible Ingredients
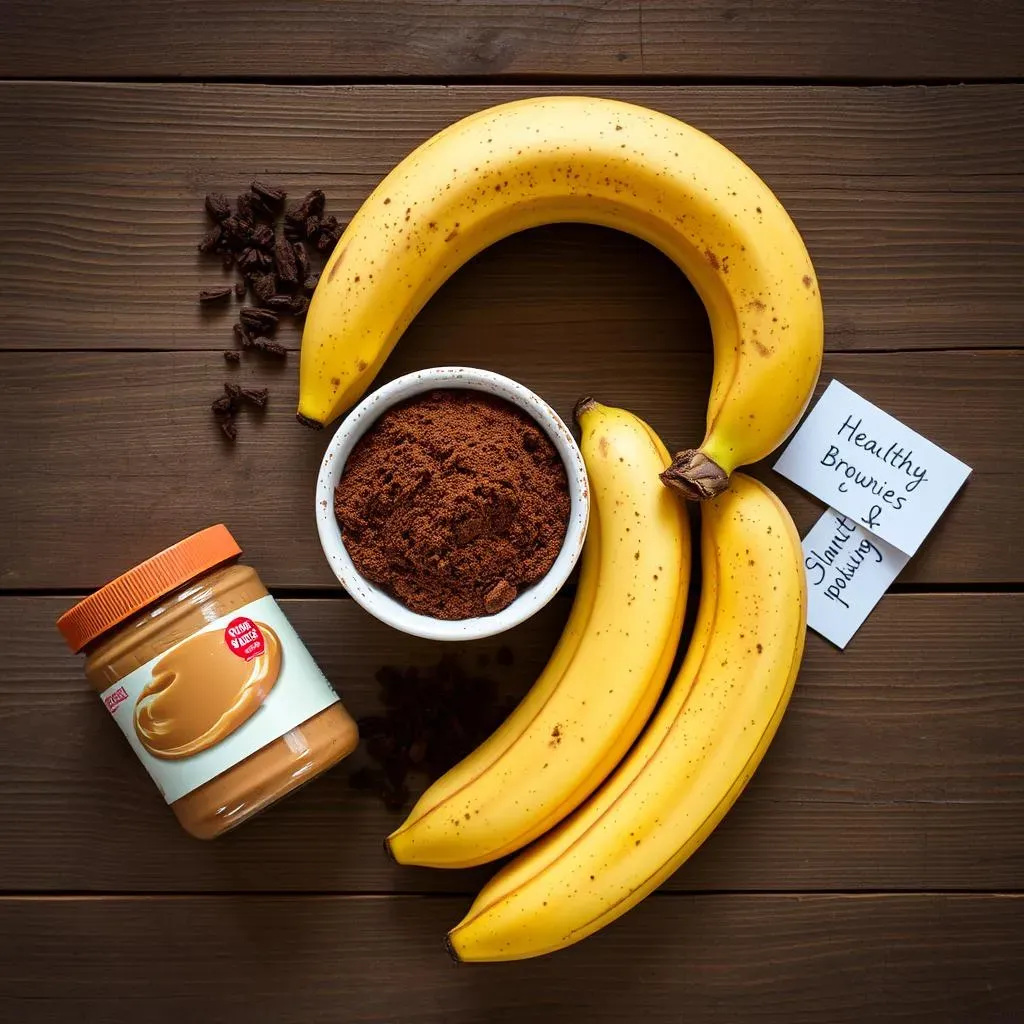
Forget scouring specialty stores for exotic ingredients. This recipe uses pantry staples that you probably already have on hand. We're talking ripe bananas (the riper, the better!), cocoa powder, and your favorite nut butter. That's it! No fancy flours, no weird sweeteners, no complicated steps. It's baking at its most basic – and most delicious.
And because the ingredient list is so short, you know exactly what you're putting into your body. No hidden additives, no artificial flavors, just wholesome ingredients that you can feel good about. It's the perfect recipe for busy weeknights or when you need a quick and easy treat without derailing your healthy eating habits. I often whip up a batch when I'm craving something sweet but don't want to undo all my hard work at the gym.
Simple Ingredients for Your Healthy Banana Brownies
Simple Ingredients for Your Healthy Banana Brownies
The Star: Ripe Bananas
let's talk bananas. And I'm not talking about those slightly-yellow, still-a-little-firm bananas. No, no, no. We need the ones that are practically begging to be thrown away – the ones with plenty of brown spots. Those are the bananas that are going to give you the sweetness and moisture you need for the perfect brownie texture. The riper, the better, seriously! Think of them as nature's candy and the secret weapon to this whole operation. I always feel a little smug when I rescue a bunch of overripe bananas from the brink and turn them into something amazing.
Why ripe bananas? As bananas ripen, their starches convert into sugars, intensifying their sweetness. They also become softer, making them easier to mash and incorporate into the batter, giving your brownies that signature fudgy texture we all crave. Plus, ripe bananas add a subtle banana flavor that complements the chocolate perfectly. It's a match made in dessert heaven!
Chocolate Power: Cocoa Powder
Next up, cocoa powder. Now, you might be tempted to reach for that container of hot chocolate mix, but trust me, you want 100% unsweetened cocoa powder here. It's what gives these brownies that deep, rich chocolate flavor without any added sugar. I personally prefer Dutch-processed cocoa powder because it has a smoother, less bitter taste, but regular unsweetened cocoa powder works just fine too. I've experimented with both, and honestly, the difference is subtle. Use what you have on hand!
Don't skimp on the cocoa powder! It's the backbone of the chocolate flavor in these brownies. And if you're feeling extra decadent, you can even add a handful of chocolate chips to the batter. I usually go for dark chocolate chips to keep things relatively healthy, but milk chocolate or even white chocolate chips would be delicious too. It's your brownie adventure, so go wild!
The Binder: Nut Butter (or a Sub!)
Finally, we need something to bind everything together, and that's where the nut butter comes in. Peanut butter is my go-to because it adds a delicious nutty flavor and creates a wonderfully chewy texture. But if you have a nut allergy or simply prefer something else, there are plenty of substitutes that work just as well. Almond butter, cashew butter, or even sunflower seed butter are all great options. Just make sure to use a natural nut butter without any added sugar or oil. You want the pure, unadulterated nuttiness!
The type of nut butter you use will slightly alter the flavor and texture of the brownies, so feel free to experiment and find your favorite combination. Almond butter will give you a slightly more subtle flavor, while cashew butter will be a bit sweeter. Sunflower seed butter is a great nut-free option that has a unique, slightly savory flavor. I encourage you to get creative and see what you can come up with!
Ingredient | Why It's Important | Possible Substitutions |
|---|---|---|
Ripe Bananas | Sweetness, moisture, fudgy texture | None (this is the key ingredient!) |
Cocoa Powder | Rich chocolate flavor | Dutch-processed or regular unsweetened |
Nut Butter | Binder, adds flavor and texture | Almond butter, cashew butter, sunflower seed butter |
Baking Your Own Healthy Banana Brownies: StepbyStep

Baking Your Own Healthy Banana Brownies: StepbyStep
Prep Work: The Foundation for Success
Alright, let's get down to business! First things first, preheat your oven to 350°F (175°C). While that's heating up, grease and lightly flour an 8x8 inch baking pan. You can also line it with parchment paper for easy removal – I highly recommend this, especially if you're impatient like me and want to dive in the second they're cool enough to handle. Trust me, a little prep work goes a long way in ensuring brownie perfection.
Next, grab those ripe bananas and mash them up in a large bowl. You can use a fork, a potato masher, or even a food processor if you're feeling fancy. Just make sure there are no large chunks left. Then, add in your cocoa powder and nut butter. Now, here's where you can get a little creative. Want to add a teaspoon of vanilla extract? Go for it! A pinch of cinnamon? Delicious! This is your chance to customize the flavor to your liking.
Mixing and Baking: From Batter to Brownie Bliss
Now, mix everything together until it's well combined. The batter will be thick and fudgy – that's exactly what you want! Don't overmix it, though. Overmixing can lead to tough brownies, and nobody wants that. Just mix until everything is evenly distributed and you have a smooth, luscious batter. I like to give it a good stir with a spatula to make sure there are no sneaky pockets of cocoa powder hiding at the bottom of the bowl.
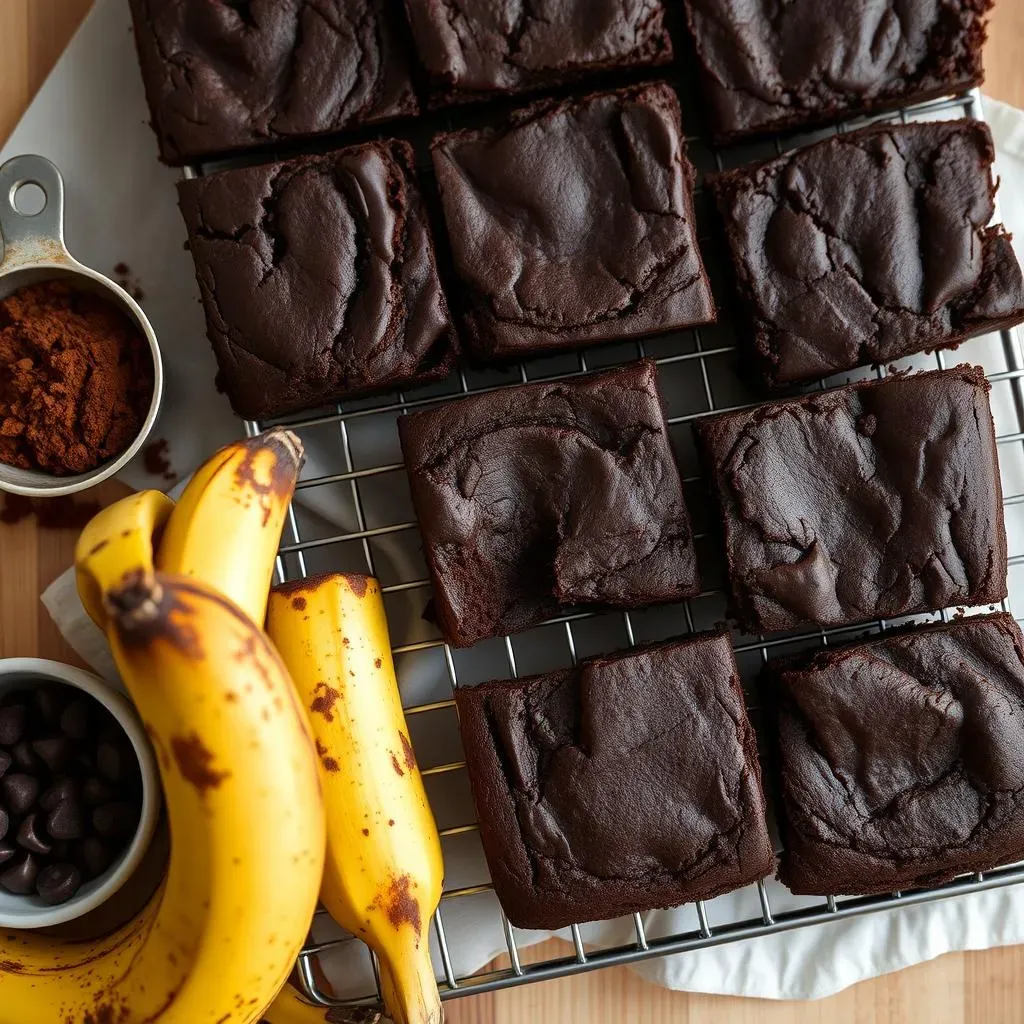
Pour the batter into your prepared pan and spread it out evenly. If you're adding any toppings, like chocolate chips or chopped nuts, now's the time to sprinkle them on top. Then, pop the pan into the preheated oven and bake for 25-30 minutes, or until a toothpick inserted into the center comes out with a few moist crumbs attached. The edges should be set and the top should be slightly firm. Let the brownies cool completely in the pan before slicing and serving. This is the hardest part, I know, but trust me, it's worth the wait!
Step | Instructions | Tips |
|---|---|---|
Prep | Preheat oven, grease pan, mash bananas | Line pan with parchment paper for easy removal |
Mix | Combine ingredients, don't overmix | Add vanilla extract or cinnamon for extra flavor |
Bake | Pour batter into pan, bake for 25-30 minutes | Let cool completely before slicing |
Tips and Tricks for the Best Healthy Banana Brownies
Tips and Tricks for the Best Healthy Banana Brownies
Nailing the Banana Factor
Seriously, don't underestimate the power of a ripe banana! The browner, the better. I'm talking almost black. Those bananas are bursting with sweetness and moisture, which are key to a fudgy, delicious brownie. If your bananas aren't quite ripe enough, you can try roasting them in the oven for a few minutes to soften them up and intensify their flavor. Just poke a few holes in the skin with a fork and bake at 350°F (175°C) for about 15-20 minutes, or until they're soft and squishy. Let them cool slightly before mashing.
Also, make sure you mash those bananas really well! Nobody wants chunks of banana in their brownies (unless that's your thing, in which case, go for it!). I like to use a potato masher to get them nice and smooth. You can also use a food processor for an even smoother texture. The key is to break down all the fibers so that they blend seamlessly into the batter. Trust me, your brownies will thank you.
Cocoa Considerations and Chocolate Boosts
The type of cocoa powder you use can also make a big difference in the flavor of your brownies. Dutch-processed cocoa powder has a smoother, less bitter taste than regular unsweetened cocoa powder. It's also darker in color, which will give your brownies a richer, more decadent look. If you're not sure which type to use, just check the label. Dutch-processed cocoa powder will usually say "alkalized" or "processed with alkali."
Want to take your brownies to the next level? Add some chocolate chips! I like to use dark chocolate chips to keep things relatively healthy, but milk chocolate or even white chocolate chips would be delicious too. You can also add chopped nuts, dried fruit, or even a swirl of peanut butter for extra flavor and texture. Get creative and experiment with different combinations until you find your perfect brownie creation!
Baking Time and Cooling Secrets
Baking time is crucial for achieving the perfect brownie texture. You want the brownies to be set around the edges but still slightly soft in the center. A toothpick inserted into the center should come out with a few moist crumbs attached. If the toothpick comes out clean, the brownies are overbaked and will be dry. Nobody wants dry brownies!
And finally, the most important tip of all: let the brownies cool completely in the pan before slicing and serving. I know, it's tempting to dive in while they're still warm and gooey, but trust me, they'll be much easier to slice and will have a better texture if you let them cool completely. Plus, the flavors will have a chance to meld together and deepen. If you're really impatient, you can put the pan in the refrigerator to speed up the cooling process. But resist the urge to cut into them until they're completely cool!
Tip | Description |
|---|---|
Ripe Bananas | Use very ripe bananas for sweetness and moisture. |
Cocoa Powder | Choose Dutch-processed for a smoother flavor. |
Baking Time | Don't overbake! Look for moist crumbs on the toothpick. |
Cooling | Let cool completely before slicing. |
Your Guilt-Free Brownie Adventure Awaits!
So there you have it – a ridiculously easy and surprisingly healthy banana brownie recipe that's perfect for satisfying those chocolate cravings without the guilt. Whether you're a seasoned baker or just starting out, this recipe is foolproof and endlessly adaptable. Experiment with different toppings, add-ins, and variations to create your own signature brownie masterpiece. Now go forth, bake, and enjoy every fudgy, delicious bite!