Table of Contents
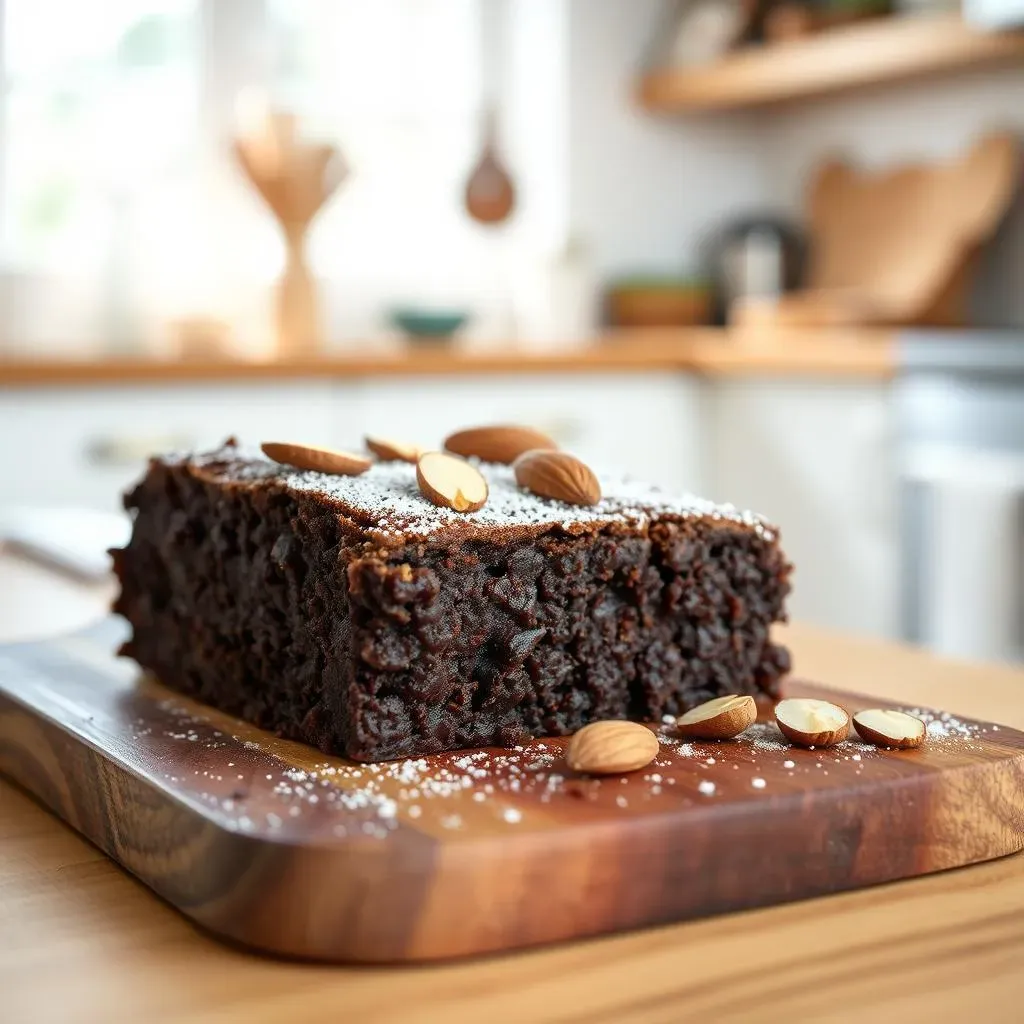
Craving a decadent, fudgy brownie but need it to be gluten-free and dairy-free? You're in the right place! Forget those dry, crumbly disappointments; we're making rich, intensely chocolatey brownies using almond flour, and they’re so good, no one will guess they're missing the usual suspects. This isn't just another recipe; it's your guide to mastering the art of gluten free dairy free brownies almond flour. We'll start by exploring why almond flour is the secret weapon for achieving that perfect texture, then we'll tackle dairy-free swaps that don't compromise on flavor. Finally, we’ll get into the nitty-gritty of baking, ensuring your brownies turn out flawlessly every single time. Get ready to transform your baking game, and maybe sneak a bite (or two) of the batter along the way – I won't tell!
Baking with Almond Flour: The Key to GlutenFree Brownies

Baking with Almond Flour: The Key to GlutenFree Brownies
Why Almond Flour?
Okay, let's talk almond flour. It’s not just some trendy gluten-free alternative; it’s a game-changer for brownies. Unlike regular wheat flour, almond flour brings a subtle sweetness and a ridiculously moist texture to the party. It's made from blanched almonds, which means the skins are removed, giving it a finer texture, which is crucial for those fudgy brownies we all crave. Think of it this way: wheat flour is like a stiff, formal dancer, while almond flour is the smooth, groovy one that knows how to move. And trust me, your brownies will feel the difference.
But, a word of caution, not all almond flour is created equal. You'll want to make sure you're using blanched almond flour, not almond meal. Almond meal still has the skins on and will make your brownies gritty and dense and not in a good way, trust me I've been there. Also, you want to use a high-quality cocoa powder. The better the cocoa, the more intense the chocolate flavor will be. It makes all the difference between a "meh" brownie and a "wow, this is amazing!" brownie.
Flour Type | Texture | Flavor |
|---|---|---|
Blanched Almond Flour | Fine, smooth | Subtly sweet |
Almond Meal | Coarse, gritty | Nutty, slightly bitter |
Wheat Flour | Fine | Neutral |
The Science of Fudginess
Now, let's get a little nerdy for a second. You know that perfect chewy, fudgy texture? That's not just luck; it’s science. Almond flour is low in starch, unlike wheat flour. This means it doesn't develop gluten, which is what makes things chewy or tough. But it also means we need to be careful, because if we overwork almond flour, it can get gummy. The secret? Gentle mixing. We’re not kneading dough here, we're just bringing the ingredients together until they're combined. Think of it like a delicate dance, not a wrestling match.
Another key player in our fudgy quest is baking powder. It’s not just for making things rise; it also contributes to that soft, chewy texture. The tiny air bubbles it creates make the brownies tender, not cakey. But don’t go overboard, a little goes a long way. It’s about finding the right balance to get that perfect bite.
Tips for Success
So, you've got your blanched almond flour and your high-quality cocoa, and you're ready to bake. Here are a few tips to keep in mind. First, make sure all your ingredients are at room temperature. This helps them combine evenly. I like to set my eggs and dairy-free butter out on the counter about an hour before I start. Second, don’t overmix the batter. Remember, gentle is key. And third, don’t overbake them. A slightly underbaked brownie is better than a dry, overbaked one. It'll continue to set as it cools, so don't worry if it looks a little soft when you take it out of the oven. Trust your instincts, and don't be afraid to experiment. Baking should be fun!
DairyFree Swaps: Making Delicious Brownies for Everyone
DairyFree Swaps: Making Delicious Brownies for Everyone
The Butter Dilemma
Okay, let's talk about butter. It's a key ingredient in most brownies, but what do you do when you need to go dairy-free? Don't worry, we've got options! The easiest swap is a good quality dairy-free butter. There are many brands out there now, like Earth Balance or Melt, and they work surprisingly well. The key is to find one that behaves similarly to regular butter – meaning it melts and emulsifies nicely. I've tried some that are too watery, and they just don't cut it. So, do a little research and find one that you like.
Another option is coconut oil. It adds a subtle coconut flavor, which can be nice, but it does change the texture slightly. It tends to make brownies a little more cakey, so it might not be the best choice if you are going for that fudgy texture we are talking about. It's all about experimenting, so don't be afraid to try different things and see what you like best. And remember, we are trying to make this delicious for everyone, so the swap should not compromise the flavor.
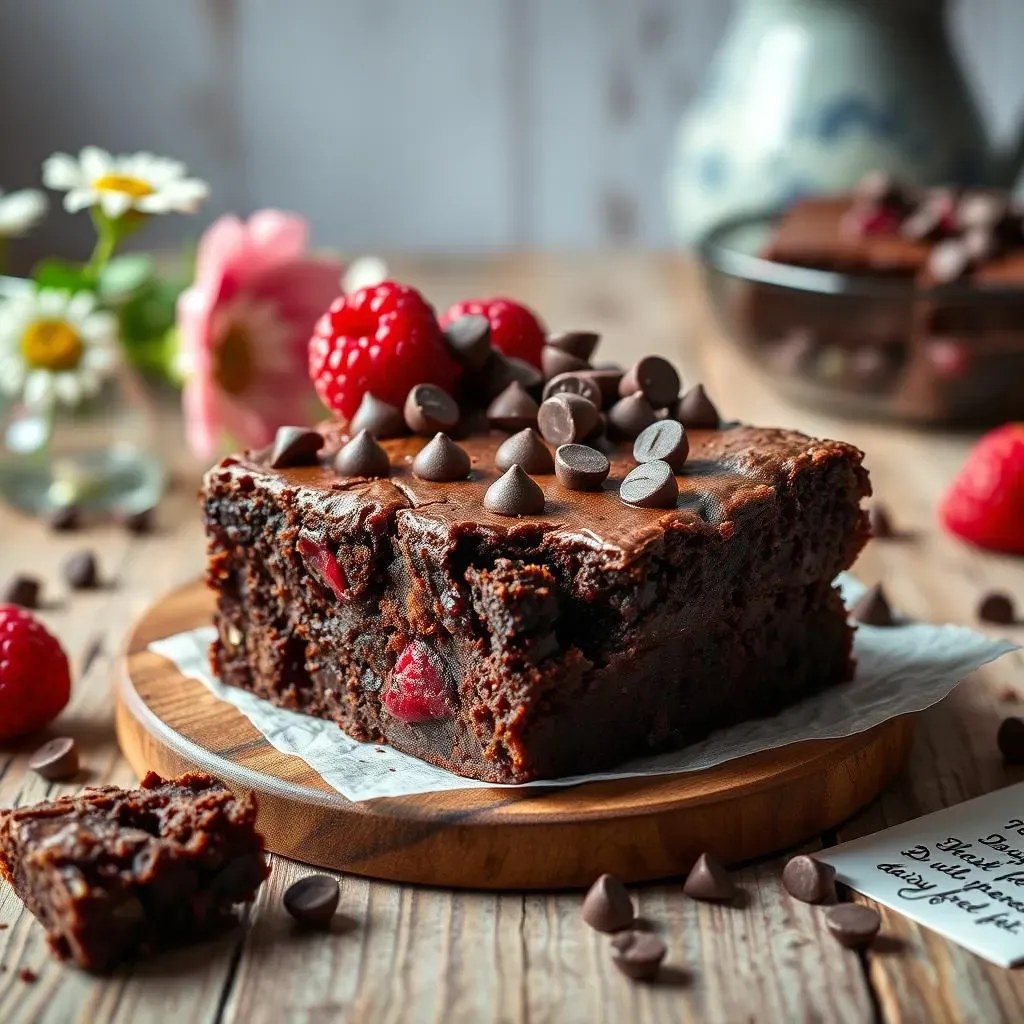
Chocolate Choices
Next up: chocolate. This is where things can get a bit tricky. Not all chocolate is dairy-free, and those sneaky milk solids can hide in the most unexpected places. So, you need to be a bit of a detective and read those labels carefully. Look for chocolate that is labeled “dairy-free” or “vegan”. Many brands make excellent dairy-free chocolate chips, and they work perfectly in brownies. My personal favorite is Enjoy Life, but there are many other great options out there. And if you want to get fancy, you can use a dairy-free dark chocolate bar and chop it up for extra melty goodness.
Also, consider using unsweetened cocoa powder. As I said before, the better the cocoa, the more intense the chocolate flavor will be. It's a great way to get a deep, rich chocolate taste without any added dairy. You can even use a mix of both unsweetened cocoa and dairy-free chocolate chips to give your brownies some extra depth of flavor. Remember, the goal is to create that perfect, satisfying chocolate experience, even without the dairy.
Other Dairy-Free Considerations
Okay, so we've covered the big two: butter and chocolate. But there are a few other things to consider when going dairy-free. First, if your recipe calls for any kind of milk, you can swap it out for your favorite dairy-free alternative, like almond milk, soy milk, or oat milk. They all work well, and it's just a matter of personal preference. I like almond milk because it's mild and doesn't overpower the other flavors. Second, be mindful of any other add-ins. Some chocolate chips, sprinkles, or other toppings might contain dairy, so be sure to check those labels too. It's all about being thorough and making sure everyone can enjoy these delicious brownies.
Finally, don't be discouraged if your first batch isn't perfect. Baking is a journey, and there's always room for improvement. Just keep experimenting, and soon you'll be a dairy-free brownie master. And remember, the most important ingredient is love (and maybe a little bit of chocolate).
Dairy Ingredient | Dairy-Free Swap |
|---|---|
Butter | Dairy-Free Butter or Coconut Oil |
Chocolate Chips | Dairy-Free Chocolate Chips |
Milk | Almond Milk, Soy Milk, or Oat Milk |
Perfecting Your Gluten Free Dairy Free Brownies: Tips and Storage
Perfecting Your Gluten Free Dairy Free Brownies: Tips and Storage
Baking Time and Temperature
Alright, let's talk about the actual baking process. It's not as simple as just throwing everything in the oven and hoping for the best. The right temperature and baking time are crucial for achieving that perfect fudgy texture. Generally, you'll want to bake these brownies at around 350°F (175°C). But, the exact time can vary depending on your oven, so it's important to keep an eye on them. Start checking for doneness around 20-25 minutes. You'll know they're ready when the edges are set, and the center still looks a little soft. Remember, they'll continue to cook a bit as they cool, so don't overbake them!
A good trick is to use a toothpick. Stick it into the center of the brownies; if it comes out with a few moist crumbs, they're ready to go. If it comes out clean, you've probably overbaked them. And no one wants dry brownies. Also, don’t open the oven too often while they are baking. It can cause the temperature to fluctuate and mess with the baking process. I know it's tempting, but trust the process! Let the oven do its thing, and you will be rewarded with perfectly baked brownies.
Cooling and Cutting
Okay, you've pulled your brownies out of the oven, and they smell amazing. But don't get too excited and cut into them just yet. Patience is key here! You need to let them cool completely before you even think about slicing them. This allows them to set properly and prevents them from crumbling into a gooey mess. I usually let mine cool in the pan on a wire rack for at least an hour, or even better, in the fridge for a couple of hours. I know it's hard to wait, but trust me, it's worth it.
Now, when it's finally time to cut them, make sure you use a clean, sharp knife. A dull knife will just tear through the brownies and give you messy edges. For extra clean cuts, you can run your knife under hot water and wipe it clean between each slice. It's a little extra effort, but it makes all the difference in presentation. It's like giving your brownies a little spa treatment before you devour them. And that’s what they deserve!
Storage and Variations
So, you've baked your perfect batch of gluten-free, dairy-free brownies. Now, what do you do with them? Well, if you're not planning on eating them all at once (and I wouldn't blame you if you were), you can store them in an airtight container at room temperature for 3-4 days. Or, for longer storage, you can freeze them for up to 2 months. Just wrap them well in plastic wrap and then put them in a freezer bag. When you're ready to eat them, let them thaw out at room temperature, or you can even zap them in the microwave for a few seconds to warm them up.
And, if you want to get creative, there are tons of variations you can try. You can add a drizzle of hot fudge or caramel sauce, or use different types of dairy-free chocolate chips. You could even throw in some chopped nuts, dried fruit, or even a swirl of peanut butter. The possibilities are endless! It's all about experimenting and having fun with it. And remember, baking is an art, and you are the artist. So, go ahead, create your own masterpiece!
Storage Method | Shelf Life |
|---|---|
Airtight Container (Room Temp) | 3-4 Days |
Freezer | Up to 2 Months |