Table of Contents
Are you tired of gluten-free desserts that taste like cardboard? I was too! That's why I embarked on a quest to create the ultimate gluten free almond flour brownies. Forget dry, crumbly disappointments; we're talking about rich, fudgy, chocolatey goodness that just happens to be gluten-free. This isn't some overly complicated baking project, either. I've broken it all down so even if you're new to gluten-free baking, you can nail these brownies on your first try. We'll cover everything from the key ingredients that make these brownies so decadent, to foolproof tips for achieving that perfect crackly top and gooey center. Plus, we'll tackle some common questions and explore tasty ways to customize your batch. So, grab your mixing bowls, and let's get ready to bake some seriously delicious gluten free almond flour brownies that everyone will love – gluten-free or not! We're going to make some magic.
Baking the Best GlutenFree Almond Flour Brownies
Baking the Best GlutenFree Almond Flour Brownies
Why Almond Flour Changes the Game
Okay, so you're thinking, "Another gluten-free recipe? Will this actually taste good?" I get it. But trust me, almond flour is a total game-changer. It's not like those gritty, sad gluten-free mixes you've probably tried. Almond flour brings a subtle nutty flavor and a fantastic, slightly chewy texture that's perfect for brownies. It’s naturally gluten-free, so no weird additives needed, just pure almond goodness. It’s also a bit more forgiving than wheat flour, which means even beginner bakers can get great results. Think of it as your secret weapon for making brownies that everyone will love.
When I first started experimenting with almond flour, I was amazed by the difference. My early attempts with other gluten-free flours were, let's just say, less than stellar. But the first time I made brownies with almond flour, it was like a lightbulb went off. They were rich, moist, and unbelievably fudgy. Seriously, I ate half the pan myself and I'm not even ashamed.
Flour Type | Texture | Flavor | Gluten |
|---|---|---|---|
Almond Flour | Fudgy, slightly chewy | Subtly nutty | Gluten-Free |
Wheat Flour | Cakey, sometimes dense | Neutral | Contains Gluten |
Other Gluten-Free Mixes | Variable, often dry | Often bland | Gluten-Free |
The Science of Fudgy Goodness
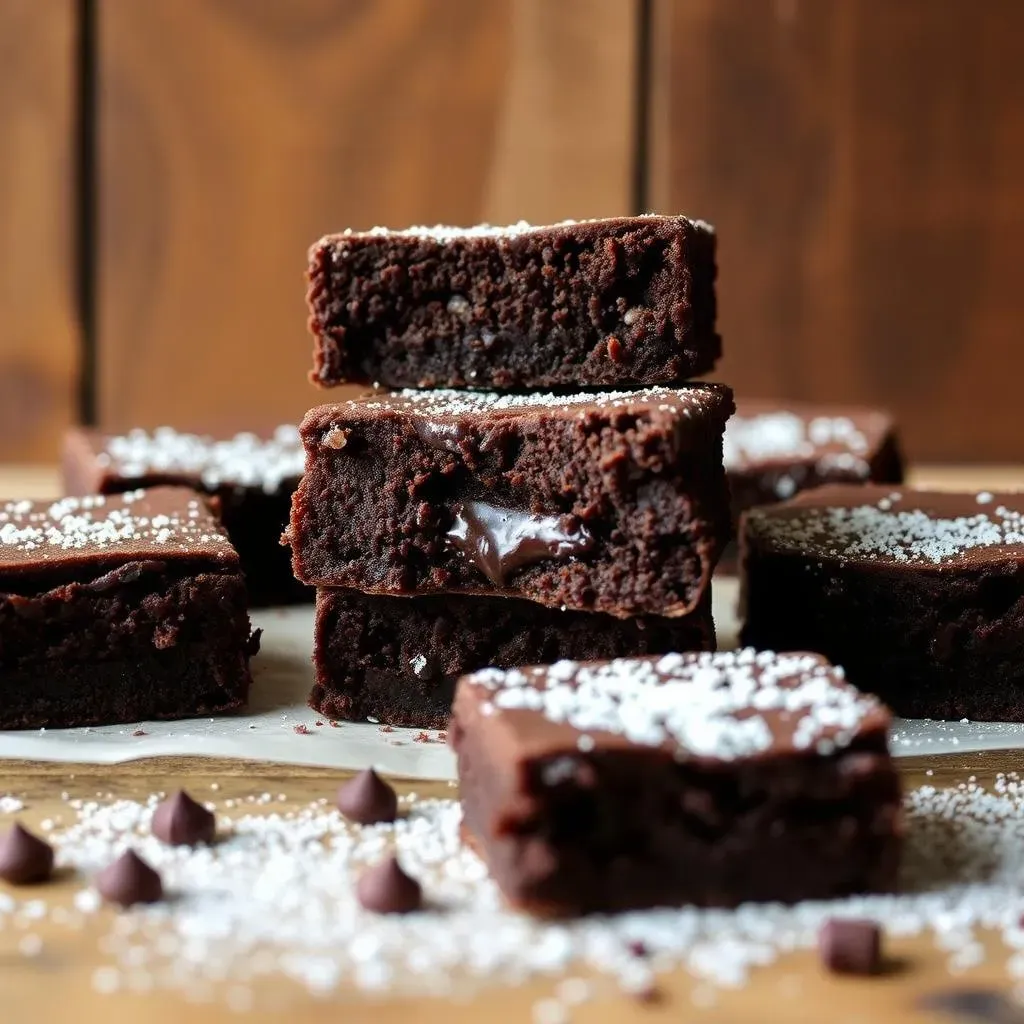
The secret to truly great gluten-free almond flour brownies isn't just the flour. It’s all about the right balance of ingredients and technique. We're going for that perfect fudgy center and a crackly top, right? That means we need to pay attention to the fats and sugars. Using melted butter (or coconut oil for a dairy-free version) helps keep things moist, while a combination of granulated and brown sugar adds depth of flavor and that essential chewiness. Don't skimp on the chocolate either, good quality chocolate is a must! I mean, who wants a bland brownie?
One of the biggest mistakes people make is overbaking. It's tempting to leave them in a little longer, but trust me, they'll continue to cook as they cool. The goal is to take them out when the edges are set and the center is still slightly soft. This is where the magic happens, and you get that gooey, melt-in-your-mouth texture. It took me a few tries to get it just right, but now I'm a pro at the poke test.
Essential Ingredients for Fudgy GlutenFree Brownies
Essential Ingredients for Fudgy GlutenFree Brownies
The Flour Powerhouse: Almond Flour
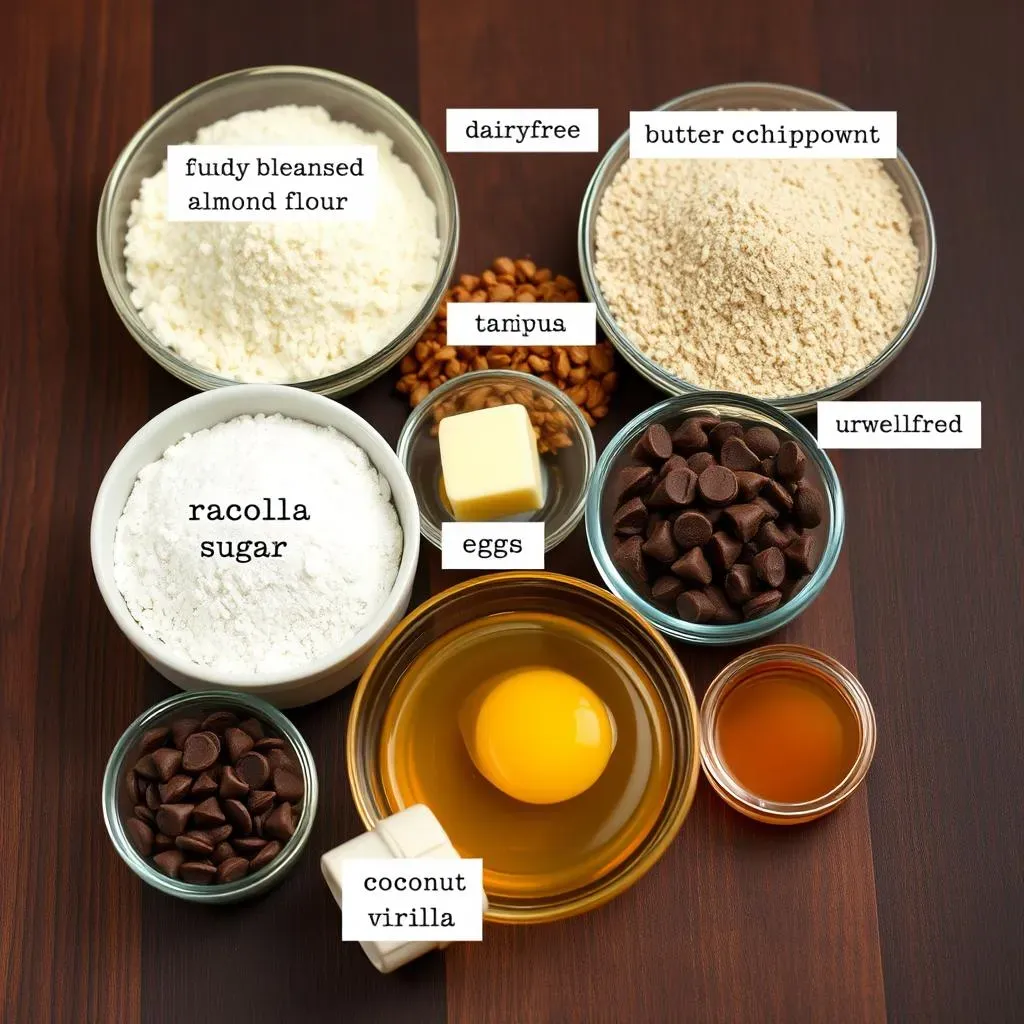
Alright, let's talk about the star of the show: almond flour. Not all almond flour is created equal, though. You'll want to use blanched almond flour, which is made from almonds with the skins removed. This gives you a finer texture and a lighter color, which is exactly what we need for these brownies. Avoid almond meal, which is coarser and can make your brownies gritty. Trust me, the difference is huge. Think of it like the difference between using fine sand and pebbles in a sandbox – we want the fine stuff for smooth, delicious brownies.
I learned this the hard way, I tried it with almond meal and it was a disaster, it was like eating sand with chocolate. So, save yourself the trouble and use blanched almond flour, your taste buds will thank you.
Sweetness and Chocolate: The Dynamic Duo
Next up, the sweet stuff! We're using a combination of granulated sugar and brown sugar. The granulated sugar provides sweetness and structure, while the brown sugar contributes to that lovely chewiness and a hint of molasses flavor. It's a bit like a tag team, working together to make your brownies amazing. As for the chocolate, don't skimp! Use a good quality unsweetened cocoa powder for that deep chocolate flavor. I prefer Dutch-processed cocoa for its smoother taste. And for those extra chocolatey chunks, add some dairy-free chocolate chips, the more the better, in my opinion.
I like to add a little extra salt too, just a pinch, it helps to enhance the chocolate flavor. It's a small detail, but it makes a big difference.
The Wet Ingredients: Binding it All Together
Finally, let's talk about the wet ingredients that bring everything together. We'll be using melted butter or coconut oil for a dairy-free option. These fats add moisture and richness to the brownies, making them extra decadent. Eggs are also key, they help bind everything and give the brownies that perfect fudgy texture. Make sure your eggs are at room temperature for the best results, it helps them mix more smoothly. And finally, a touch of vanilla extract adds a little extra flavor that complements the chocolate beautifully.
These ingredients might seem simple, but they're the foundation for the perfect gluten-free almond flour brownies. So, make sure you have everything ready, and let's get baking!
Ingredient | Purpose |
|---|---|
Blanched Almond Flour | Provides structure and a slightly chewy texture |
Granulated Sugar | Adds sweetness and structure |
Brown Sugar | Adds chewiness and a hint of molasses flavor |
Unsweetened Cocoa Powder | Provides deep chocolate flavor |
Dairy-Free Chocolate Chips | Adds extra chocolate chunks |
Melted Butter or Coconut Oil | Adds moisture and richness |
Eggs | Binds ingredients and creates fudgy texture |
Vanilla Extract | Enhances flavor |
Tips and Tricks for GlutenFree Almond Flour Brownie Perfection
Tips and Tricks for GlutenFree Almond Flour Brownie Perfection
The Mixing Magic
Okay, so you've got all your ingredients, now it's time to mix them like a pro. First, melt that butter or coconut oil and let it cool slightly. This is important; you don't want to scramble your eggs! Then, whisk together your sugars and eggs until the mixture is light and smooth. This step is crucial for that crackly top we all crave. Don't be lazy here, really whisk it, it should take about 2-3 minutes. Next, gently fold in your dry ingredients: the almond flour, cocoa powder, and a pinch of salt. Be careful not to overmix; that can make your brownies tough. Just mix until everything is combined. Finally, stir in your chocolate chips.
I like to use a spatula for the folding part, it helps to keep the batter light and airy. And remember, a little patience goes a long way in baking.
Baking and Cooling Like a Boss
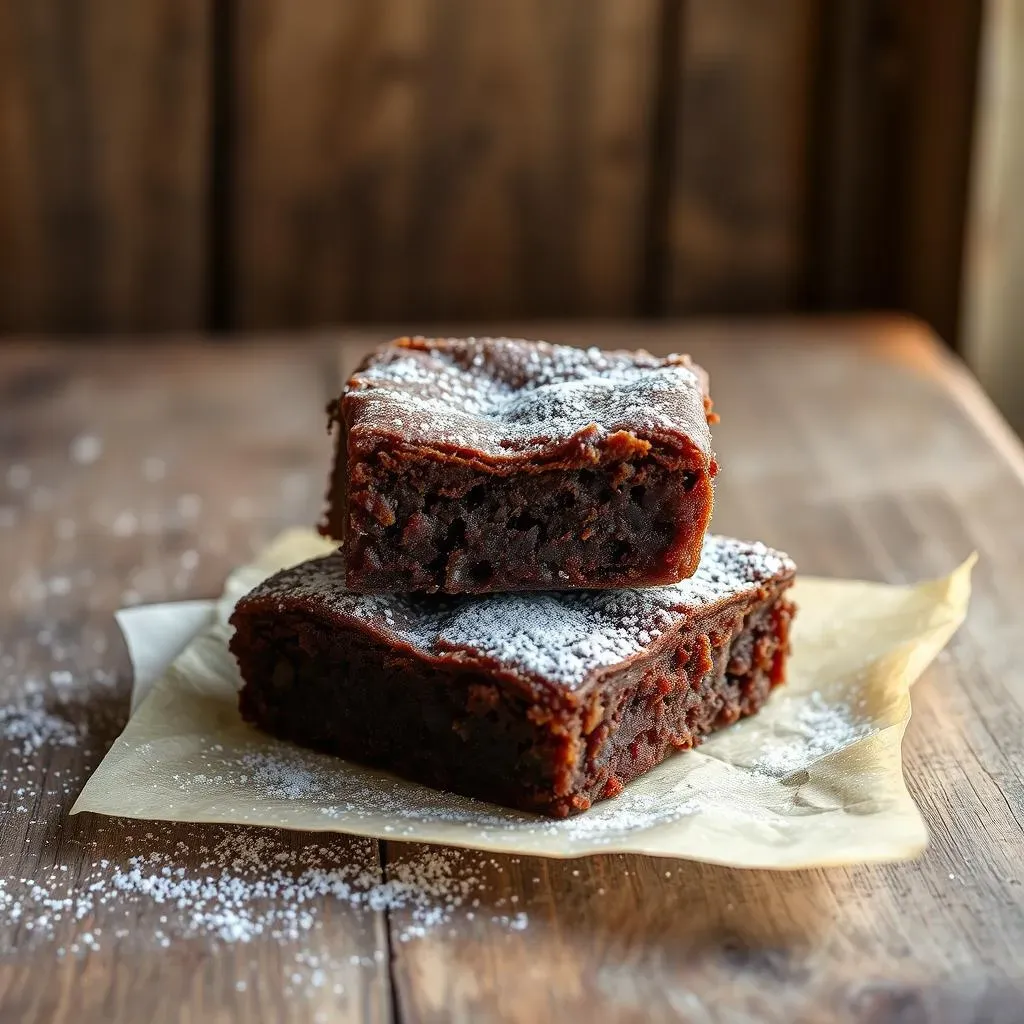
Now, let's get these brownies in the oven! First, make sure you line your baking pan with parchment paper. This makes it super easy to remove the brownies once they're done, and it also prevents them from sticking. Pour the batter into the pan and spread it evenly. Bake in a preheated oven until the edges are set and the center is still slightly soft. The toothpick test is your friend here; insert it into the center, and if it comes out with a few moist crumbs, it's perfect. The key here is to not overbake, it's better to underbake than overbake, they will continue to cook while they cool down.
Once out of the oven, let them cool completely in the pan before cutting. This is the hardest part, I know, but it's worth it. If you try to cut them while they're still warm, they'll fall apart, and we don't want that. Be patient.
Tip | Why It Matters |
|---|---|
Whisk eggs and sugar well | Creates a crackly top |
Don't overmix the batter | Prevents tough brownies |
Line the pan with parchment paper | Makes removal easy |
Don't overbake | Keeps brownies fudgy |
Cool completely before cutting | Prevents crumbling |
GlutenFree Brownie FAQs, Storage and Delicious Variations
GlutenFree Brownie FAQs, Storage and Delicious Variations
Frequently Asked Questions
So, you've baked your amazing gluten-free almond flour brownies, and maybe you've got a few burning questions. It's totally normal! One of the most common questions I get is, "Can I substitute the almond flour?" The short answer is, not really. Almond flour is the key to the texture, and other flours just won't give you the same results. Another question: "Can I use other types of sugar?" Yes, you can experiment with coconut sugar or maple syrup, but be aware that this can alter the flavor and texture of the brownies. It's all about finding the right balance. And finally, "How do I know when they're done?" The toothpick test is your best friend; it should come out with a few moist crumbs, not wet batter.
I know baking can be intimidating, but don't worry, I've made all the mistakes so you don't have to! Just stick to the recipe, and you'll be fine.
Storage Solutions
Now that you've baked and (hopefully) enjoyed your brownies, let's talk about storage. If you happen to have any left over, that is. These gluten-free almond flour brownies are best stored in an airtight container at room temperature for up to three days. But let's be honest, they probably won't last that long. For longer storage, you can keep them in the fridge for up to a week, though they might lose a little of their fudginess. And if you're planning for the future (good for you!) you can freeze them for up to three months. I like to wrap them individually in plastic wrap before freezing so that I can grab one or two whenever I need a chocolate fix.
Pro tip: If you freeze them, let them thaw at room temperature, or pop them in the microwave for a few seconds to get that gooey texture back.
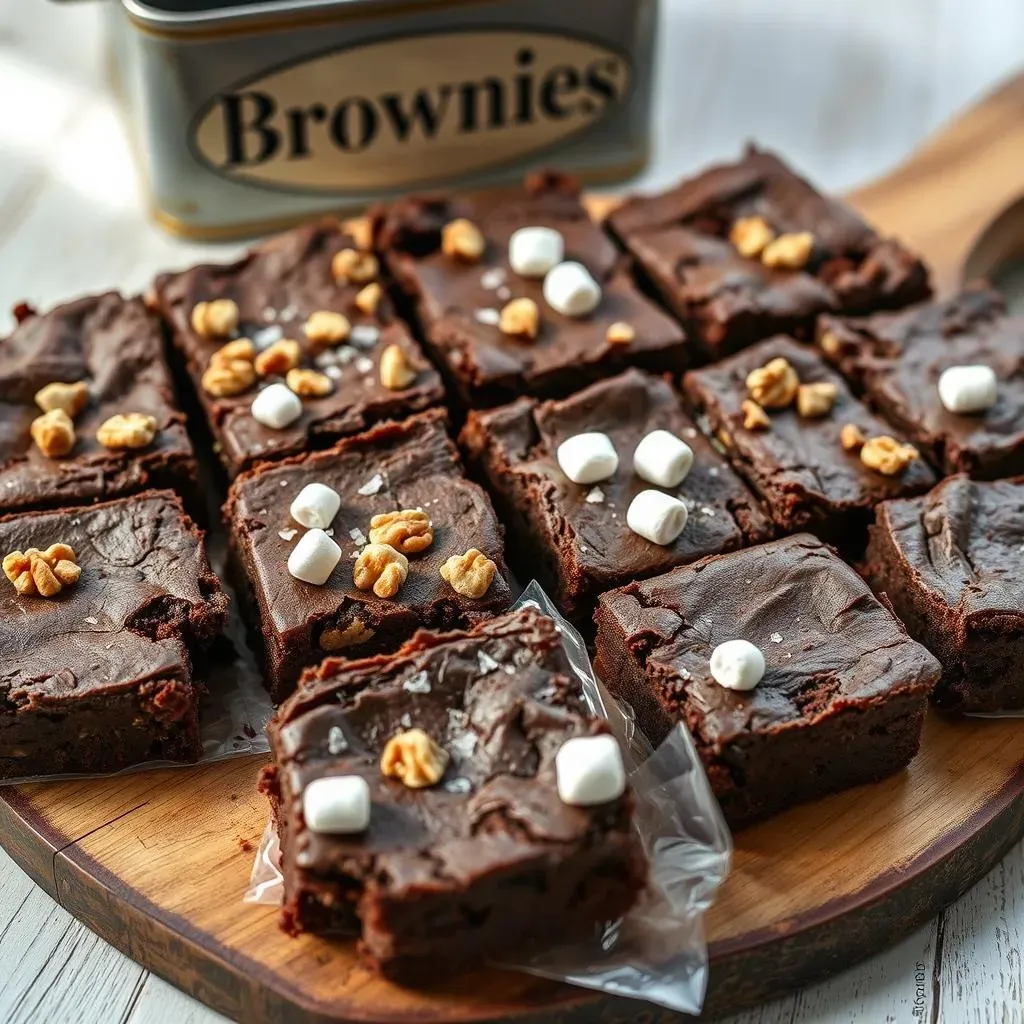
Delicious Variations
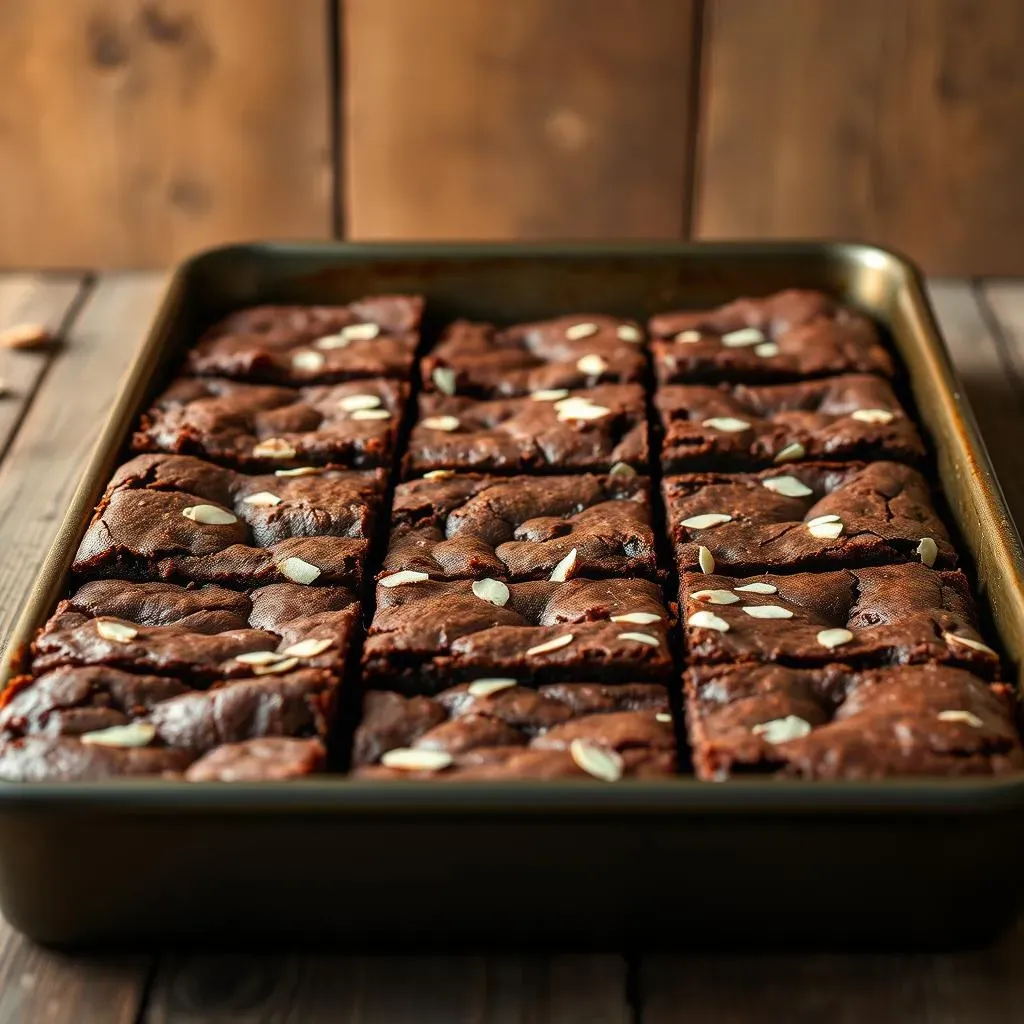
Okay, so you've mastered the basic recipe, but what if you want to get a little fancy? The possibilities are endless! For a nutty twist, add some chopped walnuts or pecans to the batter. If you're a fan of sea salt, sprinkle some flaky sea salt on top before baking for a sweet and salty delight. You could also stir in some chopped toffee bits or even some mini marshmallows for extra gooeyness. And if you're not a fan of dark chocolate, try using white chocolate chips instead. Get creative and make these brownies your own!
I sometimes add a swirl of peanut butter on top before baking, it's my secret weapon for extra deliciousness.
Variation | How to Do It |
|---|---|
Nuts | Add 1/2 cup of chopped walnuts or pecans to the batter. |
Sea Salt | Sprinkle flaky sea salt on top before baking. |
Toffee Bits | Stir 1/4 cup of toffee bits into the batter. |
Mini Marshmallows | Stir 1/2 cup of mini marshmallows into the batter. |
White Chocolate Chips | Substitute dairy-free white chocolate chips for the dark chocolate chips. |