Table of Contents
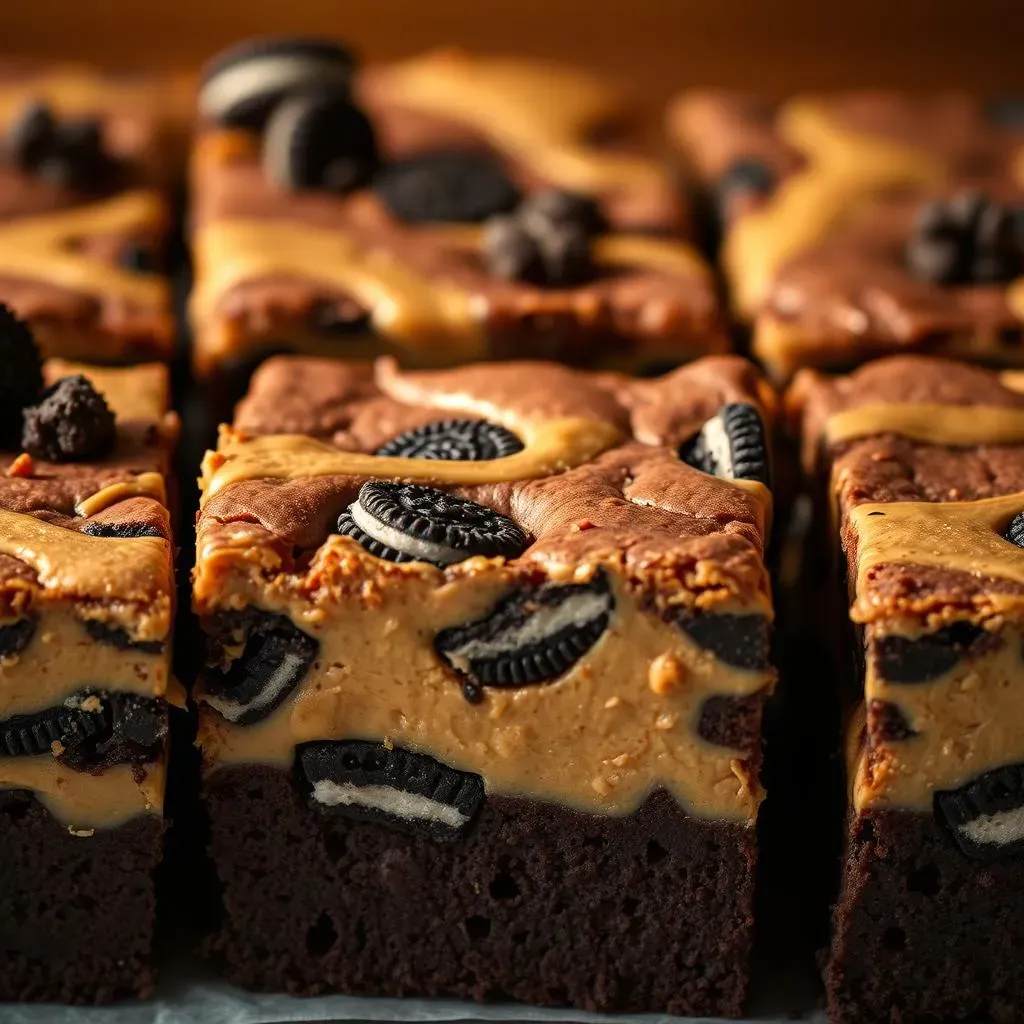
Ever dreamt of a dessert that's a triple threat? We're talking about the ultimate indulgence: brownies oreos and peanut butter all in one glorious bite. Forget those boring, plain brownies; we're about to embark on a journey of fudgy, crunchy, creamy goodness. This isn't just a recipe; it's an experience. We'll start with the foundation: a killer brownie base that's thick, chewy, and everything a brownie should be. Then, we'll get into the fun part, layering in the magic of peanut butter and those iconic Oreo cookies. From baking secrets to cooling wisdom, I’ll share all my tips. I'll even touch on the science behind why these brownies are so darn good. So, grab your apron, and let's get ready to create some serious dessert magic with these peanut butter oreo brownies! It's not just baking; it's a delicious adventure.
Crafting the Perfect Brownie Base
Crafting the Perfect Brownie Base
The Fudgy Foundation
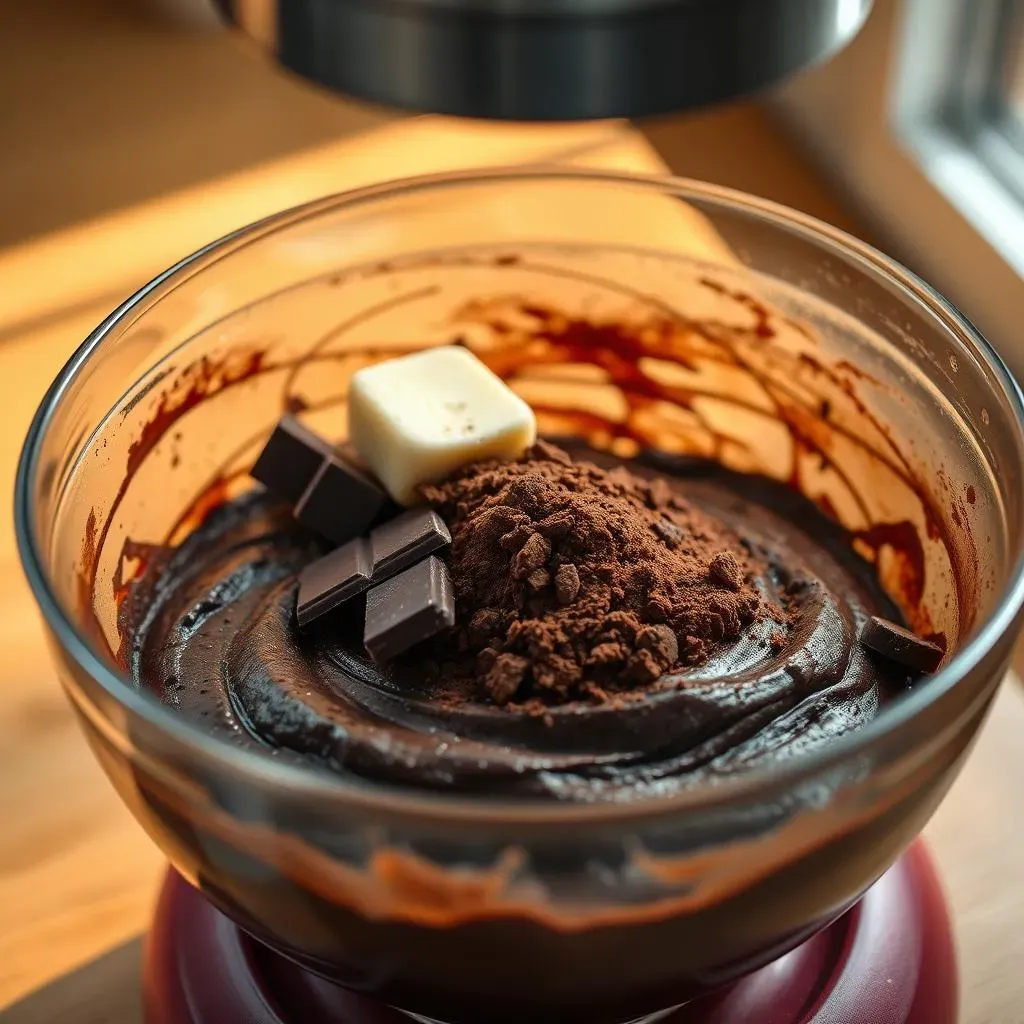
Okay, so you want to make brownies that are more than just "okay"? The secret starts with the base. Forget those cakey, dry excuses for brownies. We're going for fudgy, dense, and intensely chocolatey. Think of it like building a house; you need a solid foundation. We are using real butter, not that oil stuff, because butter adds flavor and that richness that you can't get elsewhere. And don't skimp on the cocoa powder, use the good stuff, the dark stuff, not the cheap one. Trust me, it makes a huge difference. We want brownies that are so good that they practically melt in your mouth.
Now, let's talk about sugar. We're using a mix of granulated and brown sugar. Granulated gives us that classic brownie sweetness, but the brown sugar? That's where the magic happens. It adds moisture and a depth of flavor that's just irresistible. It's like adding a secret ingredient that no one can quite put their finger on but everyone loves. Don't be afraid to get your hands dirty, mix it well. The batter should be thick and glossy, almost like melted chocolate. If it is thin, something is not right.
Ingredient | Why it Matters |
|---|---|
Real Butter | Adds flavor and richness |
High-Quality Cocoa Powder | Intensifies the chocolate flavor |
Brown Sugar | Adds moisture and depth of flavor |
Mixing Like a Pro
So, you've got your ingredients, now what? Don't overmix the batter! Seriously, this is crucial. Overmixing develops the gluten in the flour, leading to cakey brownies. And we are not making cakes, right? We are making brownies. Mix until everything is just combined. It should look smooth, but don't spend too much time stirring it. Think of it like a gentle fold, not a wrestling match. This will keep the brownies dense and fudgy, not puffy and dry. The goal here is moist brownies, so do not overmix and do not overbake them.
Also, let’s talk about the wet ingredients. We are using eggs, and not just any eggs, but whole eggs, this will provide the structure for the brownies. You also want to use good quality vanilla extract, this will help bring all the flavors together. It's like the glue that holds everything together. If you are using cheap vanilla extract, then it will taste like alcohol. So use good ingredients. The better the ingredients, the better the brownie. It is that simple.
Layering Peanut Butter and Oreo Goodness
Layering Peanut Butter and Oreo Goodness
Peanut Butter Swirls
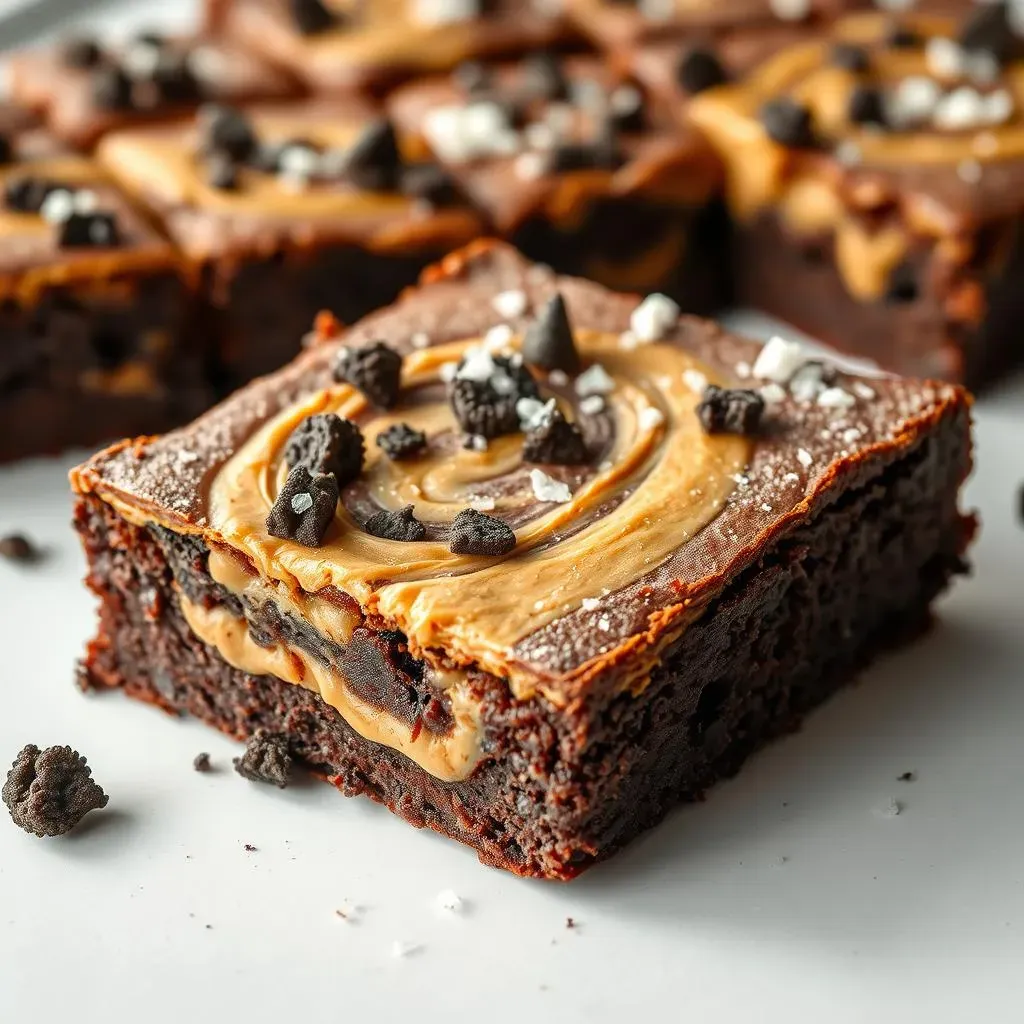
Alright, now for the fun part: peanut butter! I'm not talking about just dolloping it on top. We want swirls, ribbons of peanut butter running through every bite. Think of it as creating a masterpiece, not just dumping stuff in a pan. Warm the peanut butter slightly, just enough to make it easier to work with. This makes it smooth and easy to drizzle over the brownie batter. Use a knife or a toothpick to create those beautiful swirls. Don't be shy, get creative! You want to see those peanut butter pockets when you cut into the brownies. It's like finding a hidden treasure in every piece.
Now, some people use regular peanut butter, but if you want to be extra fancy, try using the natural stuff. It tends to be a bit runnier and easier to swirl. You can also add a pinch of salt to the peanut butter to enhance the flavor. It's all about balance, right? The sweet from the brownie, the salty from the peanut butter, and the crunch from the Oreos. It's a match made in dessert heaven. The peanut butter not only adds flavor, but also adds a creamy texture to the brownies.
Peanut Butter Type | Texture | Flavor | Swirling Ease |
|---|---|---|---|
Regular | Thick | Classic | Moderate |
Natural | Runny | More Intense | Easy |
Oreo Cookie Crunch
Okay, let's talk about the stars of the show: Oreos. We're not just sprinkling them on top; we're embedding them! I like to use whole Oreos because it makes the brownies look more impressive. You can use regular or double-stuffed, it's your choice. Place them strategically over the peanut butter swirls. I like to gently press them into the batter so they don't just fall off after baking. It's like giving the brownies a little hug, so they hold onto the Oreos. You want those Oreo pieces to be visible when you cut the brownies. That's the beauty of this recipe. It's a visual and a taste experience.
If you are looking for a different texture, you can also break the Oreos into smaller pieces. This will give you a more even distribution of Oreo goodness throughout the brownies. You can also use different flavors of Oreos. Think about golden Oreos, or mint Oreos, or even peanut butter Oreos! The possibilities are endless. It's all about making the brownies your own. Just remember, don’t overcrowd the brownies with Oreos, it needs to have a balance, it's all about the ratio, not just piling everything in.
Baking, Cooling, and the Magic of Refrigeration
Baking, Cooling, and the Magic of Refrigeration
The Baking Ballet
Alright, our masterpiece is assembled, now it's time for the oven. Don’t just throw it in there and forget about it, baking is an art, it needs care. Preheat your oven to 350°F (175°C), and make sure the rack is in the center. We want even heat distribution, it is crucial for a good bake. Bake the brownies for about 25-30 minutes. Don't overbake them! Overbaked brownies are dry and crumbly, and we want fudgy, gooey brownies, remember? The edges should be set, but the center should still be a little soft. It's like the Goldilocks of baking, not too hard, not too soft, but just right. A toothpick inserted into the center should come out with a few moist crumbs attached, not clean. That is the trick.
Keep an eye on them, every oven is different, so baking times may vary. It's like watching a pot of water boil, you have to be patient, and you have to pay attention. If you see the edges browning too quickly, you can tent a piece of foil over the top to prevent them from burning. It's like giving your brownies a little shade from the sun. Once baked, take them out of the oven and let them cool in the pan. Don’t try to take them out right away, they need time to set. It's like letting a sleeping baby rest, don't disturb it.
- Preheat the oven to 350°F (175°C).
- Bake for 25-30 minutes.
- Edges should be set, center slightly soft.
- Toothpick test: moist crumbs, not clean.
- Cool in pan before cutting.
The Chilling Effect
Now, this is where the magic happens: refrigeration. I know, it seems like an unnecessary step, but trust me, it's the key to clean cuts and perfect texture. Once the brownies have cooled to room temperature, cover the pan with plastic wrap and pop it in the fridge for at least two hours, or even better, overnight. This chilling time allows the butter in the brownies to firm up, making them much easier to slice. It's like putting your brownies in a spa, they come out refreshed and ready to be enjoyed. If you skip this step, you'll end up with a crumbly mess. And who wants that?
Think of it like this, warm brownies are like a soft, gooey mess, but cold brownies are like a perfectly formed, delicious treat. The cold temperature also enhances the flavors, making them even more intense. It’s like giving your taste buds a little extra treat. Plus, cold brownies are just so much easier to handle and eat. No more sticky fingers! It's all about the experience, not just the taste. So, be patient, let them chill, and you will be rewarded with perfect peanut butter oreo brownies.
Slicing and Serving
Okay, the brownies are chilled, and now we are ready to cut them. Use a sharp knife, and if you want extra clean cuts, run the knife under hot water between each cut. It's like a hot knife through butter, but for brownies. Cut them into squares, or bars, or whatever shape you want. The beauty of homemade brownies is that you can make them exactly how you want them. And now it’s time to serve these beauties. You can serve them as is, or you can add a scoop of vanilla ice cream, or a drizzle of chocolate sauce. It's all about making it your own.
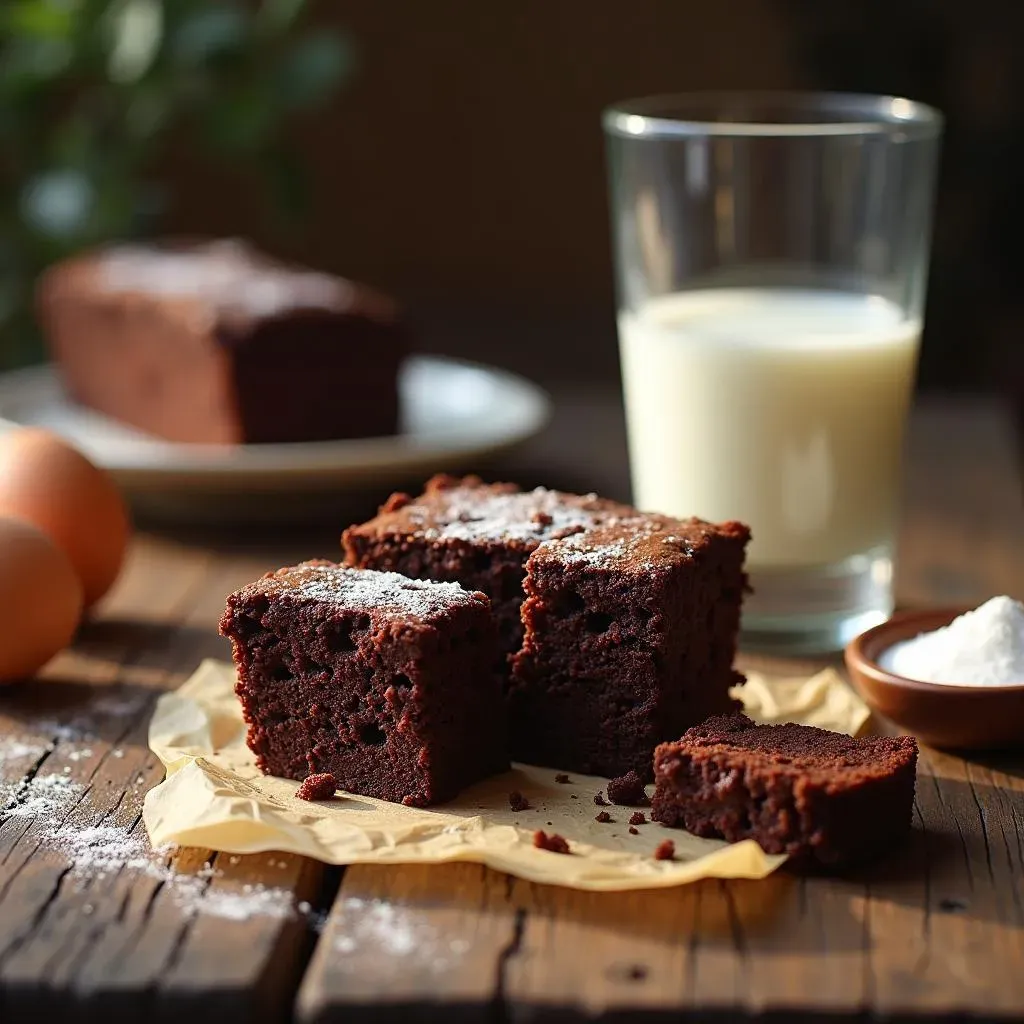
These brownies are best enjoyed with a glass of cold milk, or a cup of coffee. The contrast between the warm brownie and the cold milk is just perfect. And if you have any leftovers, store them in an airtight container at room temperature for up to 5 days, or freeze them for up to 3 months. It’s like having a little piece of happiness ready whenever you need it. Now, go ahead, enjoy your peanut butter oreo brownie creation, you deserve it.
Kitchen Chemistry, Tools, and Tips for Brownies, Oreos and Peanut Butter
Kitchen Chemistry, Tools, and Tips for Brownies, Oreos and Peanut Butter
The Science Behind the Deliciousness
Okay, let's get a little nerdy for a second. Baking isn't just throwing ingredients together; it's actually a science experiment. When you mix butter, sugar, and eggs, you're creating an emulsion. This is what gives the brownies their rich texture. The cocoa powder adds not only flavor but also structure. It's like a building block for the brownie. And the brown sugar? It's hygroscopic, which means it attracts and holds onto moisture, leading to that fudgy texture we all love. Understanding these basic chemical reactions can help you become a better baker. It's not magic; it's just science, and it's delicious.
Also, the temperature of your ingredients matters. Using room-temperature eggs and butter helps them combine more easily, resulting in a smoother batter. And when you bake the brownies, the heat causes the proteins in the eggs to coagulate, giving the brownies their structure. The Maillard reaction, a chemical reaction between amino acids and reducing sugars, is what gives the brownies their beautiful brown color and that toasty flavor. So, next time you're baking, remember, you're not just making brownies; you're conducting a tasty science experiment! It's like being a mad scientist, but with delicious results.
Ingredient | Scientific Role | Effect on Brownies |
|---|---|---|
Butter | Emulsion | Rich texture |
Cocoa Powder | Structure | Chocolate flavor, building block |
Brown Sugar | Hygroscopic | Fudgy texture |
Tools of the Trade and Pro Tips
Alright, let’s talk about the tools you’ll need. You don't need fancy equipment to make great brownies, but a few key items will make your life easier. A good 9-inch square baking pan is essential. Glass or metal? It’s your choice, but metal pans tend to heat up more evenly. Parchment paper is your best friend for easy removal. Line the pan with parchment paper, and you can lift the brownies right out without any sticking. It is a life saver. And a good set of measuring cups and spoons is crucial for accurate baking. Baking is all about precision, so don't eyeball it! Also a good mixing bowl and a whisk or a spatula, it is all you need.
Here are some pro tips: Don't overbake the brownies! This is probably the most common mistake. Start checking them around 25 minutes, and use the toothpick test, remember? Also, use high-quality ingredients. It makes a huge difference in the final product. And don't be afraid to experiment. Try adding different flavors of Oreos, or different types of peanut butter. Baking is all about having fun and making it your own. It’s like being an artist, you are creating your own master piece. And remember, practice makes perfect, so don’t be discouraged if your first batch isn’t perfect. Keep trying, and you’ll get there!
- 9-inch square baking pan: Essential for even baking.
- Parchment paper: For easy removal.
- Measuring cups and spoons: Accuracy is key.
- Good mixing bowl: For combining ingredients.
- Whisk or spatula: For mixing batter.