Table of Contents
Ever dream of a brownie so fudgy it practically melts in your mouth, but also happens to be gluten-free? Well, dream no more! This article is your ticket to creating the most decadent, gooey, and downright delicious brownie with almond flour you've ever tasted. We're ditching the wheat and embracing the nutty goodness of almond flour to make a treat that's not only incredibly satisfying but also surprisingly simple to whip up. Think rich chocolate flavor, a perfectly crackled top, and a soft, almost molten center – all without any gluten. We'll walk you through the exact steps, from gathering your ingredients to mastering the baking process. You'll discover the secrets to getting that ideal texture, plus some pro tips for storing your brownies (if they even last that long!). Get ready to transform your kitchen into a brownie paradise and impress everyone with your gluten-free baking skills. So, grab your apron and let's get baking!
Crafting the Perfect Almond Flour Brownie
Crafting the Perfect Almond Flour Brownie
The Almond Flour Advantage
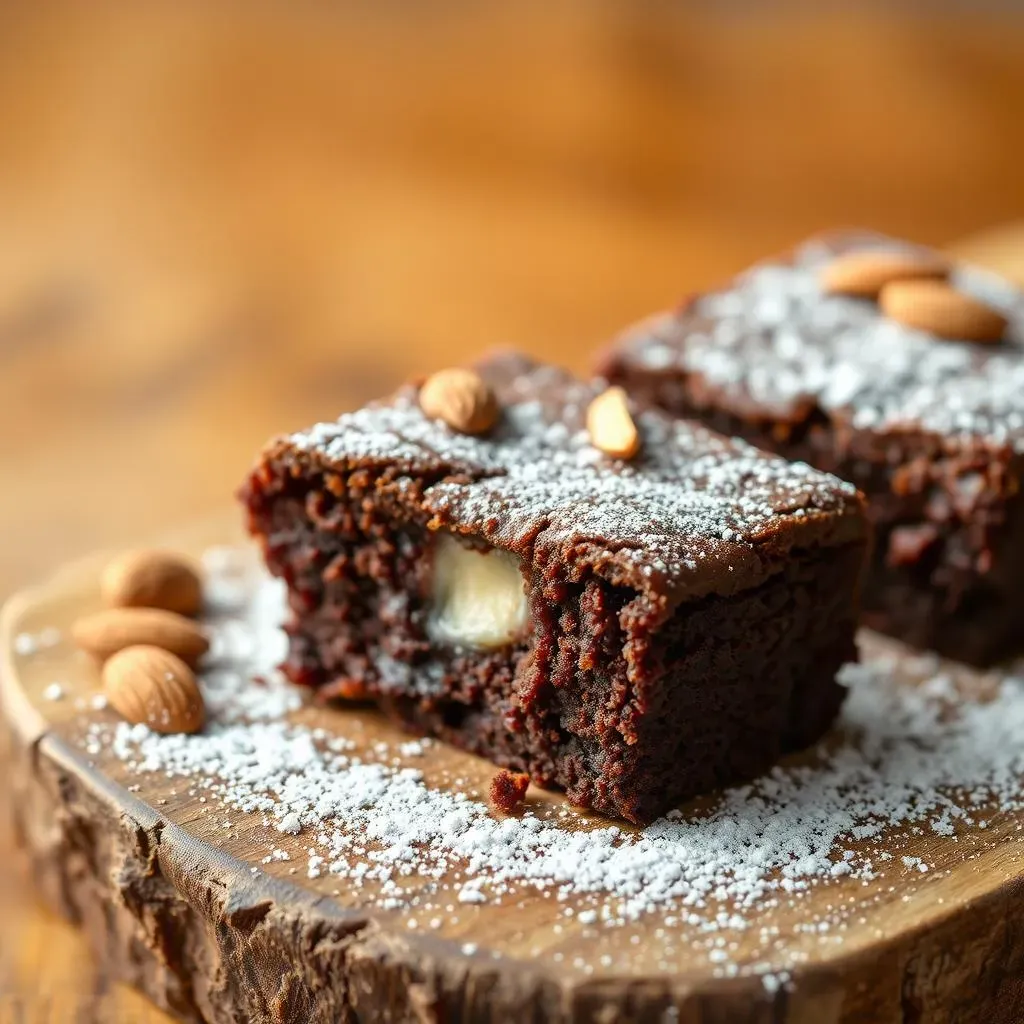
Okay, let's talk almond flour. It's not just some trendy gluten-free substitute; it's a game changer for brownies. Unlike regular wheat flour, almond flour brings a delicate, slightly nutty flavor that complements chocolate like a dream. But here's the thing: not all almond flour is created equal. We're talking about blanched almond flour, the finely ground stuff, not the coarser almond meal. Using almond meal will give you a grainy texture, and nobody wants a gritty brownie. Trust me on this, the right almond flour is the first step in your journey to brownie perfection.
Key Ingredients for Success
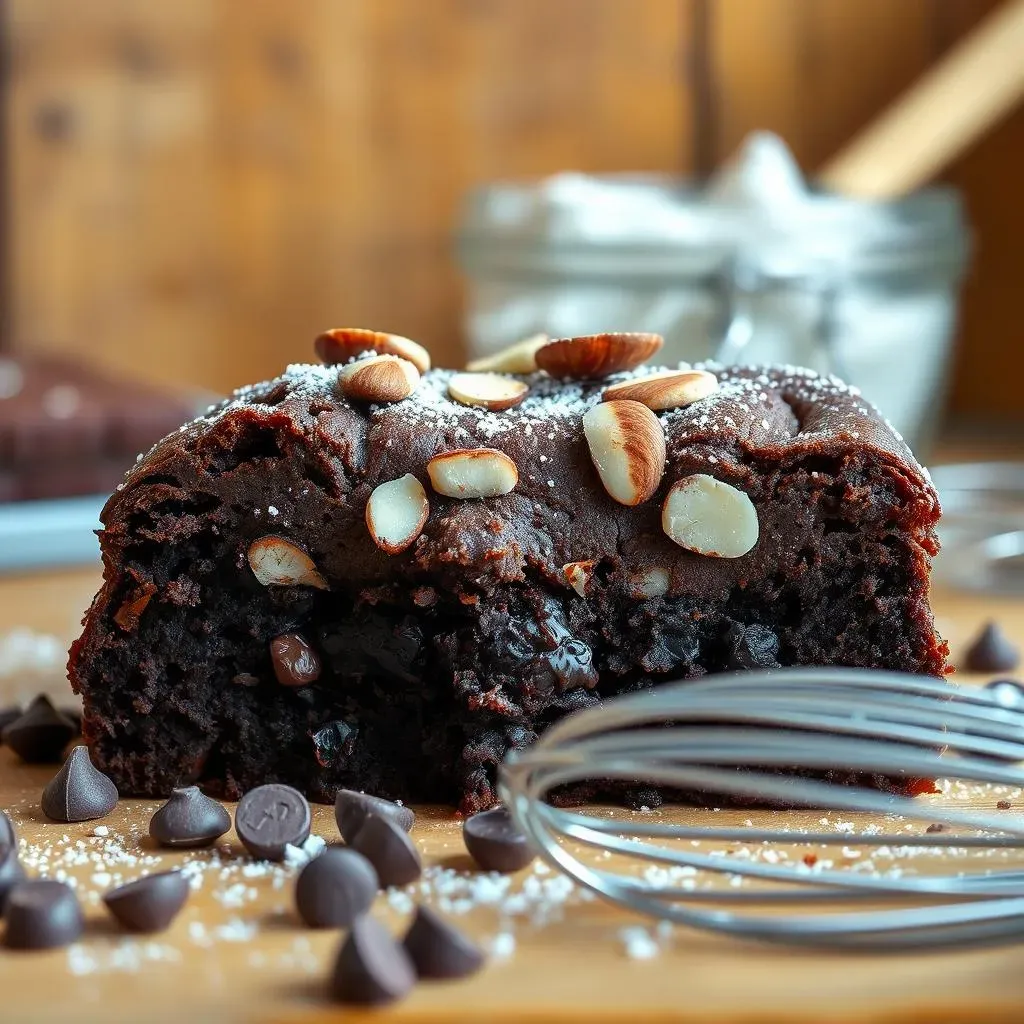
Beyond the almond flour, a few other ingredients are crucial for nailing that perfect fudgy texture. First, good quality chocolate is a must. Don't skimp on this; it's the heart of your brownie. We're using both melted chocolate and chocolate chips for an extra layer of richness. Then there's the fat – butter or coconut oil work great, adding moisture and tenderness. And don't forget the eggs; they bind everything together and contribute to that classic brownie chew. Finally, a touch of sweetness, whether it's regular sugar or a sugar substitute, rounds out the flavor profile.
Ingredient | Why it Matters |
|---|---|
Blanched Almond Flour | Creates a soft, non-gritty texture |
High-Quality Chocolate | Adds rich, deep chocolate flavor |
Butter or Coconut Oil | Provides moisture and tenderness |
Eggs | Binds ingredients and adds structure |
Sweetener | Balances the bitterness of chocolate |
The Science of Fudginess
Now, let's get into the nitty-gritty of what makes a brownie fudgy. It's all about moisture and the right balance of ingredients. Fudgy brownies have a higher fat-to-flour ratio, which keeps them dense and moist. The melted chocolate contributes to that gooey, decadent texture, while the chocolate chips add pockets of melty goodness. Baking time is also key. You want to slightly underbake them, so they're still a little soft in the center. Overbaking will lead to dry, cakey brownies, and that's a crime in the brownie world.
Almond Flour Brownie Recipe: StepbyStep
Almond Flour Brownie Recipe: StepbyStep
Prep Work and Melting Magic
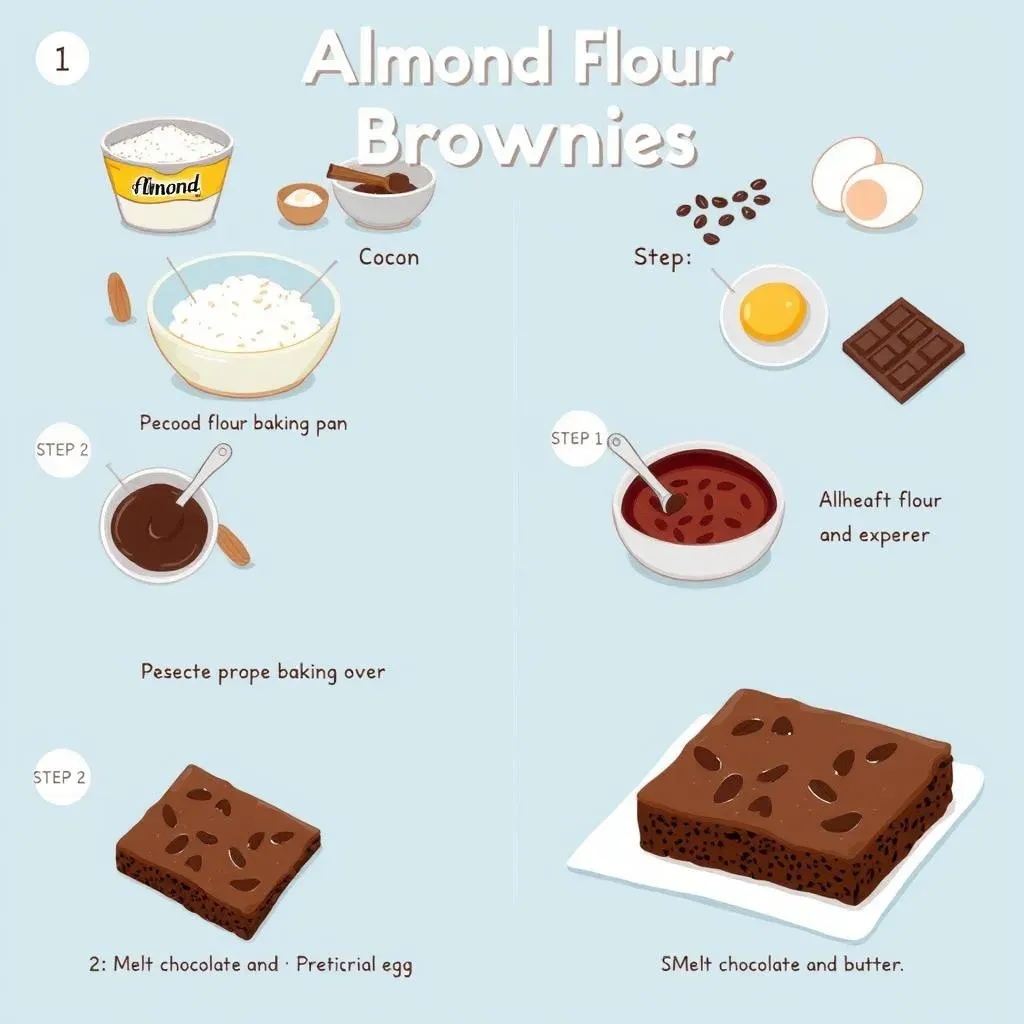
Alright, let's get down to business! First things first, preheat your oven to 350°F (175°C). Grab an 8x8 inch baking pan and line it with parchment paper, leaving a little overhang on the sides – this makes it super easy to lift the brownies out later. Now, for the magic: melt your chocolate and butter (or coconut oil) together. You can do this in a double boiler or in the microwave in short bursts, stirring in between to avoid burning. Once it's all smooth and luscious, set it aside to cool slightly.
While the chocolate mix is cooling, it's time to get your dry ingredients ready. In a separate bowl, whisk together your blanched almond flour, cocoa powder, salt, and baking powder. Make sure it's all well combined to avoid any clumps later on.
Mixing and Combining
Now comes the fun part – combining everything! In a large bowl, whisk together your eggs and sugar (or sugar substitute) until they're light and frothy. Then, gently pour in your slightly cooled melted chocolate mixture and vanilla extract. Mix until everything is well combined. Next, gradually add the dry ingredients to the wet ingredients, mixing until just combined. Be careful not to overmix; you want a smooth batter, not a tough one. Finally, stir in your chocolate chips.
I like to save a few extra chocolate chips to sprinkle on top before baking. It makes them look extra tempting when they come out of the oven.
Step | Action |
|---|---|
1 | Preheat oven to 350°F (175°C) and line baking pan. |
2 | Melt chocolate and butter (or coconut oil). |
3 | Whisk dry ingredients in a separate bowl. |
4 | Whisk eggs and sugar, then add melted chocolate and vanilla. |
5 | Combine wet and dry ingredients. |
6 | Stir in chocolate chips. |
Baking to Perfection
Pour your batter into the prepared pan and spread it evenly. If you’re going for that perfect crackly top, gently press down on the batter with a spatula. Now, it’s baking time! Pop the pan into the preheated oven and bake for about 30-35 minutes. The edges should be set, and the center will still be a little soft. To test for doneness, insert a skewer or toothpick into the center; it should come out with a few moist crumbs attached, not wet batter.
Once they're out of the oven, let them cool in the pan for at least 15 minutes before slicing and serving. Patience is key here; they need time to set properly. If you're having trouble waiting, just remember, the reward is worth it!
Tips for Success and Storing Your Almond Flour Brownies
Tips for Success and Storing Your Almond Flour Brownies
Pro Tips for Brownie Mastery
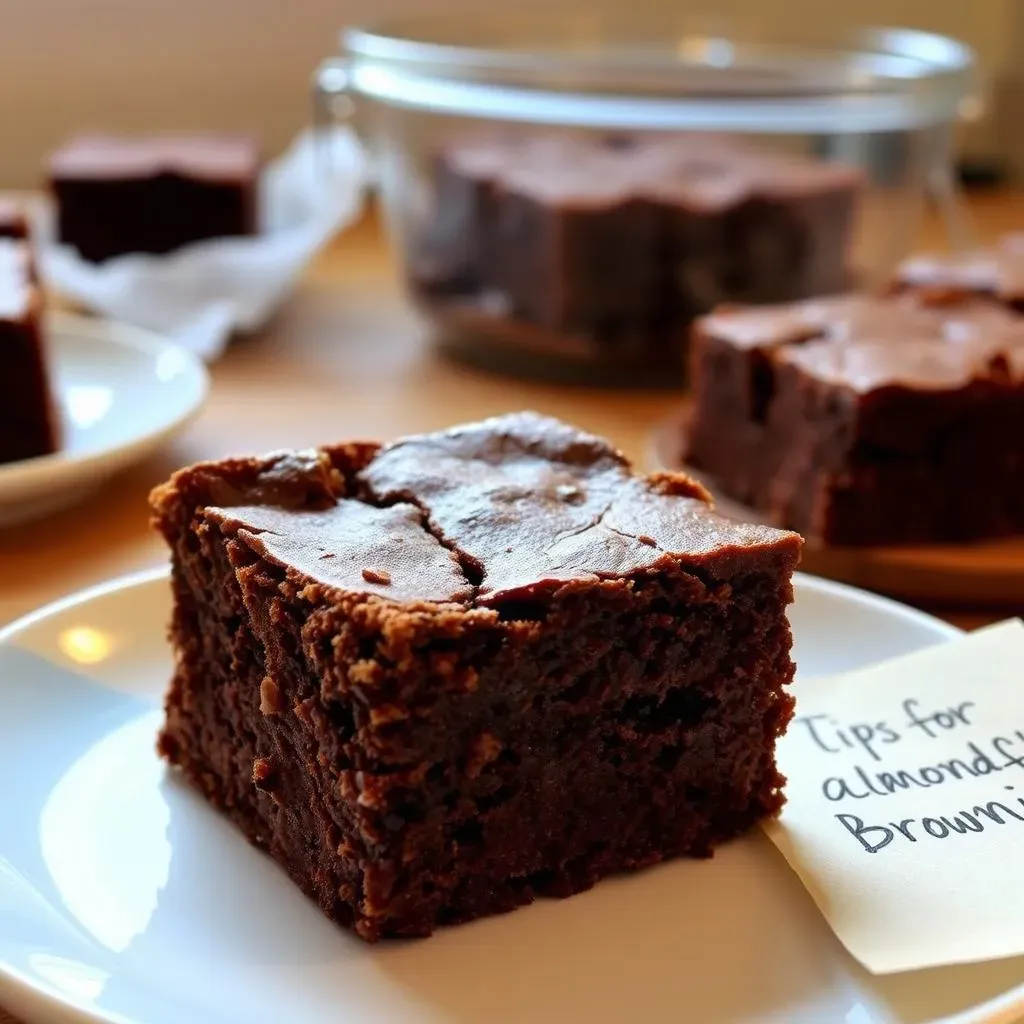
So, you've got the basics down, but let's talk about taking your almond flour brownies from good to absolutely phenomenal. First off, don't skip the parchment paper lining in your pan. It's seriously the easiest way to get those brownies out in one piece, no sticking, no crumbling – just pure, perfect squares. And speaking of squares, resist the urge to cut into them when they're still warm. I know, it's tempting, but letting them cool completely makes for cleaner cuts and a better texture. Also, if you're using a sugar substitute, keep in mind that it might affect the texture slightly. Some sweeteners can make the brownies a bit drier, so you might need to experiment a little to find the perfect balance. Finally, for an extra touch of indulgence, try adding a pinch of sea salt on top before baking. It enhances the chocolate flavor like nothing else.
Ever heard the saying "practice makes perfect?" Well, it’s true for baking too. Don't be discouraged if your first batch isn't flawless. The beauty of baking is that each attempt brings you closer to mastering the recipe. You might find that your oven runs a little hotter or cooler than mine. Maybe you prefer more or less sweetness – that’s totally fine! Baking is all about adjusting to your own taste and environment. The key is to keep notes and learn from each batch.
Tip | Why it Matters |
|---|---|
Parchment Paper Lining | Ensures easy removal and clean edges. |
Cool Completely Before Cutting | Prevents crumbling and improves texture. |
Adjust Sweetener | Some sweeteners can affect the texture. |
Pinch of Sea Salt | Enhances the chocolate flavor. |
Keep Notes | Helps you learn and improve every batch |
Storing Your Brownie Masterpiece
Alright, let's say you've managed not to devour all your brownies in one sitting – impressive! Now, how do you keep them fresh and delicious for later? The best way to store them is in an airtight container at room temperature for up to three days. If you want to keep them longer, pop them in the fridge, where they'll last for about a week. Just be aware that refrigeration can sometimes make them a little firmer, so you might want to let them sit at room temperature for a bit before serving. For long-term storage, you can freeze your brownies for up to three months. Just wrap them tightly in plastic wrap and then place them in a freezer-safe bag or container. When you're ready to enjoy them, let them thaw at room temperature or warm them up in the microwave for a few seconds. They'll taste as good as fresh-baked.
I remember once I made a huge batch for a party, and I had so many leftovers. I froze them, and weeks later, they were still as delicious as the day I baked them. It's a great feeling knowing you have a stash of fudgy goodness waiting for you whenever you need a chocolate fix. Just remember, no matter how you store them, the key is to keep them away from moisture and air. These two enemies will make your brownies stale and sad.
- Room Temperature: Airtight container, up to 3 days.
- Refrigerator: Airtight container, up to 1 week.
- Freezer: Wrapped tightly, up to 3 months.