Table of Contents
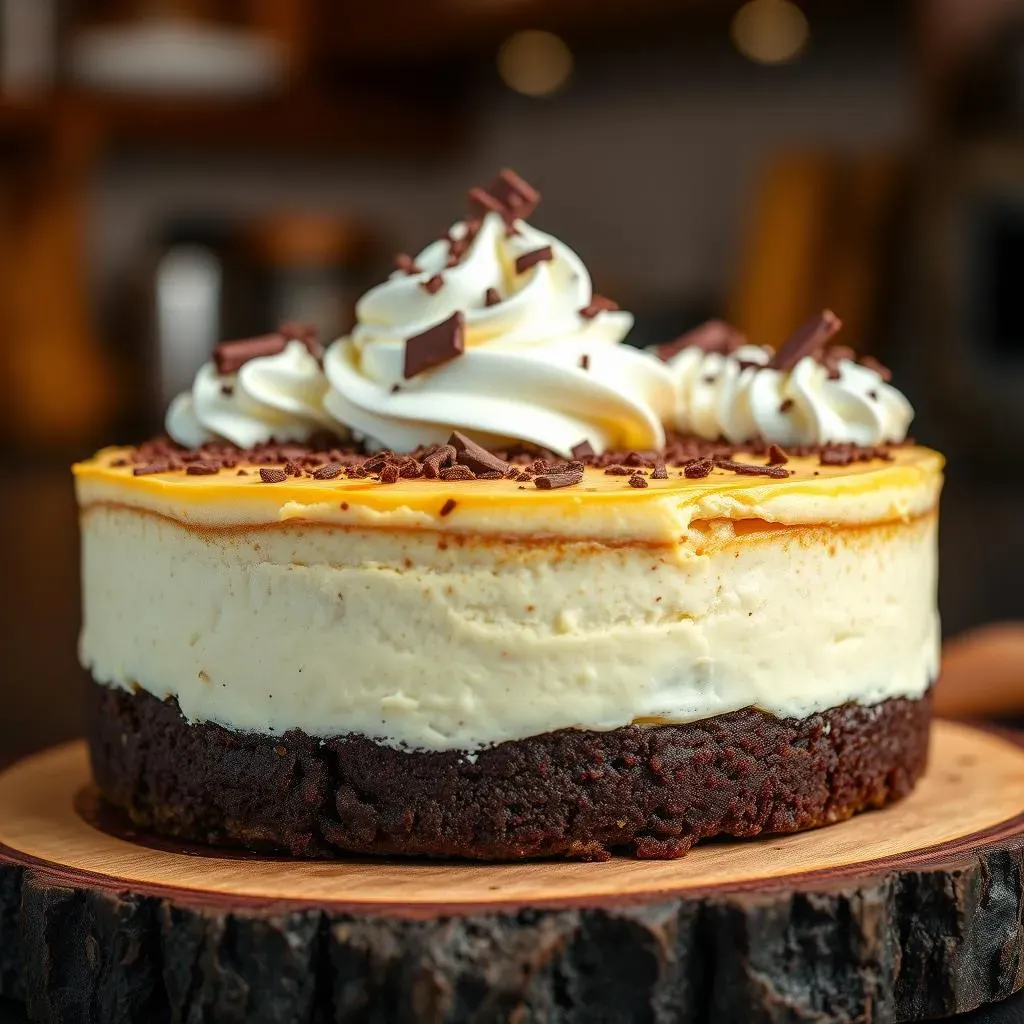
Ever dreamed of a dessert that combines the rich, fudgy goodness of a brownie with the smooth, creamy texture of a cheesecake? Well, dream no more! This article is your guide to creating the ultimate brownie base cheesecake. We're not just talking about any cheesecake; this is a decadent treat that starts with a luscious brownie layer, topped with a velvety cheesecake filling, and finished with a flourish of whipped cream and chocolate. It's the kind of dessert that makes you want to skip dinner and go straight to the good stuff. We will walk you through every step, from mixing the batter to baking perfection, including tips to avoid those pesky cracks and tricks for decorating like a pro. Whether you're a seasoned baker or just starting out, get ready to impress your friends and family with a brownie base cheesecake that's as beautiful as it is delicious. Get your aprons on; let's bake!
Crafting the Perfect Brownie Base Cheesecake
Crafting the Perfect Brownie Base Cheesecake
The Foundation: Choosing Your Brownie
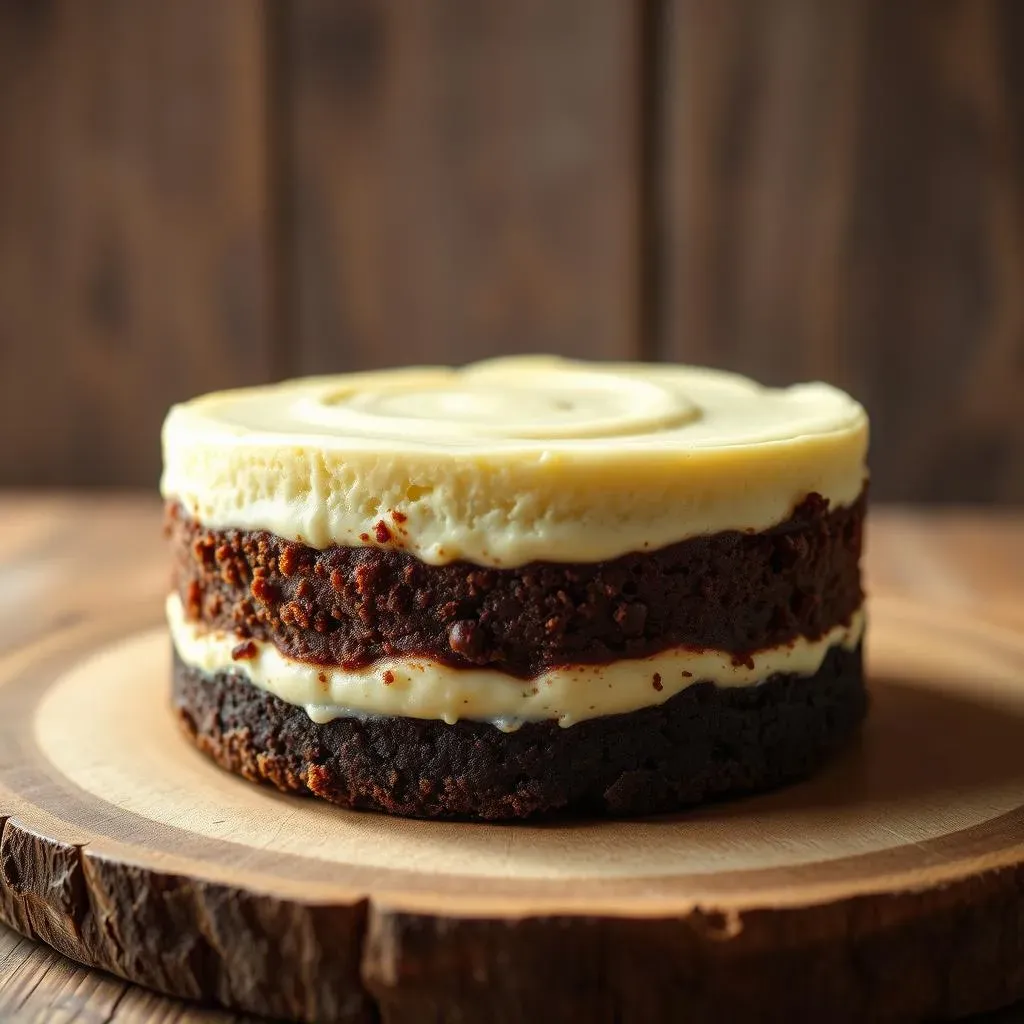
Let's face it, the brownie base is the unsung hero of this whole operation. You could go the super-easy route with a boxed mix – and honestly, no judgment here, we've all been there. Just follow the box instructions, maybe adding a splash of coffee to deepen the flavor, if you're feeling fancy. But, if you're aiming for a "wow" factor, consider whipping up a batch from scratch. Think fudgy, dense, and slightly underbaked, because it will bake again with the cheesecake layer. It should be like a soft, chocolatey hug for the cheesecake.
For a richer flavor, I like to use dark chocolate and a bit of espresso powder, it gives the brownie an almost mocha taste that's just incredible. Don't be afraid to experiment with different types of chocolate or add-ins like nuts or chocolate chips, but don't go overboard. Remember, the brownie should complement the cheesecake, not overpower it. We want a solid base that's tasty on its own, but also plays well with others. Think of it as the foundation of a delicious building, it needs to be strong and reliable.
Preparing the Pan: No Stick, No Problem
Now, before you even think about pouring in that brownie batter, let's talk about the pan. A springform pan is your best friend here. It makes removing the cheesecake later a breeze, trust me, you don't want to be wrestling a delicate cheesecake out of a regular pan. Grease it well, and I mean really well. Don't be shy with the butter or cooking spray. I even like to add a circle of parchment paper to the bottom for extra insurance, it's like a little safety net for my cheesecake.
Once the pan is prepped, spread your brownie batter evenly across the bottom. If you're using a homemade batter, resist the urge to eat it all right then and there. I know, it's hard, but the end result will be worth it. Pop that brownie base into the oven for a little pre-bake. This firms it up a bit, creating a nice stable platform for the cheesecake layer. We're not looking to fully cook it, just give it a head start. Think of it like warming up before a workout, it's important to get the base ready before the main event.
Brownie Base Tip | Description |
|---|---|
Pre-Bake | Partially bake the brownie base before adding the cheesecake layer. |
Pan Prep | Use a well-greased springform pan with parchment paper. |
Flavor Boost | Add coffee or espresso powder for a deeper flavor. |
The Creamy Cheesecake Layer: A StepbyStep Guide
The Creamy Cheesecake Layer: A StepbyStep Guide
The Cream Cheese: The Star of the Show
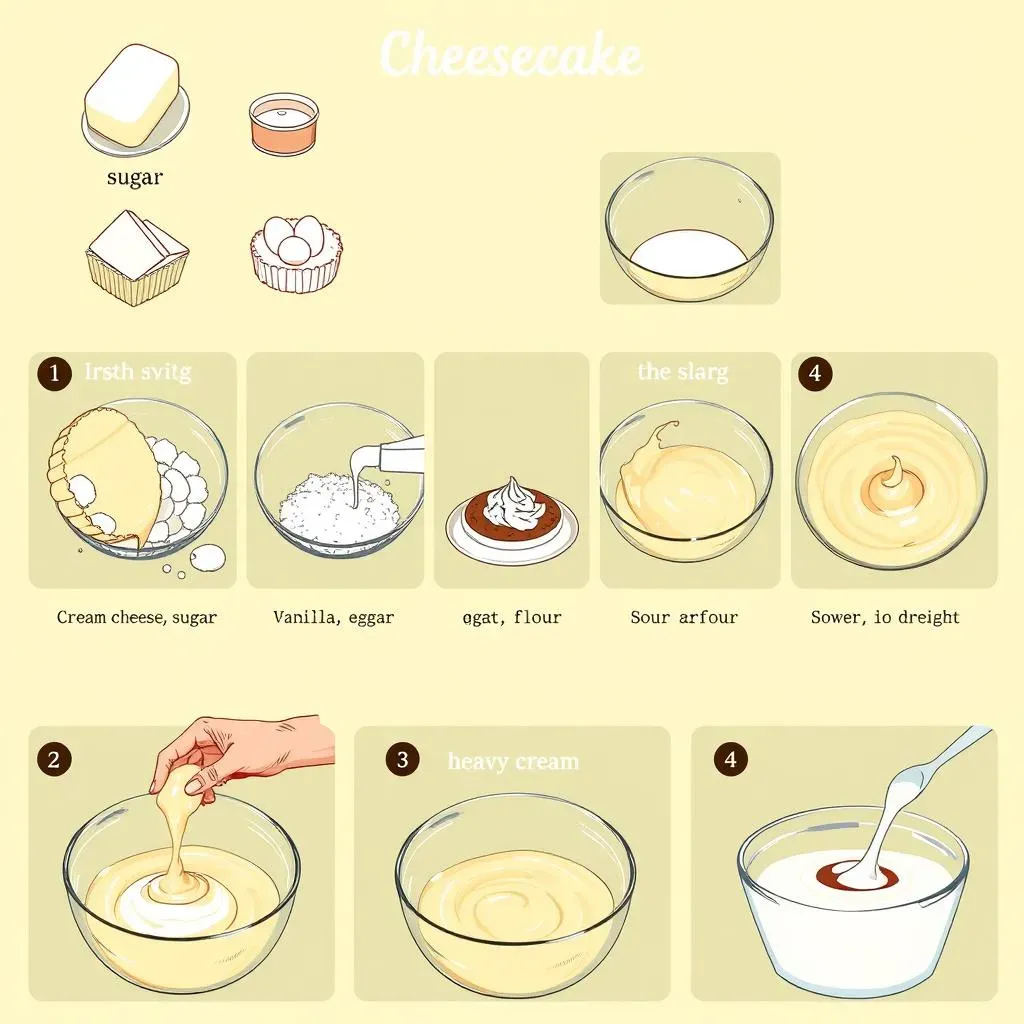
Alright, now for the real magic – the cheesecake layer. First things first, you need good quality cream cheese, and I mean the full-fat stuff. None of that low-fat nonsense, we're not counting calories here. Make sure it's softened, otherwise, you'll end up with a lumpy mess. I like to leave mine out on the counter for a couple of hours, or if I'm in a rush, I'll zap it in the microwave for a few seconds. Just be careful not to melt it! Then, beat it until it's smooth and creamy, like a cloud. This is the foundation of our creamy dream, so take your time. Don't rush it, we are building a masterpiece here.
Once your cream cheese is singing, it's time to add the sugar. Granulated sugar is the way to go, and don't skimp on it. This is what gives our cheesecake its sweetness and also helps with that perfect texture. Beat it in gradually, making sure it's fully incorporated. Then, add a splash of vanilla extract, because what's a cheesecake without vanilla? It's like a hug in a bottle, adding a warm, comforting flavor. At this point, your kitchen should smell like heaven, just a little heads up.
Ingredient | Why It Matters |
|---|---|
Full-Fat Cream Cheese | Creates a rich, creamy texture. |
Granulated Sugar | Adds sweetness and helps with texture. |
Vanilla Extract | Provides a warm, comforting flavor. |
Adding the Good Stuff: Eggs, Flour, and More
Next, we're going to add some eggs. Add them one at a time, beating well after each addition. This is key to keeping your cheesecake smooth and preventing it from cracking later. Don't just dump them all in at once, patience is a virtue, especially when baking. Then, we're adding a bit of flour. This helps to stabilize the cheesecake and gives it some structure. Use a light hand, we don't want a cake that's tough or dry. Just a tablespoon or two will do the trick.
Now, for the secret ingredient, sour cream. This adds a little tang and extra creaminess. You can also use Greek yogurt if you're feeling adventurous. Mix it in gently, don't over mix at this point. Finally, we add a touch of heavy cream. This makes the cheesecake extra luscious and smooth. It's like adding silk to a velvet dress. Mix it in gently and just until combined. Over mixing at this point will incorporate too much air and can cause your cheesecake to crack. We are aiming for a batter that's smooth, creamy, and irresistible.
The Final Touches: Mixing and Pouring
Before pouring the cheesecake mixture over your pre-baked brownie base, give it a final gentle mix. Make sure everything is well combined but don’t over mix. We want to keep that batter light and airy. Now, carefully pour the cheesecake batter over the brownie base. Spread it evenly with a spatula, making sure it reaches all the edges. It should look like a smooth, creamy blanket covering the brownie. Now, it's time for the oven, and the moment of truth.
Remember, patience is key. Don't rush the baking process. Trust me, the extra time and care will pay off with a cheesecake that's not only delicious but also beautiful. You've come this far, don't give up now. We're almost there, and the anticipation is half the fun. We're about to embark on the baking adventure, and I'm just as excited as you are.
Baking and Cooling Secrets for a CrackFree Brownie Base Cheesecake

Baking and Cooling Secrets for a CrackFree Brownie Base Cheesecake
Okay, so you've got your brownie base and your creamy cheesecake layer all ready to go. Now, it's time for the most crucial part – baking it to perfection and, more importantly, avoiding those dreaded cracks. Nobody wants a cracked cheesecake, it's like a sad little face looking up at you from the oven. We're going to bake this low and slow; think of it like a gentle simmer rather than a rapid boil. Preheat your oven to 325°F (160°C), this lower temperature will help the cheesecake bake evenly and prevent it from puffing up too much, which is one of the main causes of cracking. We're not in a rush, we're aiming for a perfectly smooth top.
Once your oven is ready, carefully place your cheesecake in the center rack. Now, here’s a trick I learned from my grandma, put a shallow pan of water on the rack below the cheesecake. This creates a moist environment in the oven, which helps to prevent the top from drying out too quickly and cracking. It's like giving your cheesecake a little spa treatment while it bakes. Let it bake for about 45 minutes, or until the edges are set and the center is still slightly jiggly. Don't over bake it, remember, the cheesecake will continue to cook as it cools. We want it perfectly set but not overdone, it's a delicate balance, but you can do it.
Baking Secret | Why it Works |
|---|---|
Low Temperature | Prevents rapid expansion and cracking. |
Water Bath | Creates a moist environment, reducing surface drying. |
Slightly Jiggly Center | Indicates perfect doneness without overbaking. |
Now, the hardest part, cooling. This is where most cheesecakes go wrong. Do not, I repeat, do NOT take your cheesecake out of the oven right away. Turn off the oven and leave the cheesecake inside with the door slightly ajar for about an hour. This allows the cheesecake to cool down slowly and gradually, which prevents it from cracking due to the sudden temperature change. It’s like giving the cheesecake a gentle transition, it needs time to adjust. After that hour, take it out of the oven and let it cool completely on a wire rack at room temperature. Then, and only then, you can put it in the refrigerator to chill for at least 2 to 3 hours, or even better, overnight. Patience is key here, don’t rush it, your taste buds will thank you.
I know waiting is the worst, but trust me, it's worth it. This slow cooling process is what makes the difference between a cracked cheesecake and a smooth, velvety masterpiece. Think of it as a gentle massage for your cheesecake, it needs time to relax. Once it's completely chilled, it's ready for the final touch, the toppings. But not before we pat ourselves on the back for not having a cracked cheesecake. You did it! Now, let's get ready to decorate.
Serving and Storing Your Brownie Base Cheesecake Masterpiece
Serving and Storing Your Brownie Base Cheesecake Masterpiece
The Grand Finale: Serving Your Cheesecake
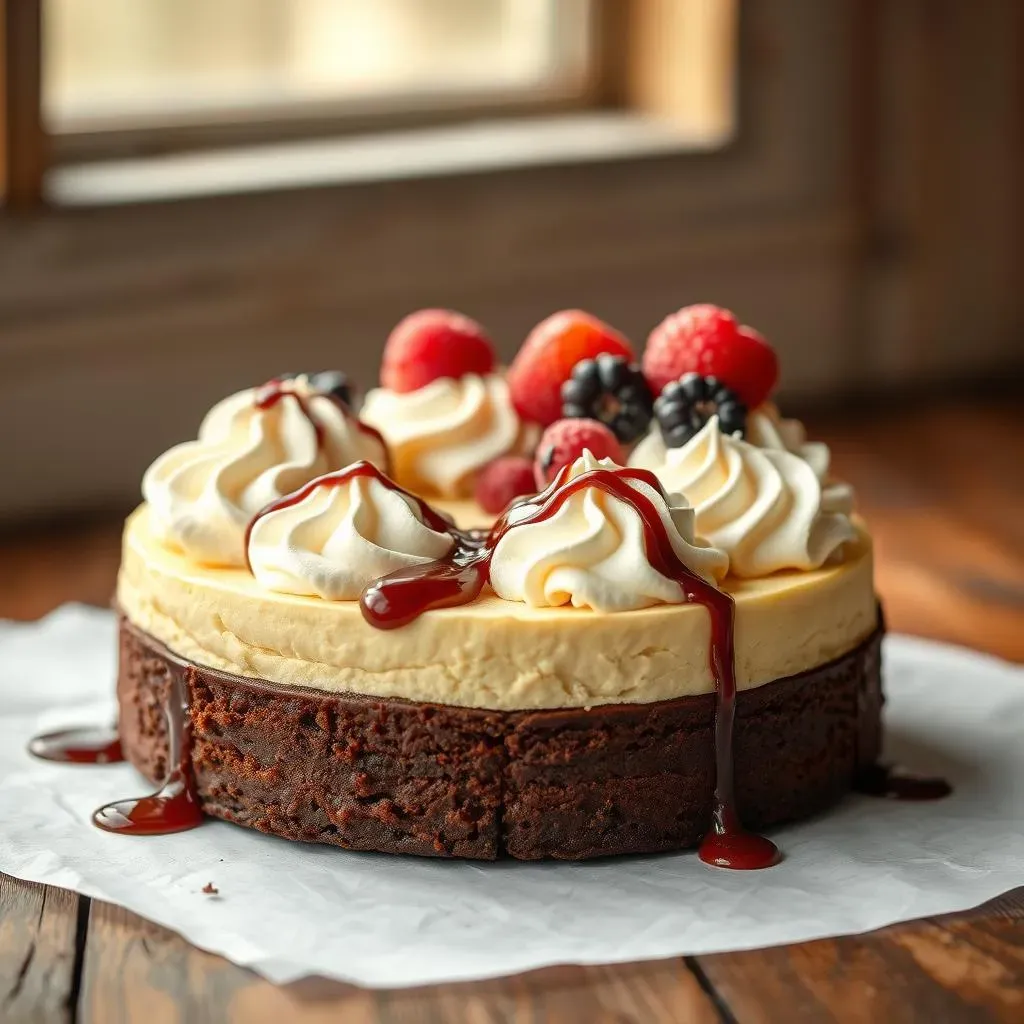
Okay, the moment we've all been waiting for – it's time to serve this beauty! First, carefully remove the sides of the springform pan. If you've used parchment paper, you can gently slide the cheesecake onto a serving plate. Now, for the fun part: decorating! A simple swirl of whipped cream is classic and elegant. I like to use a piping bag with a star tip to create beautiful, fluffy swirls. You can also use a spoon for a more rustic look. Don't be shy; it's your masterpiece! Then, drizzle some hot fudge sauce over the top. The combination of the cold cheesecake, the warm fudge, and the whipped cream is just heavenly. If you're feeling extra fancy, you can add some chocolate shavings, fresh berries, or even a sprinkle of sea salt. The possibilities are endless!
Remember, presentation is key. A beautiful dessert tastes even better. Think of it like dressing up for a party; you want to look your best. Serve your brownie base cheesecake with pride, and watch as your friends and family devour it. It's not just a dessert; it's an experience. It's a moment of pure bliss that you created with your own hands. And isn't that what baking is all about? Sharing happiness, one slice at a time. So, go ahead, show off your creation; you deserve it!
Serving Suggestion | Why It's Great |
|---|---|
Whipped Cream Swirls | Classic, elegant, and adds a light texture. |
Hot Fudge Drizzle | Warm, rich, and complements the cold cheesecake. |
Fresh Berries | Adds a pop of color and freshness. |
Keeping the Magic Alive: Storing Your Leftovers
Alright, let's be real, sometimes we have leftovers. And that's not a bad thing, it just means we get to enjoy this deliciousness again later. To store your brownie base cheesecake, make sure it's completely cooled. Then, cover it tightly with plastic wrap. You can also transfer it to an airtight container. This will prevent it from drying out and absorbing any weird smells from the fridge. It's like giving your cheesecake a little cozy blanket to keep it safe and sound.
Your cheesecake will keep in the refrigerator for up to 5 days. If you want to store it for longer, you can freeze it. To freeze, place the cheesecake on a baking sheet and put it in the freezer for about 30 minutes. This will firm it up. Then, wrap it tightly in plastic wrap and then in foil. It will keep in the freezer for up to a month. When you're ready to eat it, just thaw it overnight in the refrigerator. It might not be exactly the same as fresh, but it will still be pretty darn good. And who doesn't love a little cheesecake whenever they want it? It's like having a little piece of happiness in your freezer, ready to be devoured whenever you need a sweet pick-me-up.
“The best way to spread Christmas cheer is singing loud for all to hear.” – Buddy the Elf. And also, by sharing some delicious Brownie Base Cheesecake!