Table of Contents
Ever dreamt of a dessert that perfectly marries the comforting flavors of banana pudding with the rich, fudgy goodness of brownies? Well, dream no more! Our banana pudding brownies delish recipe is here to turn that fantasy into a delicious reality. This isn't just another brownie recipe; it's a delightful mashup of textures and tastes that will have everyone begging for more. Imagine sinking your teeth into a moist, chewy brownie base, topped with a creamy, banana-infused pudding layer, all coming together in a symphony of sweetness. Ready to embark on this baking adventure? In this article, we'll guide you through each step, from gathering your simple ingredients to achieving that perfect bake. We'll also explore fun variations to customize this treat to your liking. Whether you're a seasoned baker or a kitchen newbie, you'll find this recipe easy to follow and incredibly rewarding. Get ready to whip up a batch of these irresistible banana pudding brownies and become the star baker of your family and friends!
Why Banana Pudding Brownies Are the Ultimate Dessert Mashup
Why Banana Pudding Brownies Are the Ultimate Dessert Mashup
A Match Made in Dessert Heaven
Let's be real, choosing between brownies and banana pudding is a Sophie's Choice situation for dessert lovers. Why pick when you can have both? That's where banana pudding brownies swoop in to save the day. It's the ultimate dessert mashup because it takes the best of both worlds: the intense chocolatey flavor and fudgy texture of a brownie, and the smooth, creamy, banana-infused delight of banana pudding. This isn't just throwing two desserts together; it's crafting a harmonious blend where each component elevates the other.
Nostalgia Meets Innovation
Think about it: brownies are a classic, a go-to comfort food. Banana pudding? It's pure nostalgia, reminding you of Grandma's kitchen and simpler times. Combining these two isn't just delicious; it's emotionally satisfying. It's a familiar hug with a surprising twist. Plus, it's unexpected! People have had chocolate chip cookies with a million variations, but banana pudding brownies? That's a conversation starter, a dessert that makes people say, "Wow, I need to try that!" It's innovative without being intimidating, comforting without being boring.
The Perfect Texture Combination
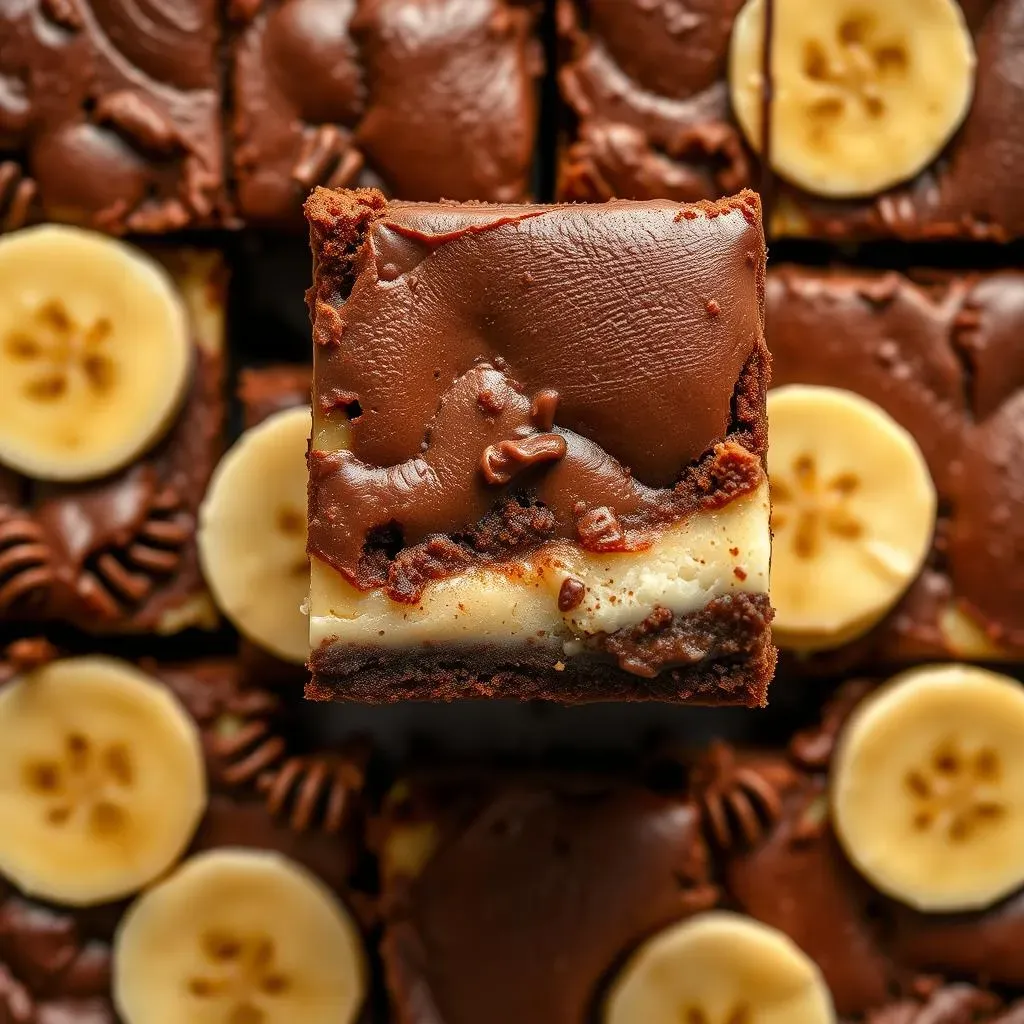
Texture is key in any great dessert, and banana pudding brownies deliver in spades. You've got the chewiness of the brownie, the creamy smoothness of the pudding, and the optional crunch of vanilla wafers. Each bite is a multi-sensory experience. It's not just about taste; it's about how the dessert *feels* in your mouth. That contrast keeps things interesting, preventing the dessert from being too heavy or one-note. It's a textural adventure that keeps you coming back for more. Seriously, what's not to love?
Gather Your Ingredients for These Delish Banana Pudding Brownies
Gather Your Ingredients for These Delish Banana Pudding Brownies
Brownie Base Essentials
Alright, let's talk ingredients! First up, the brownie base. You'll need the usual suspects: all-purpose flour, granulated sugar, brown sugar (for that extra chewiness), unsalted butter, eggs, vanilla extract, and a pinch of salt. Don't skimp on the vanilla; it really enhances the flavors. And of course, cocoa powder! Use a good quality cocoa powder for a richer, more intense chocolate flavor. I personally love using Dutch-processed cocoa for a deeper, less acidic taste. If you're feeling fancy, throw in some chocolate chips for extra gooeyness. Trust me, you won't regret it.
Here's a quick checklist to make sure you've got everything:
- All-purpose flour
- Granulated sugar
- Brown sugar
- Unsalted butter
- Eggs
- Vanilla extract
- Salt
- Cocoa powder (Dutch-processed recommended)
- Chocolate chips (optional)
Banana Pudding Magic
Now, for the banana pudding component, things get even simpler. You'll need instant banana pudding mix (the key to that classic banana pudding flavor), milk (whole milk works best for richness), cream cheese (softened, for that smooth, creamy texture), and vanilla wafers. Ripe bananas are optional, but highly recommended! Sliced bananas add a fresh, fruity element that complements the pudding perfectly. And if you're feeling extra decadent, a dollop of whipped cream on top never hurts.
Here's what you need for the banana pudding layer:
Ingredient | Quantity | Notes |
|---|---|---|
Instant Banana Pudding Mix | 1 box (3.4 oz) | Jell-O brand is a classic |
Milk | 2 cups | Whole milk recommended |
Cream Cheese | 8 oz | Softened |
Vanilla Wafers | 1 box | For layering |
Ripe Bananas | 2-3 | Optional, but delicious! |
StepbyStep: Baking Your Banana Pudding Brownies to Perfection
StepbyStep: Baking Your Banana Pudding Brownies to Perfection
Get Ready to Bake!
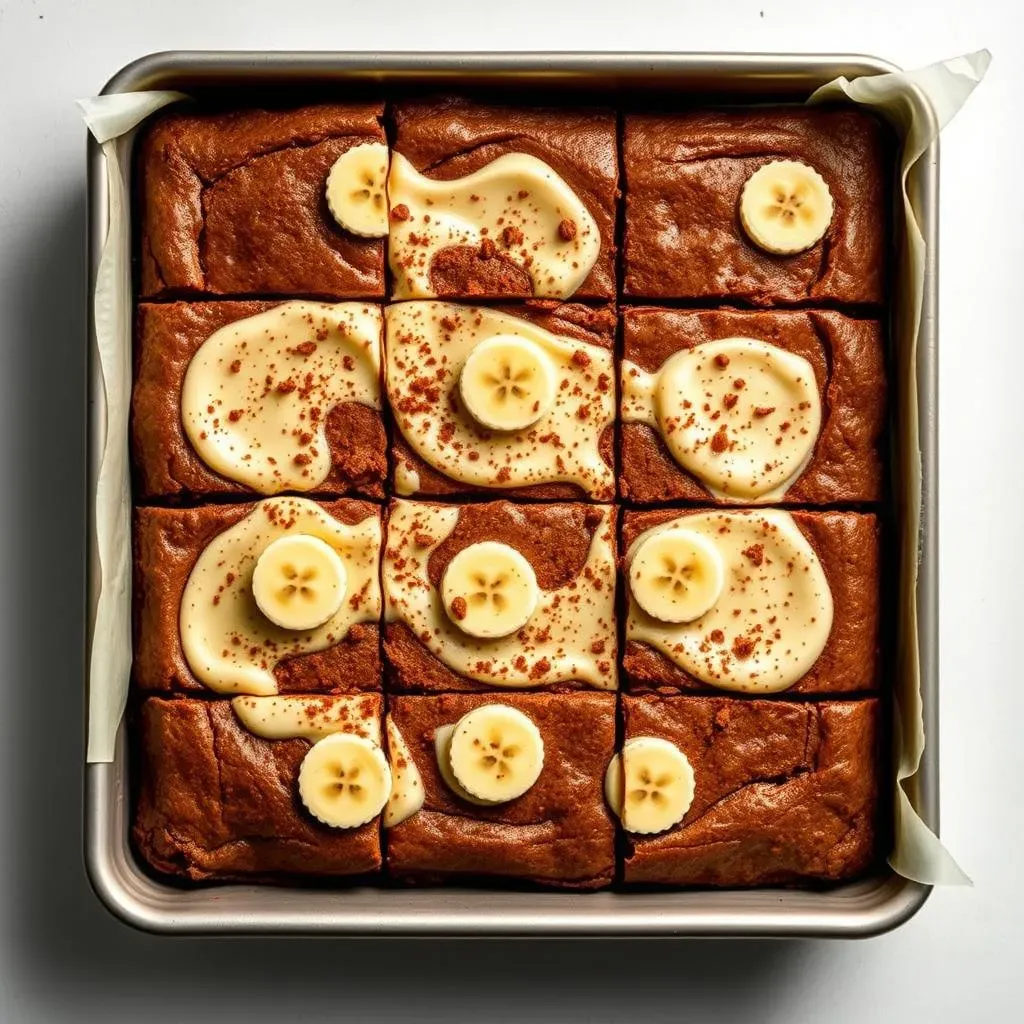
Alright, friend, let's get down to baking these amazing banana pudding brownies! First things first, preheat your oven to 350°F (175°C). Grease and flour a 9x13 inch baking pan. This is crucial – nobody wants brownies stuck to the pan. In a large bowl, cream together the butter and sugars until light and fluffy. Beat in the eggs one at a time, then stir in the vanilla extract. In a separate bowl, whisk together the flour, cocoa powder, and salt. Gradually add the dry ingredients to the wet ingredients, mixing until just combined. Be careful not to overmix! Overmixing leads to tough brownies, and nobody wants that.
Now, spread half of the brownie batter into the prepared pan. Arrange a layer of vanilla wafers over the batter. This adds a delightful textural element. Spoon the remaining brownie batter over the vanilla wafers, spreading it evenly. Pop that pan into the preheated oven and bake for 20-25 minutes, or until a toothpick inserted into the center comes out with fudgy crumbs. Remember, brownies are better slightly underbaked than overbaked!
Pudding Power
While the brownies are baking, let's whip up the banana pudding. In a large bowl, whisk together the instant banana pudding mix and milk until smooth. Let it stand for a few minutes to thicken. In a separate bowl, beat the softened cream cheese until smooth and creamy. Gently fold the cream cheese into the banana pudding mixture. If you're using sliced bananas, now's the time to gently fold them in. This adds a burst of fresh banana flavor that complements the pudding perfectly.
Once the brownies are out of the oven, let them cool slightly. Then, spread the banana pudding mixture evenly over the warm brownies. If you want to get fancy, top with additional vanilla wafers or a sprinkle of cocoa powder. Cover the pan and refrigerate for at least 2 hours, or preferably overnight. This allows the pudding to set and the flavors to meld together beautifully. Before serving, cut into squares and prepare for a taste sensation!
Variations: Customize Your Banana Pudding Brownies Delish Recipe
Variations: Customize Your Banana Pudding Brownies Delish Recipe
Level Up with Different Pudding Flavors
so you've nailed the basic banana pudding brownies – awesome! Now, let's get a little crazy and explore some flavor variations. The beauty of this recipe is how easily it adapts to different pudding flavors. Think vanilla pudding for a more subtle sweetness, or butterscotch pudding for a rich, caramel-like twist. Chocolate pudding? Absolutely! That'll amp up the chocolate factor and create a decadent, mocha-esque brownie. Even cheesecake pudding could be interesting, adding a tangy creaminess that cuts through the sweetness. The possibilities are endless! Just swap out the banana pudding mix for your flavor of choice, and you're good to go.
Don't be afraid to experiment! Maybe try a swirl of peanut butter on top before baking, or add some chopped pecans or walnuts to the brownie batter for a nutty crunch. Get creative and make it your own!
Cookie Crumbles and Other Toppings
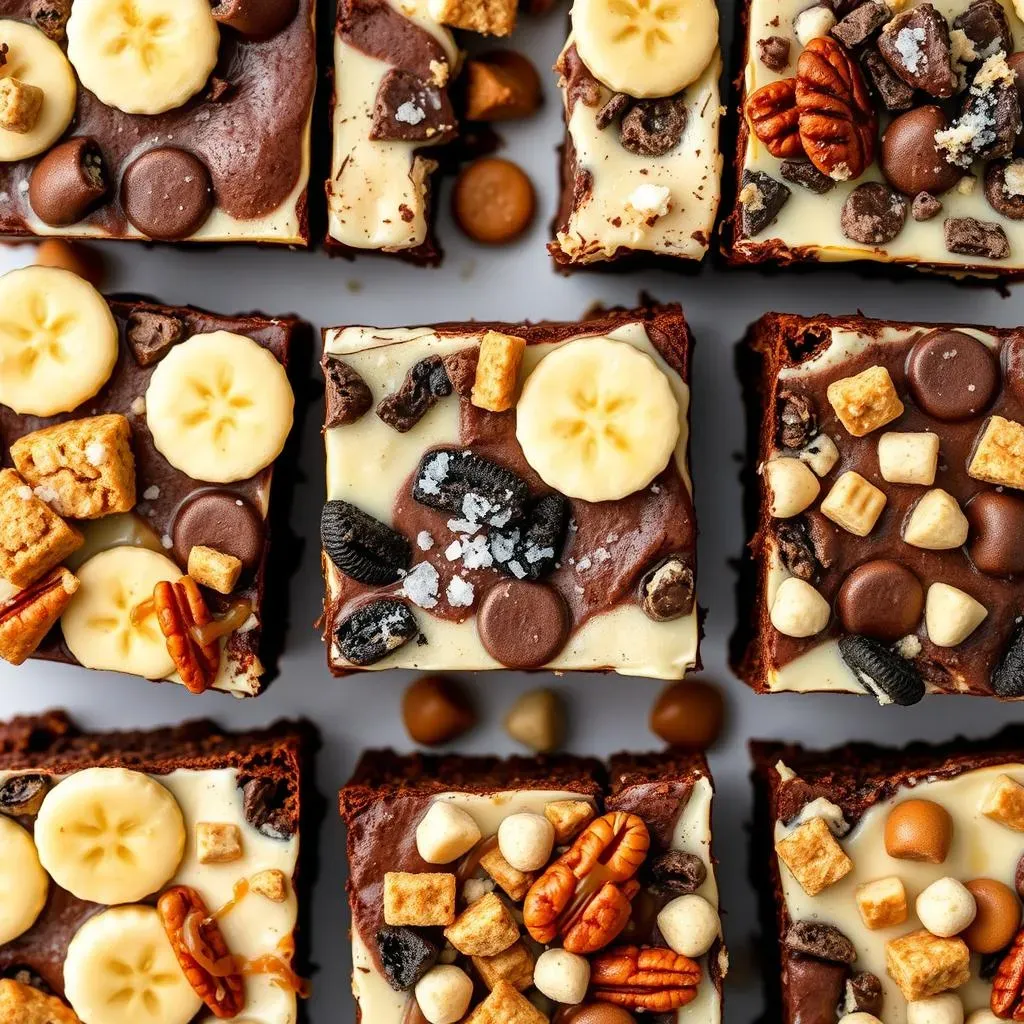
Let's talk toppings! While vanilla wafers are the classic choice, why not mix things up a bit? Try using crushed Oreos for a chocolatey, crunchy topping. Or how about some crumbled shortbread cookies for a buttery, melt-in-your-mouth experience? Graham crackers would also be delicious, adding a subtle honey flavor and a slightly coarser texture. And if you're feeling really adventurous, try a sprinkle of sea salt on top. The saltiness will enhance the sweetness of the brownies and create a truly addictive flavor combination.
Here are some topping ideas to get you started:
- Crushed Oreos
- Crumbled shortbread cookies
- Graham cracker crumbs
- Sprinkle of sea salt
- Chopped pecans or walnuts
- Mini chocolate chips
- Caramel drizzle
Storing and Serving Your Irresistible Banana Pudding Brownies
Storing and Serving Your Irresistible Banana Pudding Brownies
Keeping Them Fresh
Alright, you've baked these incredible banana pudding brownies, and now you're wondering how to keep them tasting their best. The good news is that these brownies store really well! Because of the pudding layer, you'll want to keep them refrigerated. Cover the pan tightly with plastic wrap or transfer the brownies to an airtight container. They'll stay fresh in the fridge for up to 4-5 days. Honestly, they probably won't last that long because everyone will devour them, but that's the official recommendation! If you want to freeze them, cut the brownies into individual squares, wrap each square tightly in plastic wrap, and then place them in a freezer-safe bag. They can be frozen for up to 2-3 months. Just thaw them in the refrigerator overnight before serving.
Serving Suggestions
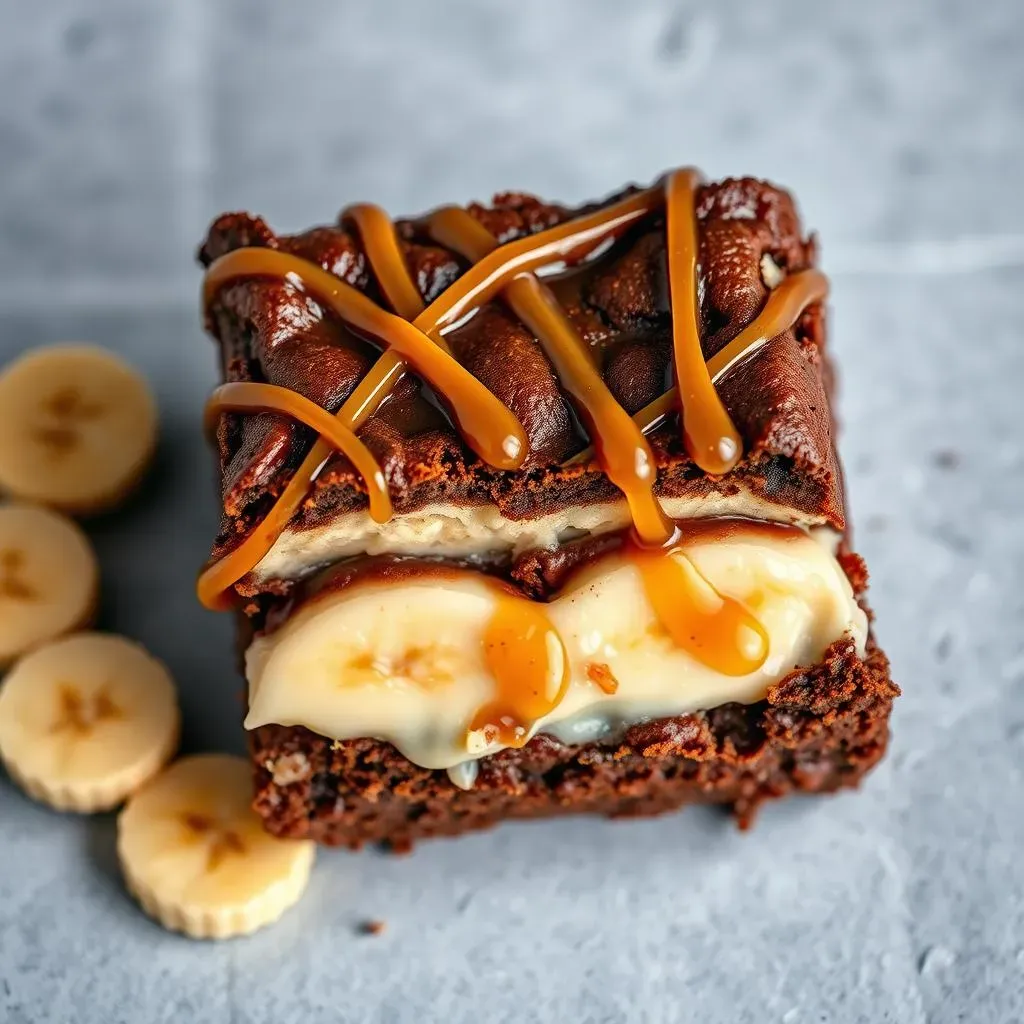
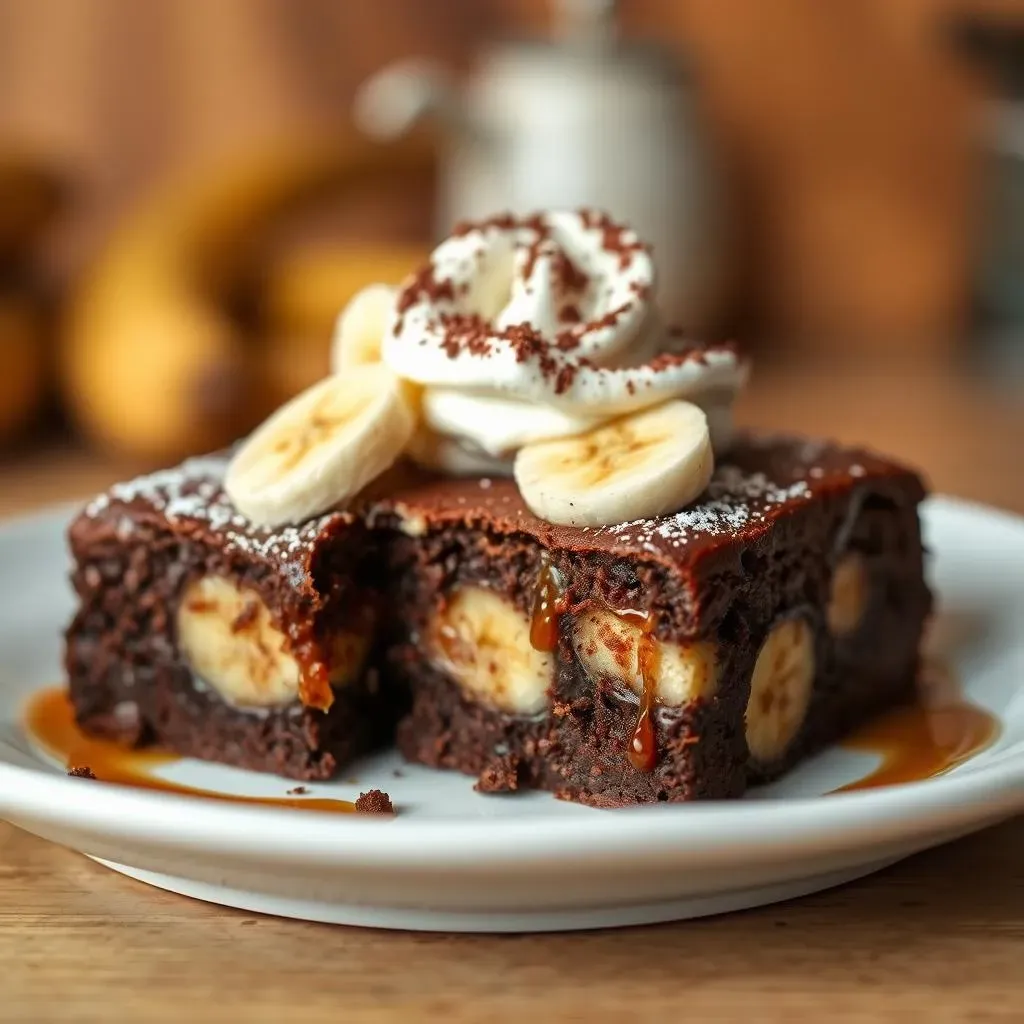
Now, for the best part: serving these bad boys! While they're delicious straight from the fridge, I personally love letting them sit at room temperature for about 15-20 minutes before serving. This softens the brownie and pudding layers slightly, making them even more decadent. For an extra special touch, top each brownie with a dollop of whipped cream, a sprinkle of cocoa powder, or a few sliced bananas. A drizzle of caramel sauce would also be amazing! And if you really want to impress, serve them with a scoop of vanilla ice cream. The cold ice cream complements the warm, fudgy brownies perfectly. Trust me, your taste buds will thank you.
Here are some serving ideas to elevate your banana pudding brownies:
- Top with whipped cream and a sprinkle of cocoa powder.
- Add sliced bananas for a fresh, fruity touch.
- Drizzle with caramel sauce for extra sweetness.
- Serve with a scoop of vanilla ice cream.
- Garnish with chopped nuts for added crunch.
Presentation Matters
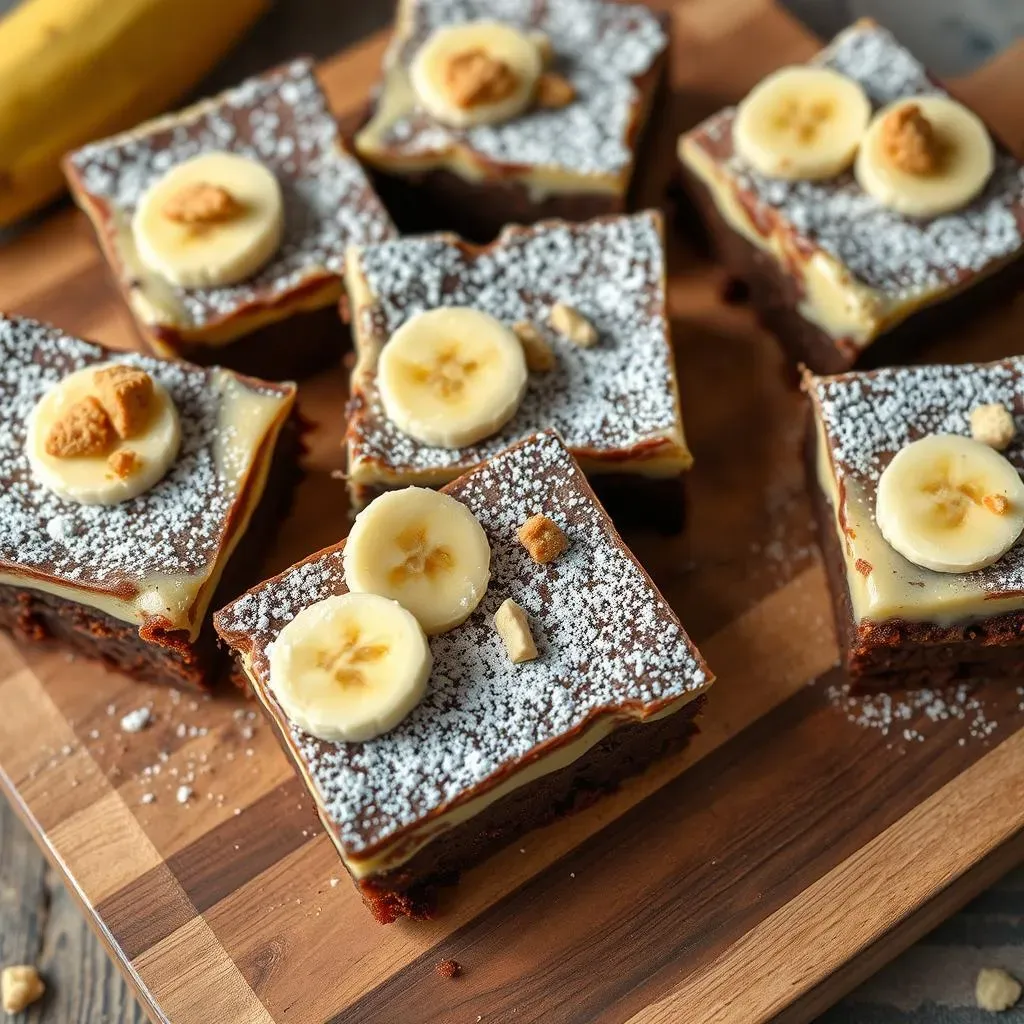
Don't underestimate the power of presentation! Arrange the brownies artfully on a platter, and garnish with fresh fruit or a dusting of powdered sugar. Use a sharp knife to cut them into neat squares, and don't be afraid to get creative with your plating. A little effort goes a long way in making these brownies look as good as they taste. After all, we eat with our eyes first, right? Whether you're serving them at a party, bringing them to a potluck, or just enjoying them at home, these banana pudding brownies are sure to be a hit. Enjoy!
Sweet Endings: Enjoying Your Banana Pudding Brownies Delish Recipe
Congratulations, you've just created a batch of the most addictive banana pudding brownies ever! This banana pudding brownies delish recipe is more than just a dessert; it's a crowd-pleaser, a comfort food, and a guaranteed smile-inducer. Whether you stick to the classic recipe or experiment with your own creative twists, these brownies are sure to become a family favorite. So go ahead, share the love, and savor every bite of this delightful treat. And remember, baking is all about having fun, so don't be afraid to get a little messy and enjoy the process. Happy baking!