
Table of Contents
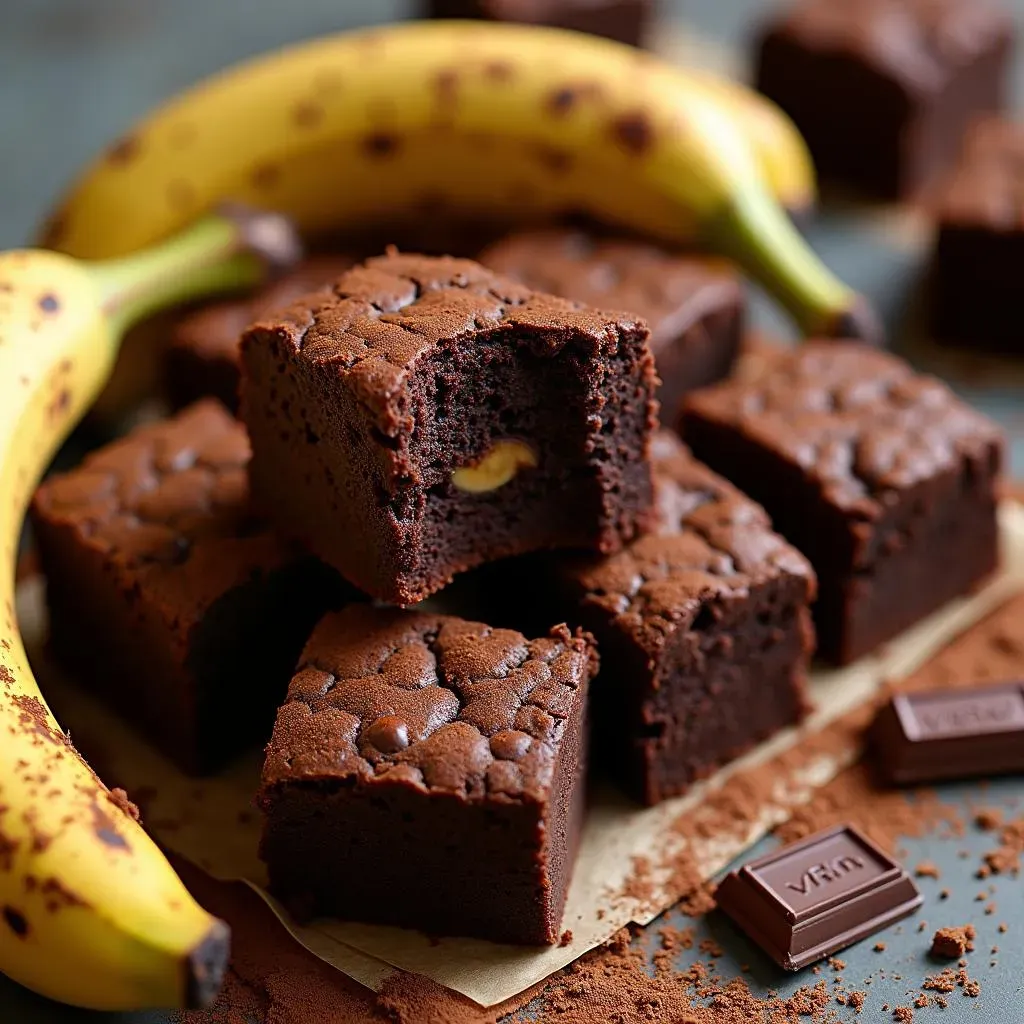
Who doesn't love a good brownie? But what if you could elevate that classic treat with the natural sweetness and moistness of bananas? Our banana chocolate brownies recipe does just that! Forget dry, crumbly brownies – we're talking fudgy, intensely chocolatey squares with a subtle banana flavor that will have everyone begging for seconds.
Why Ripe Bananas Are Key to the Best Banana Chocolate Brownies
Why Ripe Bananas Are Key to the Best Banana Chocolate Brownies
so you're thinking about making banana chocolate brownies? Awesome! But let's talk bananas for a sec. Seriously, the ripeness of your bananas can make or break this recipe. We're not talking about those slightly yellow ones you grab for your morning smoothie. Nope, you want the ones that are practically begging to be thrown away – the ones with tons of brown spots. Why? Because those overripe bananas are where the magic happens.
Think of it this way: as bananas ripen, their starches convert to sugar. More sugar means more natural sweetness in your brownies, which reduces the need for tons of added sugar. Plus, super ripe bananas are incredibly moist, adding that fudgy texture we all crave. They practically melt into the batter, creating a seamless blend of banana and chocolate goodness. Using underripe bananas will give you less flavor and a potentially tougher texture – nobody wants that!
So, next time you see those brown bananas sitting on your counter, don't toss them! Freeze them for future brownie adventures, or better yet, get baking right away. Trust me, why ripe bananas are key to the best banana chocolate brownies is not just a saying, it's a baking truth.
StepbyStep: Baking Your Dream Banana Chocolate Brownies
StepbyStep: Baking Your Dream Banana Chocolate Brownies
Get Your Gear and Ingredients Ready
Alright, let's get down to business! Before you even think about touching a banana, make sure you've got everything prepped and ready to go. This means gathering all your ingredients and measuring them out. Trust me, there's nothing worse than realizing you're out of eggs halfway through. Preheat your oven to 325°F (160°C). While it's heating up, grease and flour an 8x8 inch baking pan. This will prevent your brownies from sticking and make them easier to remove later. I like to line the bottom with parchment paper, leaving an overhang on the sides, for extra insurance. It's like a little brownie hammock!
Next, melt your chocolate. You can do this in a double boiler or in the microwave in 30-second intervals, stirring in between, until smooth. Be careful not to burn it! Once melted, set it aside to cool slightly. Now, grab a large bowl and get ready to mix!
Mixing the Batter: The Key to Fudgy Goodness
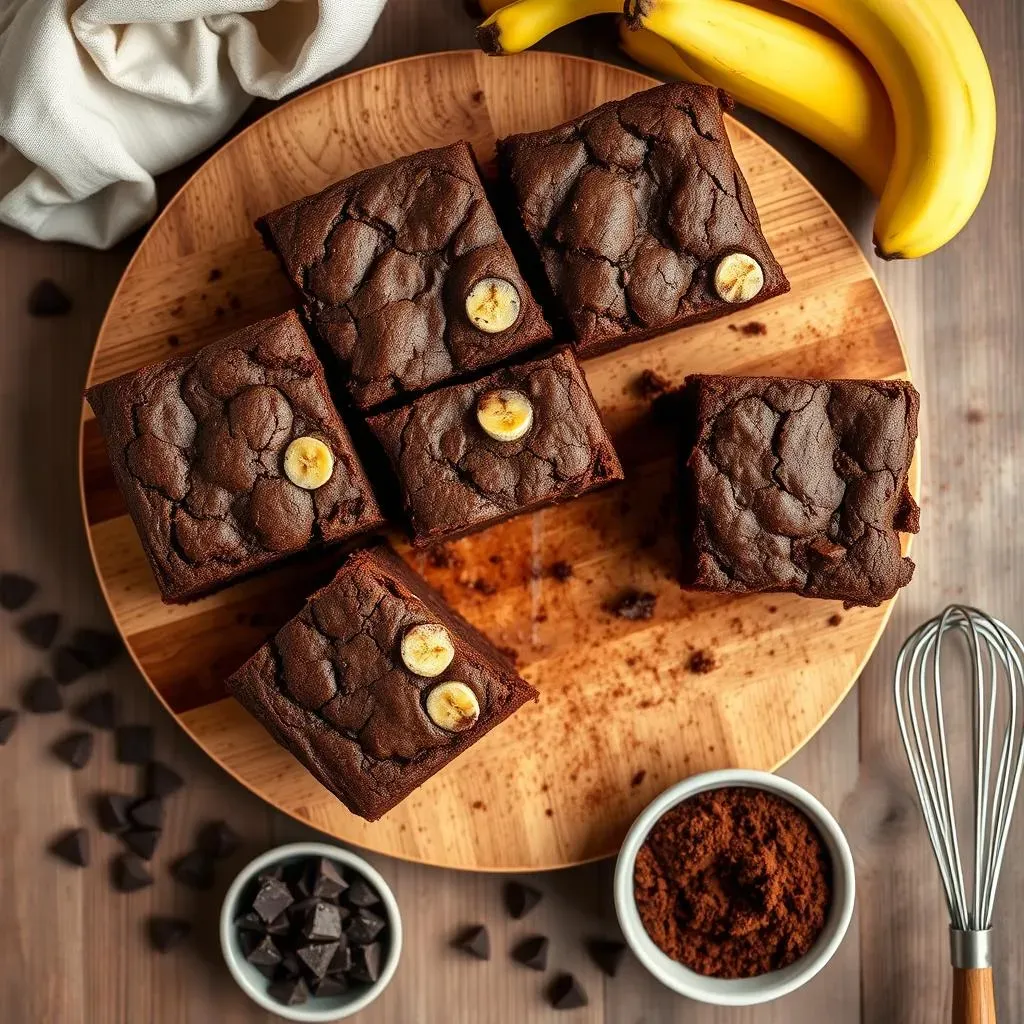
This is where the magic truly happens! In your large bowl, mash those ripe bananas until they're nice and smooth. No big chunks allowed! Add the melted chocolate, sugar, eggs, and vanilla extract. Whisk everything together until it's well combined and the batter looks smooth and glossy. Now, in a separate bowl, whisk together the flour, cocoa powder, baking soda, and salt. This ensures that all the dry ingredients are evenly distributed throughout the batter.
Gently fold the dry ingredients into the wet ingredients until just combined. Be careful not to overmix! Overmixing can lead to tough brownies. Fold in your chocolate chips (if using). Pour the batter into your prepared pan and spread it evenly. Now, for the secret to that crackly top: give the pan a few firm taps on the counter. This helps release any air bubbles and creates a more even surface.
Baking and Cooling: Patience is a Virtue
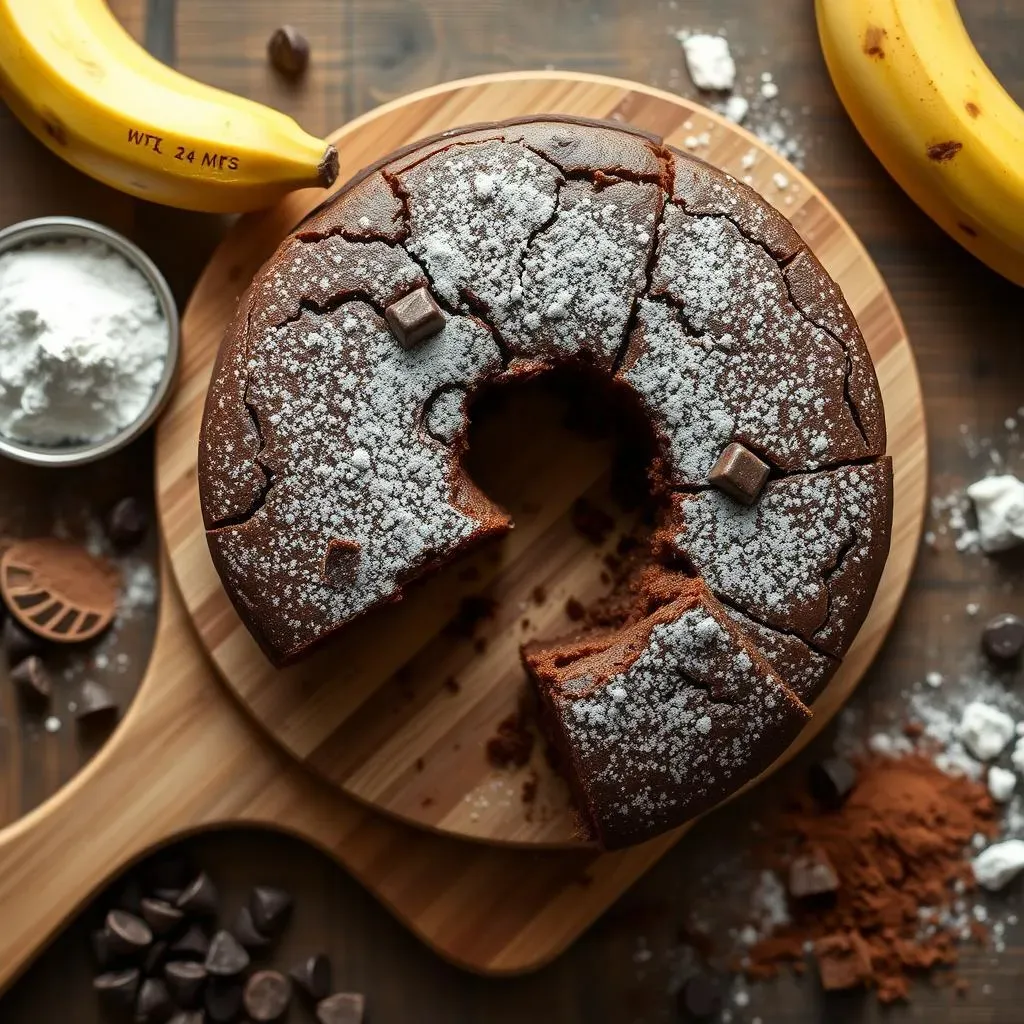
Pop your pan into the preheated oven and bake for 40-45 minutes, or until a toothpick inserted into the center comes out with moist crumbs attached. Don't overbake them! Overbaked brownies are dry and sad. Once they're done, remove them from the oven and let them cool completely in the pan before cutting. This is the hardest part, I know, but it's crucial for getting those clean, fudgy slices. If you're impatient, you can speed up the cooling process by placing the pan in the refrigerator for a bit.
Once cooled, lift the brownies out of the pan using the parchment paper overhang. Cut them into squares and prepare to be amazed! Store any leftovers in an airtight container at room temperature for up to a few days, or in the refrigerator for up to a week (if they last that long!).
Tips for Perfect Banana Chocolate Brownies: Ingredients & Techniques
Tips for Perfect Banana Chocolate Brownies: Ingredients & Techniques
Choosing Your Chocolate: Dark vs. Milk
let's talk chocolate. This is a big one! The type of chocolate you use will drastically affect the flavor of your brownies. Dark chocolate will give you a richer, more intense chocolate flavor, while milk chocolate will result in a sweeter, milder brownie. I personally prefer using a combination of both! I like to use a good quality dark chocolate for the melted chocolate in the batter, and then throw in some milk chocolate chips for extra sweetness and texture. Experiment and see what you like best!
Also, don't skimp on the quality of your chocolate. Use the best chocolate you can afford. It really makes a difference. Look for chocolate with a high cocoa content (at least 70% for dark chocolate) for the most intense flavor.
Cocoa Powder Power: Dutch-Processed vs. Natural
Did you know there are different types of cocoa powder? The two main types are Dutch-processed and natural. Dutch-processed cocoa powder has been treated with an alkaline solution to neutralize its acidity. This results in a darker color and a milder, more mellow flavor. Natural cocoa powder, on the other hand, is more acidic and has a stronger, more bitter flavor. Which one should you use? I recommend using Dutch-processed cocoa powder for these brownies. Its milder flavor complements the banana flavor perfectly and gives the brownies a beautiful dark color.
However, if you only have natural cocoa powder on hand, you can still use it! Just add a pinch more baking soda to the batter to help neutralize the acidity. And remember, always sift your cocoa powder before adding it to the batter to prevent clumps.
The Crackly Top Secret: Whisking Like a Pro
That coveted crackly top – everyone wants it! And the secret to achieving it is all in the whisking. When you're mixing the eggs and sugar, whisk them together vigorously for several minutes, until the mixture is light and fluffy. This incorporates air into the batter, which creates that beautiful crackly crust on top of the brownies. Don't be afraid to put some elbow grease into it! You can also use an electric mixer for this step, but I find that whisking by hand gives you more control.
Another tip for getting a crackly top is to let the batter rest for a few minutes before baking. This allows the gluten to relax, which also contributes to a more tender brownie. So, whisk away, let it rest, and get ready for that perfect crackly goodness!
Ingredient | Impact on Brownies |
|---|---|
Dark Chocolate | Richer, more intense flavor |
Milk Chocolate | Sweeter, milder flavor |
Dutch-Processed Cocoa | Milder flavor, darker color |
Natural Cocoa | Stronger flavor, needs more baking soda |
Storing, Serving, and Savoring Your Banana Chocolate Brownies
Storing, Serving, and Savoring Your Banana Chocolate Brownies
Keeping Them Fresh: Storage Secrets
Alright, you've baked these glorious banana chocolate brownies. Now, how do you keep them from disappearing in approximately five seconds? Proper storage is key! For short-term storage (think a day or two), an airtight container at room temperature will do the trick. This keeps them nice and fudgy. But if you want to extend their shelf life, the fridge is your friend. Pop them in an airtight container in the refrigerator, and they'll stay delicious for up to a week, maybe even longer (if you can resist them!).
Now, here's a pro tip: if you're freezing them (yes, you can freeze them!), wrap each brownie individually in plastic wrap before placing them in a freezer-safe bag or container. This prevents freezer burn and makes it easy to grab just one when that brownie craving hits. They'll keep in the freezer for up to three months. When you're ready to eat one, just thaw it at room temperature for about 30 minutes, or pop it in the microwave for a few seconds.
Serving Suggestions: Beyond the Square
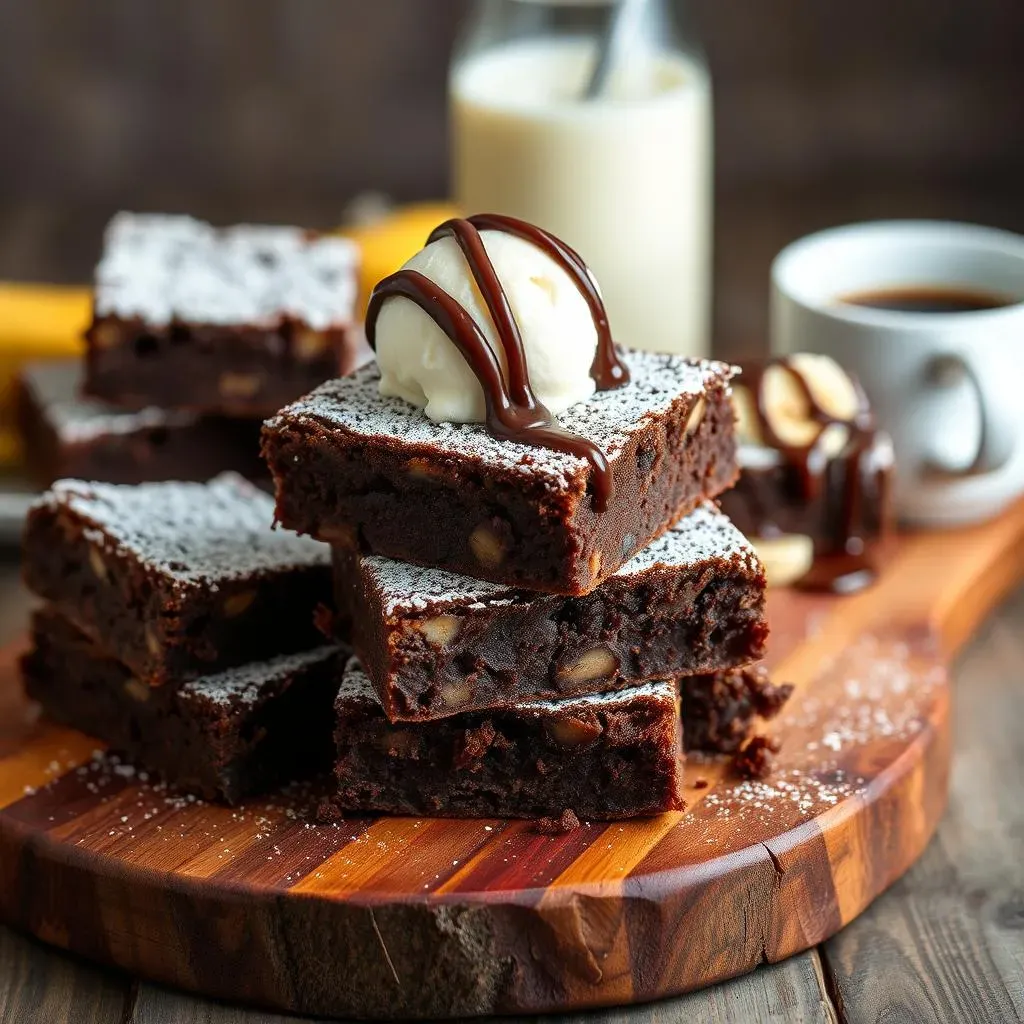
so you've got your perfectly stored banana chocolate brownies. But how do you serve them to really make them shine? While they're amazing on their own, a little extra flair never hurt anyone! For a simple yet elegant presentation, dust them with a little powdered sugar. Or, take it up a notch with a scoop of vanilla ice cream and a drizzle of chocolate sauce. The combination of warm, fudgy brownie and cold, creamy ice cream is pure heaven.
Feeling fancy? Crumble them up and layer them in a parfait with whipped cream and fresh berries. Or, use them as a base for a decadent ice cream sundae. The possibilities are endless! And don't forget the drinks! A glass of cold milk, a cup of hot coffee, or even a scoop of ice cream are all perfect complements to these banana chocolatey treats. So, go ahead, get creative, and enjoy every last bite of your masterpiece!
Serving Suggestion | Why It Works |
|---|---|
With Vanilla Ice Cream | Classic pairing, contrasts textures and temperatures |
Dusted with Powdered Sugar | Simple elegance, adds a touch of sweetness |
In a Parfait | Creates a visually appealing and delicious dessert |
With Coffee or Milk | Perfect beverage complements |
Savoring the Sweetness: Your Banana Chocolate Brownies Journey
From the first mix to the final bite, crafting these banana chocolate brownies is a rewarding experience. You've learned the secrets to achieving that perfect fudgy texture, the importance of ripe bananas, and how to customize your batch to suit your taste. Whether you enjoy them warm from the oven, chilled for a denser treat, or shared with loved ones, these brownies are sure to be a hit. So, go ahead, bake another batch and continue experimenting with variations. The world of banana chocolate brownies is yours to explore!