
Table of Contents
Ever stare at a bunch of overripe bananas and wonder, "What now?" Don't toss them! Those speckled wonders are the secret to incredibly moist and delicious **banana brownies easy**. Forget dry, cakey brownies; we're talking fudgy, chocolatey goodness with a subtle hint of banana that'll make you swoon. This isn't some complicated baking project; it’s a simple way to use up those bananas and satisfy your sweet tooth. We'll guide you through the key steps, from gathering the right ingredients and possible substitutions to baking them to absolute perfection. You'll learn how to get that coveted thin, crackly top and how to slice them like a pro. Plus, we'll cover storage tips to keep them fresh and delicious for days. So, are you ready to turn those sad bananas into something amazing? Let's get baking!
The Magic of Banana Brownies: Ingredients and Swaps
The Magic of Banana Brownies: Ingredients and Swaps
The Banana Base: More Than Just Sweetness
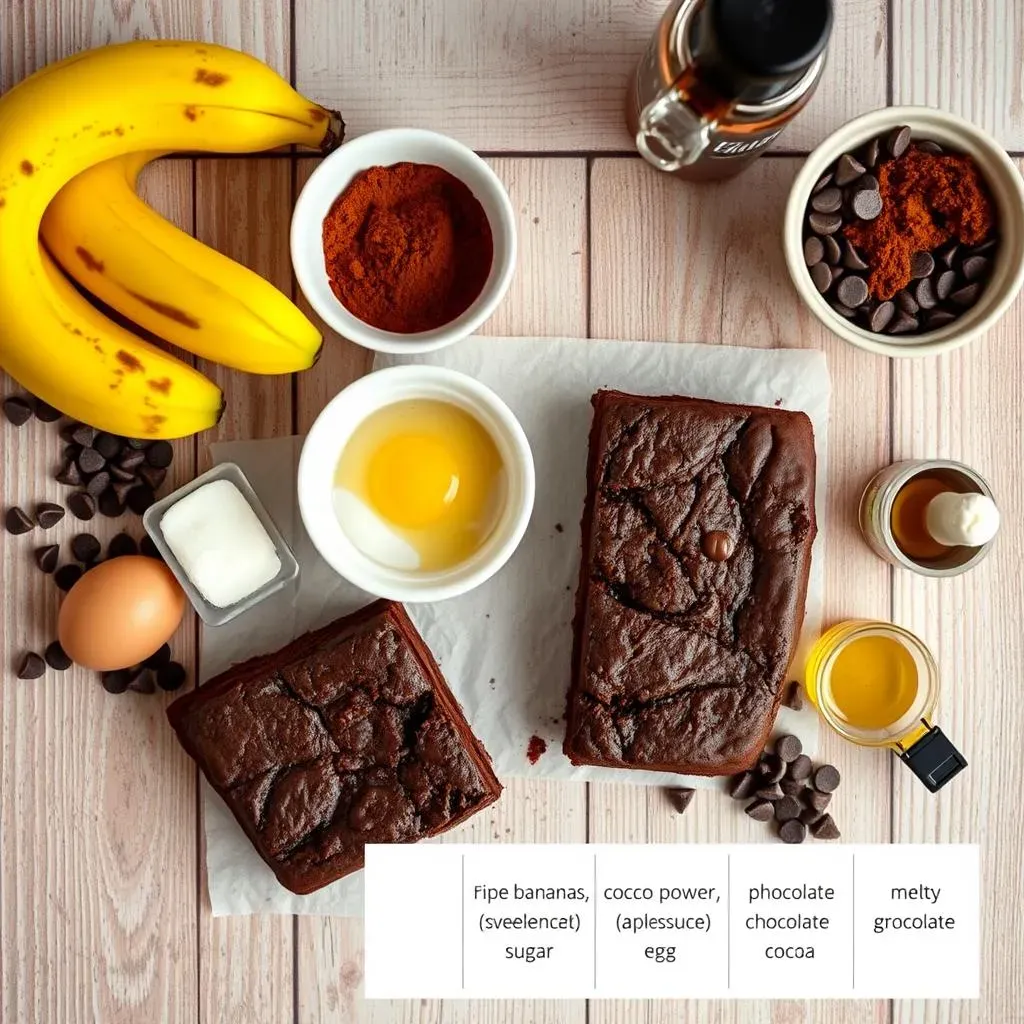
so the star of our show is obviously the banana. But it's not just there for a subtle flavor kick. Those mushy, overripe bananas are brownie superheroes, bringing moisture and a natural sweetness that you can't get from just sugar alone. Two medium bananas are usually perfect. If they're extra large, maybe use one and a half. And please, use the ones that have seen better days – the ones with brown spots are actually sweeter. Think of them like a secret weapon for the best, fudgiest brownies ever.
They are not just some random fruit, they're the glue that holds our delicious dream together. They make the brownies super moist and give them a unique taste that you won't find in regular chocolate brownies.
The Chocolate Dream Team: Cocoa and Chips
Next up, let's talk chocolate! You need both cocoa powder and chocolate chips for this recipe. The cocoa provides that deep, rich chocolatey flavor. Opt for a good quality one to make it really shine. For the chips, you can use any kind you like. Milk chocolate, dark chocolate, or even a mix. It's your brownie adventure, and you're the captain! Don't be shy with the chocolate chips either; they add those melty pockets of joy that make every bite heavenly. If you're feeling fancy, try adding some chopped nuts, like walnuts or pecans, for a little crunch.
Chocolate chips are like little treasure chests of happiness scattered throughout each bite. When they melt in the oven, they create gooey pockets that make the brownies extra delicious.
Ingredient | Why It's Important | Possible Swap |
|---|---|---|
Ripe Bananas | Moisture, sweetness | Applesauce (less sweet) |
Cocoa Powder | Rich chocolate flavor | Dutch-processed cocoa |
Chocolate Chips | Melty chocolate goodness | Chopped chocolate bar |
The Supporting Cast: Butter, Eggs, and More
Now for the rest of the crew: we need melted butter for richness and that melt-in-your-mouth texture. Salted butter adds a little extra something, but unsalted works too. You'll also need eggs, which bind everything together and give the brownies structure. Then, there's sugar, which adds sweetness, and a touch of salt to enhance all the other flavors. Don't forget a little vanilla extract, it's like the secret handshake that brings it all together. If you are looking for a dairy free version, coconut oil can be a good substitute for the butter, and a flax egg instead of real eggs. The beauty of this recipe is how flexible it is. You can adapt it to suit your needs and preferences.
Think of butter as the smooth operator, making everything rich and delicious. Eggs are the team players, sticking all the ingredients together so the brownies don't fall apart.
StepbyStep: Baking Your Easy Banana Brownies

StepbyStep: Baking Your Easy Banana Brownies
Prep Work: Getting Ready to Bake
First things first, let’s get our oven preheated to 350°F (175°C). While that’s warming up, grab a square baking pan—8x8 inches is usually perfect. Line it with parchment paper, letting some overhang on the sides. This creates a little sling, making it super easy to lift the brownies out later. Now, it's time to melt the butter. You can do this in a small saucepan on the stove or in the microwave—just make sure it's fully melted and not boiling. Then, in a large mixing bowl, mash those ripe bananas until they're nice and smooth. Get those lumps out, we want this to be a smooth operation.
Think of this part as setting the stage. We're getting all our players ready for the main performance. The oven is the spotlight, and the parchment paper is the red carpet.
Mixing the Batter: The Magic Begins
Now, add the melted butter to the mashed bananas and give it a good mix. Then, crack in the eggs, one at a time, mixing well after each addition. Next, it's time for the sugar, salt, and vanilla extract. Mix until everything is well combined. Now, for the chocolatey goodness! Add your cocoa powder and mix it in until it forms a smooth, rich batter. Don’t overmix it; just mix until everything is just combined. Finally, gently fold in the chocolate chips and any nuts you want to add. Make sure they're evenly distributed throughout the batter, so you get a little bit of chocolate in every bite.
This is where the magic starts to happen. The batter goes from a bunch of ingredients to a smooth, chocolatey dream. It's like watching a caterpillar turn into a butterfly, but way more delicious.
Step | Action |
|---|---|
1 | Preheat oven to 350°F (175°C) and prepare baking pan. |
2 | Melt butter and mash bananas. |
3 | Combine wet ingredients. |
4 | Mix in dry ingredients. |
5 | Fold in chocolate chips and nuts. |
Baking Time: From Batter to Brownie
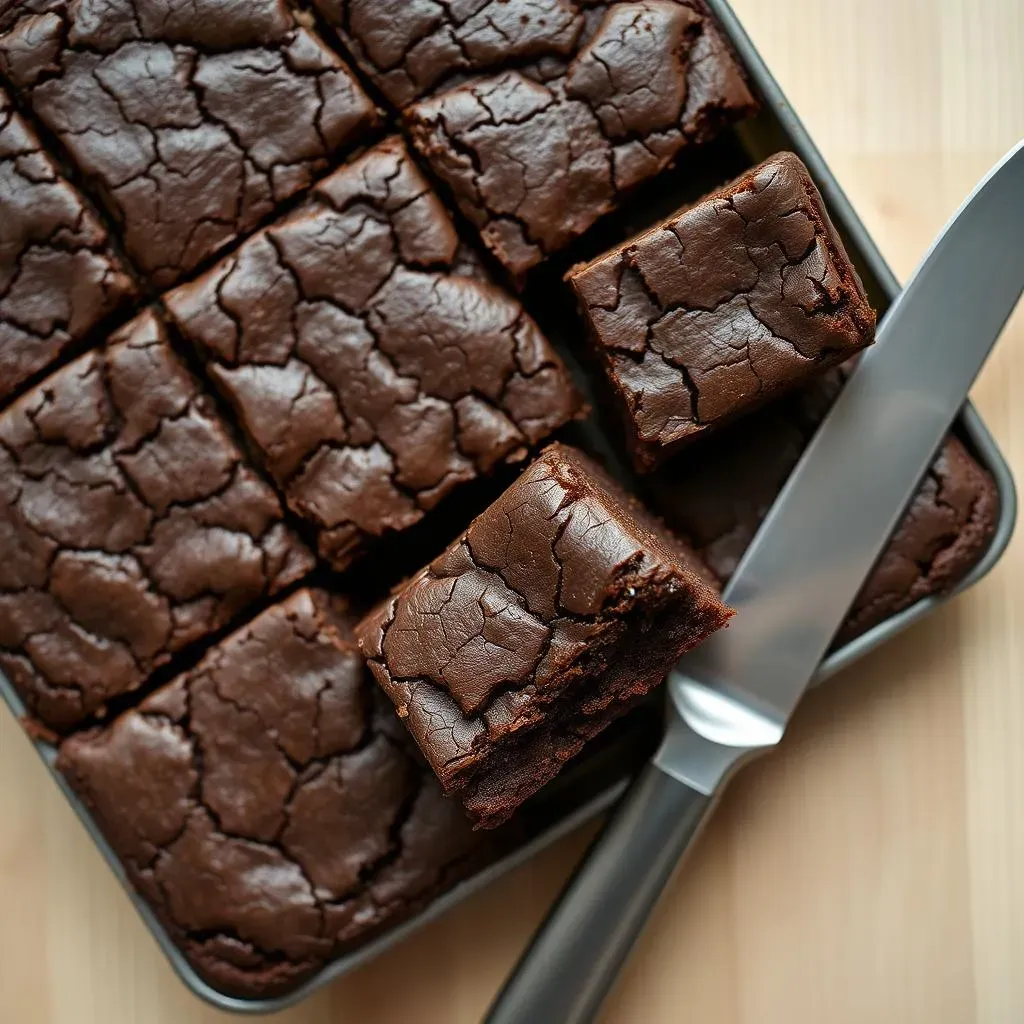
Pour your batter into the prepared baking pan and spread it out evenly. Pop it into the oven and bake for about 25-30 minutes. The brownies are done when they have a thin crackle on top and feel soft but not liquid-y when you gently press the middle. You want them to be fudgy, not gooey. Once they're done, take them out of the oven and let them cool completely in the pan. This is important! Don't try to cut them while they're still warm, they'll just fall apart. Patience is key here, as hard as it may be. Once they're cool, use the parchment paper sling to lift the brownies out of the pan and transfer them to a cutting board. Now you can slice them up and get ready to enjoy the fruits of your labor!
The baking time is like a suspenseful movie. You're waiting for the hero (the brownies) to come out of the oven, perfectly transformed and ready to be enjoyed.
Tips for Perfect Banana Brownies: Crackly Tops and Slicing
Tips for Perfect Banana Brownies: Crackly Tops and Slicing
The Secret to a Crackly Top
Alright, let's talk about that gorgeous, thin, crackly top that everyone loves. It's not just luck; there's a little science to it. The key here is in how you mix the eggs and sugar. You need to whisk them together pretty aggressively, like you're trying to make them angry. This aerates the mixture and creates that delicate, meringue-like layer on top that will crackle in the oven. Also, don't skimp on the cocoa powder! Use a good quality one; it makes a difference. And, lastly, make sure your oven is at the right temperature. Too hot, and the top might burn; too cool, and it won't crackle properly. It's like Goldilocks and her porridge, we need it just right!
Think of whisking the eggs and sugar like you're giving them a workout. The more air you beat into them, the better the crackle you'll get on top of your brownies. It's all about creating that perfect crust.
When Are They Really Done?
Knowing when your brownies are done can be tricky. You don't want them to be undercooked and gooey, but you also don't want them to be dry and cakey. The best way to tell is to look for that thin crackle on top and gently press the middle. If it feels soft but not liquid-y, they're ready to come out of the oven. A toothpick test might not be the best here, as you want them to be fudgy. A few moist crumbs are okay, but if it comes out with wet batter, they need a little more time. Remember, they'll continue to cook a little as they cool, so it's better to take them out just a touch underdone than overdone. It's a delicate dance, but you'll get the hang of it!
It's like checking if a cake is baked. We want it cooked through, but still moist. It's all about the look and feel of the brownies, not just a toothpick test.
Tip | Why It Works |
|---|---|
Whisk eggs and sugar aggressively | Creates the meringue-like layer for crackling |
Use good quality cocoa powder | Enhances the flavor and helps the crackle |
Check for a thin crackle and soft center | Ensures the brownies are perfectly fudgy |
Slicing Like a Pro
so your brownies are out of the oven, they're cool, and now it's time to slice them. This is where things can go south if you're not careful. The key here is patience and a sharp knife. Don't try to slice them when they're still warm, they'll just crumble and make a mess. Once they're completely cool, use the parchment paper sling to lift them out of the pan and place them on a cutting board. Use a sharp, clean knife, and cut in one smooth motion. Don't saw back and forth. You can also run the knife under hot water and wipe it dry between each cut for cleaner slices. It might seem like extra effort, but it's worth it for those perfect, Instagram-worthy squares. And if all else fails, who cares? They'll taste delicious no matter what shape they are!
Slicing brownies is an art form. We want clean, even cuts that show off those fudgy layers. It's all about using the right tools and techniques.
“The secret of getting ahead is getting started.” - Mark Twain
Storing Your Banana Brownies and Serving Suggestions
Storing Your Banana Brownies and Serving Suggestions
Keeping Them Fresh
so you’ve baked these amazing banana brownies, and maybe, just maybe, you have some leftovers. Don't worry; they won't go to waste! To keep them fresh, you'll want to store them in an airtight container. If you plan to enjoy them within a few days, just keep them at room temperature. They should stay nice and fudgy for about 3-4 days. If you need them to last a bit longer, pop them in the refrigerator. They'll keep well for about 7-10 days in the fridge. Just be sure to bring them back to room temperature before you eat them, the cold can dull the flavor and the texture a bit. Nobody wants a cold, hard brownie, right?
Think of the airtight container as a cozy little house for your brownies. It keeps them safe and sound, so they stay delicious until you're ready to eat them again. It is like giving them a little spa day, keeping them nice and fresh.
Freezing for Later
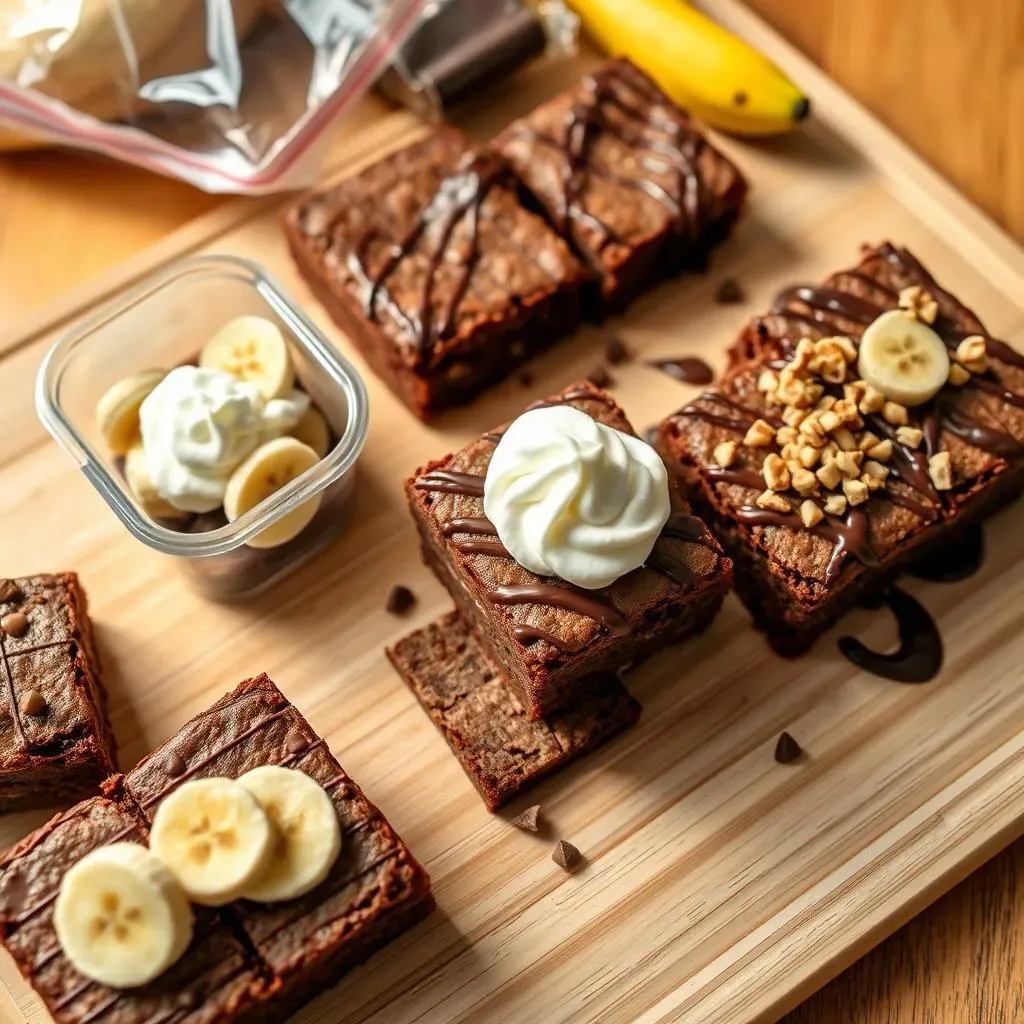
Sometimes you just need to make brownies ahead of time, or you’ve got so many you can't possibly eat them all. Good news, you can freeze banana brownies! To freeze them, first, let them cool completely. Then, wrap each brownie individually in plastic wrap, and place them in a freezer-safe bag or container. They can stay in the freezer for up to 2-3 months. When you’re ready to eat them, just take them out and let them thaw at room temperature. You can also warm them up in the microwave for a few seconds if you want that melty, warm brownie experience. It's like having a secret stash of deliciousness waiting for you whenever you need it!
Freezing brownies is like putting them in a time machine. You can save them for a later date and enjoy them as if they were freshly baked. It's like a magic trick that makes them last longer.
Storage Method | Duration |
|---|---|
Room Temperature | 3-4 days |
Refrigerator | 7-10 days |
Freezer | 2-3 months |
Serving Suggestions: Level Up Your Brownie Game
so you've got your perfectly stored brownies, now it's time to think about how to serve them. You can always just grab one and eat it plain, they are delicious that way! But if you're looking to elevate your banana brownie experience, try topping them with a dollop of freshly whipped cream and some banana slices. A scoop of vanilla ice cream is another classic choice. If you're feeling extra fancy, drizzle a little chocolate sauce or caramel on top. You can also add some chopped nuts or a sprinkle of sea salt for a little extra something. The possibilities are endless! It's all about making them feel special and celebrating your baking success.
Serving brownies is like putting the final touches on a masterpiece. It's all about presentation and creating a delightful experience for the taste buds. It is like adding a bow on a present, it just makes it better.
“Life is what you bake it.”
Wrapping Up Your Easy Banana Brownie Adventure
And there you have it—delicious, fudgy banana brownies, made with minimal fuss and maximum flavor! From rescuing those overripe bananas to enjoying a warm, chocolatey treat, this recipe proves that sometimes, the simplest things are the most satisfying. We've explored the ingredients, mastered the baking process, and even learned how to store them for future cravings. Now it's your turn to get creative. Add some nuts, a swirl of peanut butter, or even a sprinkle of sea salt. The possibilities are endless. So, go forth and bake, and don't forget to share your amazing creations! Happy baking!