
Table of Contents
Craving something sweet but want to keep it healthy and simple? Then you're in for a treat! These banana and cocoa brownies are not your average dessert. They’re made with only three ingredients, yes, you read that right, just three! This recipe is perfect for those moments when you’re short on time but still want a guilt-free indulgence. We’ll guide you through the easy steps, from mashing bananas to that satisfying first bite. Get ready to discover how bananas, peanut butter, and cocoa powder can transform into a fudgy, rich brownie that's both vegan and gluten-free. This article will show you not just how to make them, but also give you tips to customize your brownies. We'll cover everything from storage to answering some burning questions you might have. So, let’s get baking and prepare to be amazed by how simple and delicious these banana and cocoa brownies can be!
Simple Ingredients for Delicious Banana Cocoa Brownies
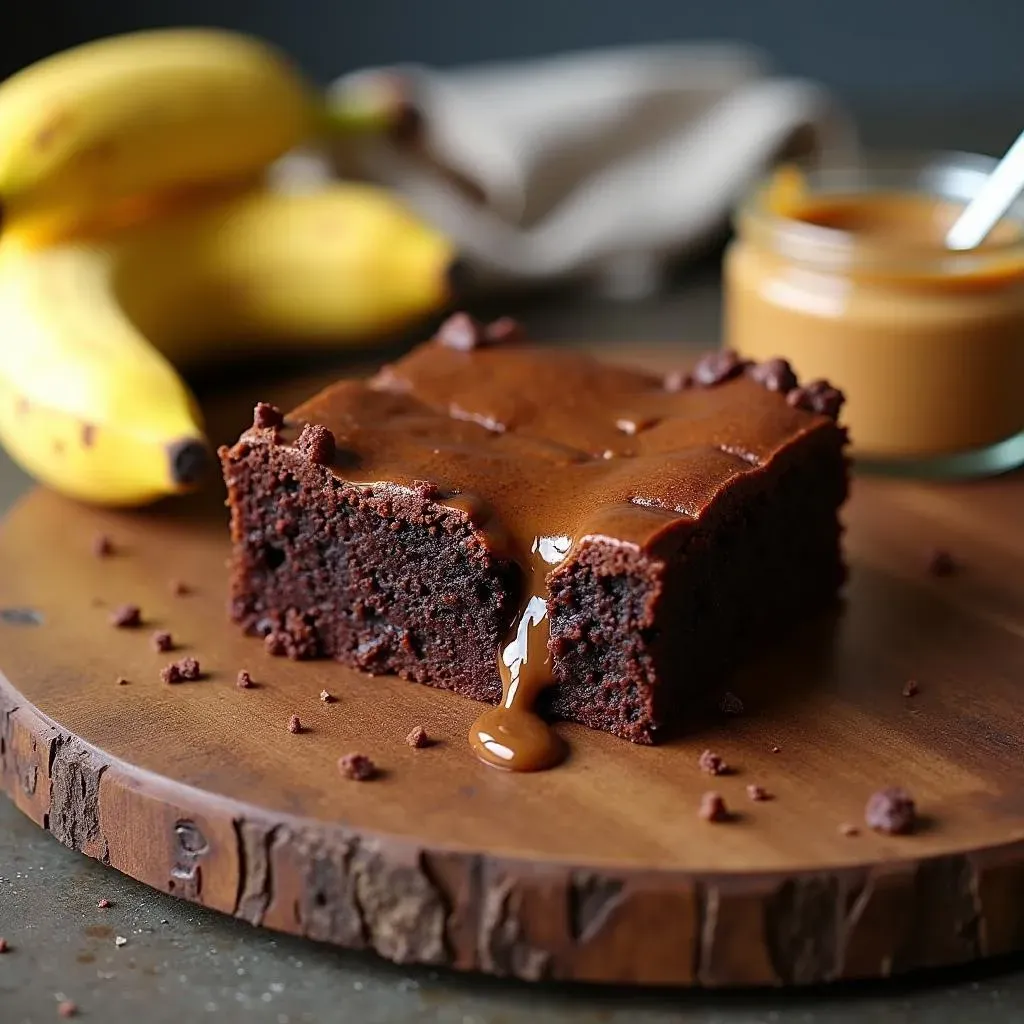
Simple Ingredients for Delicious Banana Cocoa Brownies
The Magic Trio: Bananas, Peanut Butter, and Cocoa
let's talk about the stars of our show. We're keeping things super simple, so we only need three main ingredients for these amazing brownies. First up are bananas, and not just any bananas, but the super ripe ones, the ones with those brown spots that you might normally toss. These aren't just sweet, they're also the key to making our brownies moist and fudgy. Next, we have peanut butter, it adds that creamy texture and a hint of nutty goodness. Make sure to use the kind without added sugars or oils if you're being extra healthy. And last, but definitely not least, is cocoa powder, which gives us that rich chocolate flavor. Unsweetened cocoa powder is what you need for a deep, intense taste.
Why These Ingredients Work Wonders
You might be thinking, "That's it?" Yep, that's all it takes. The bananas provide natural sweetness and bind everything together, acting like a natural egg replacement. The peanut butter not only adds flavor but also brings in healthy fats that help make the brownies satisfying. And the cocoa powder, well, that's the magic ingredient for that classic brownie taste. These three ingredients aren't just random; they work together in perfect harmony to create a dessert that's both delicious and good for you. It’s like a little bit of kitchen science, but way more fun, and even better to eat.
Ingredient | Why It's Important | Notes |
|---|---|---|
Ripe Bananas | Natural Sweetness, Moisture | Look for brown spots for best results |
Peanut Butter | Creaminess, Healthy Fats | Use natural, no added sugar kind |
Cocoa Powder | Rich Chocolate Flavor | Unsweetened for a deep taste |
Making Your Own Banana and Cocoa Brownies: StepbyStep
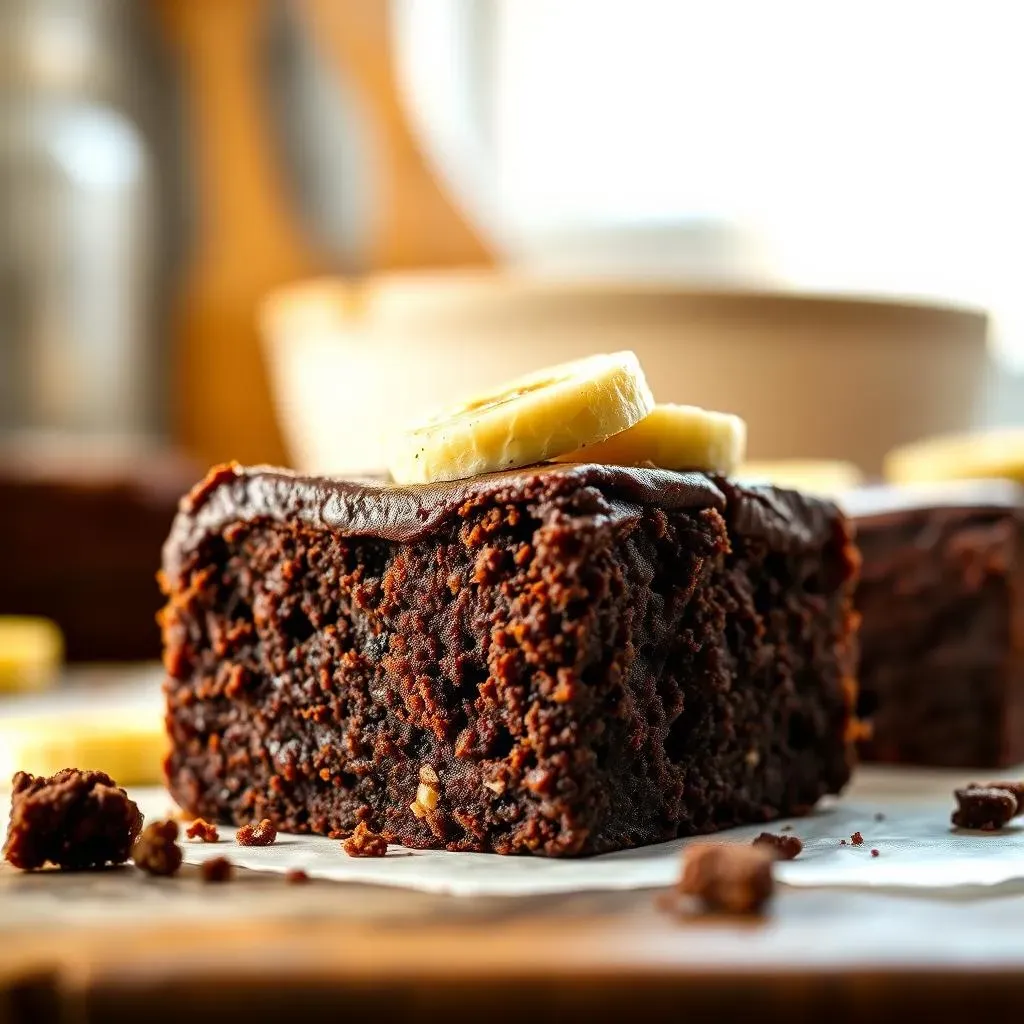
Making Your Own Banana and Cocoa Brownies: StepbyStep
Getting Started: The Prep Work
Alright, let's get down to business! Making these brownies is surprisingly easy. First, you'll need to preheat your oven to 350°F (175°C). While that's heating up, grab your ripe bananas and mash them in a bowl. You can use a fork, potato masher, or even a whisk if you're feeling fancy. The goal is to get them nice and smooth, no big chunks. Once your bananas are ready, it’s time to add the peanut butter. Scoop it in and give it a good mix with the mashed bananas. You'll see it start to get creamy and delicious looking. And finally, sprinkle in the cocoa powder. Make sure to mix everything really well until you have a smooth, chocolatey batter. It should be thick and almost like pudding.
Baking Your Brownies to Perfection
Now that your batter is all mixed up, it’s time to get it ready for baking. Grab a baking pan, an 8x8 inch one works great, and line it with parchment paper. This will make it super easy to lift the brownies out later. Pour your batter into the pan and spread it out evenly. If you want to add a little extra something, now’s the time to sprinkle in some chocolate chips or nuts. Pop the pan into the preheated oven and let it bake for about 15 to 20 minutes. Keep an eye on them, since oven can be a little different, you'll want to see the edges set and a toothpick inserted in the center coming out with just a few moist crumbs. Once they’re done, take them out and let them cool completely before cutting into squares. Trust me, it's worth the wait!
Step | Action | Notes |
|---|---|---|
1 | Preheat oven to 350°F (175°C) | Make sure the oven is fully heated |
2 | Mash ripe bananas | No large chunks for best results |
3 | Mix in peanut butter and cocoa powder | Combine until smooth and creamy |
4 | Pour into lined baking pan | Evenly spread the batter |
5 | Bake for 15-20 minutes | Check with a toothpick for doneness |
6 | Cool completely | Before slicing and serving |
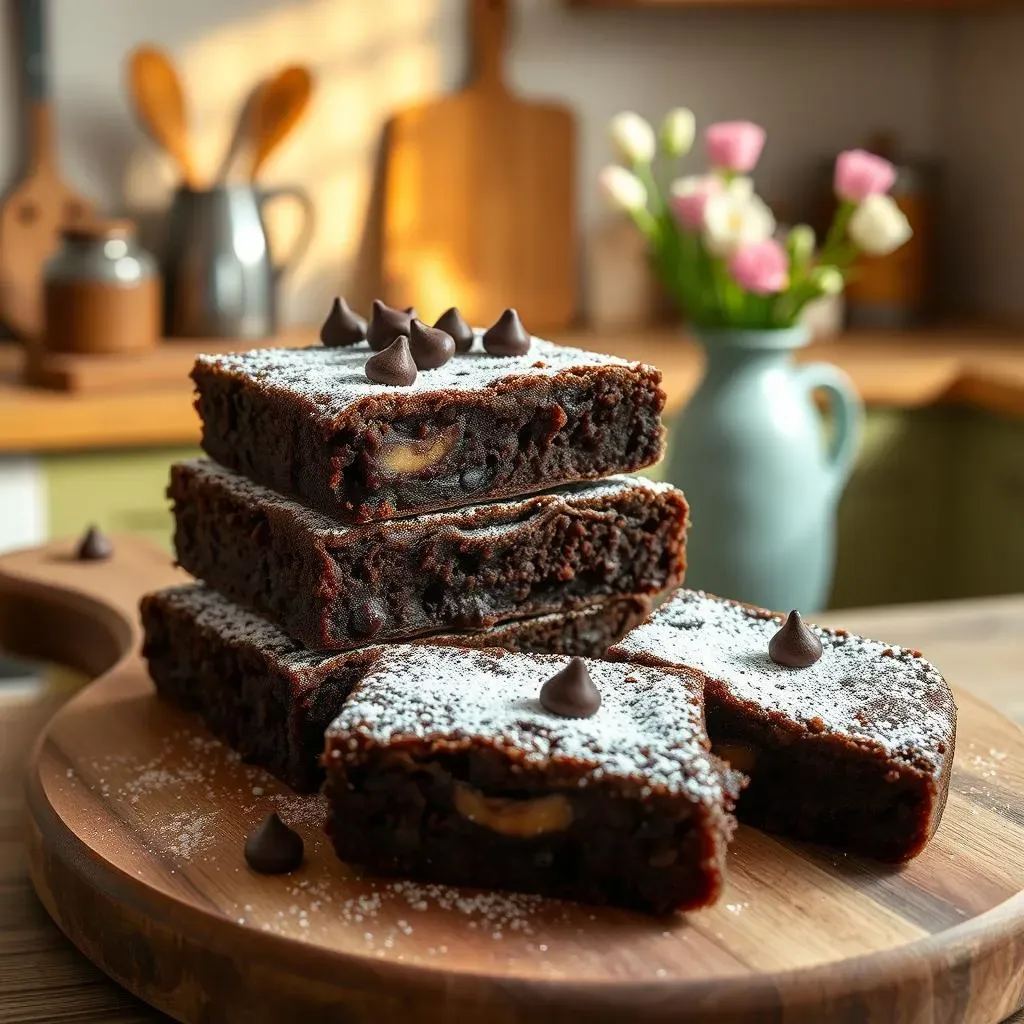
Tips and Tricks for Perfect Banana Cocoa Brownies

Tips and Tricks for Perfect Banana Cocoa Brownies
Getting the Right Consistency
so you've got your ingredients, but how do you make sure your batter is just right? First off, really ripe bananas are key. The browner, the better, because they're sweeter and softer. If your batter seems too thick, don't worry! A splash of milk, either dairy or non-dairy, can help thin it out. Start with a tablespoon and add more as needed until it looks like thick pudding. On the flip side, if your batter is too runny, a little more cocoa powder or even a tablespoon of oat flour can help thicken it up. Remember, we want a batter that’s easy to spread but not too watery.
Mixing is also important, it’s like Goldilocks and the three bears, not too much, not too little, just right. Overmixing can make your brownies tough, so just mix until everything is combined and no streaks of cocoa or peanut butter are visible. Think of it like folding laundry – gentle but thorough. And don’t be afraid to taste the batter (yes, it's safe!). This way you can adjust the sweetness or chocolate flavor to your liking. This isn’t just baking, it’s an art, and your taste buds are the master painters here.
Customizing Your Brownies
Now, let’s talk about making these brownies your own! While the basic recipe is amazing, there's tons of room to play around. If you want to add some crunch, toss in some chopped walnuts, pecans, or even some sunflower seeds. For an extra chocolatey kick, chocolate chips are always a good idea. You can also use different kinds of chocolate, like dark, milk, or even white. Want to make it a little more indulgent? A swirl of caramel or a sprinkle of sea salt on top before baking can take things to the next level. I once added a little bit of cinnamon and a pinch of cayenne pepper and it was a game changer. Don’t be afraid to experiment, that’s the fun part of cooking!
If you're watching your sugar intake, you can use sugar-free chocolate chips or add a few drops of stevia to the batter. You can also replace the peanut butter with other nut butters like almond or cashew, but keep in mind that it will change the flavor slightly. And if you’re feeling really adventurous, try adding a tablespoon of espresso powder for a mocha twist. The possibilities are endless, and these brownies are a great blank canvas for all your flavor ideas. So go ahead, get creative and make them your own masterpiece.
Tip | Description |
|---|---|
Use Ripe Bananas | The browner the better for sweetness and moisture. |
Adjust Consistency | Add milk to thin, cocoa or oat flour to thicken. |
Don't Overmix | Mix gently until just combined. |
Add Crunch | Use chopped nuts or seeds. |
Boost Chocolate | Add chocolate chips or cocoa nibs. |
Experiment with Flavors | Try cinnamon, sea salt, or espresso powder. |
Storing, Freezing, and FAQs About Banana Cocoa Brownies
Storing, Freezing, and FAQs About Banana Cocoa Brownies
Keeping Your Brownies Fresh
Alright, so you've baked your amazing banana and cocoa brownies, and now you're wondering how to keep them fresh. Well, good news! These brownies are pretty easy to store. If you plan to eat them within a few days, just keep them in an airtight container at room temperature. They’ll stay moist and delicious for about three days. If you live in a warmer climate or want them to last a bit longer, pop them in the fridge. They’ll be good for up to five days in the refrigerator, but just a heads-up, they might get a little denser. Before you eat a refrigerated brownie, I like to let it sit out for a few minutes, just to let it warm up and soften a bit, that way it's not too cold.
But what if you made a huge batch, or you're not planning to eat them that quickly? That’s where freezing comes in handy. These brownies freeze super well. Cut them into squares first, then wrap them individually in plastic wrap or foil. Toss them in a freezer-safe bag or container, and they’ll keep for up to three months! When you’re ready to eat them, just take out a brownie or two and let them thaw at room temperature or in the fridge. You can also warm them up in the microwave for a few seconds if you’re impatient, but be careful, they can get a little too soft if you overdo it.
Storage Method | Duration | Notes |
|---|---|---|
Room Temperature | Up to 3 days | Keep in airtight container |
Refrigerator | Up to 5 days | May become denser |
Freezer | Up to 3 months | Wrap individually for best results |
Frequently Asked Questions
Now, let's tackle some common questions people have about these banana and cocoa brownies. First off, many people ask, "Can I make these in an air fryer?" Yes, you totally can! Just reduce the baking time to about 10-12 minutes and keep an eye on them. The result is a slightly crispier brownie. Another common question is, "Can I use a different type of nut butter?" Absolutely! Almond butter, cashew butter, or even sunflower seed butter are great alternatives, but the taste will be a bit different. Also, can you add protein powder? Sure, you can add a scoop of your favorite protein powder, but you might need to add a splash of milk to get the right consistency.
And finally, "Can I use a microwave?" I don't recommend it. Microwaving these brownies can make them rubbery. It’s better to use the oven or air fryer for best results. One last thing, if you don’t have parchment paper, you can grease your baking pan really well, but parchment paper makes clean-up so much easier. So there you have it, all the tips and tricks to keep your banana and cocoa brownies fresh and delicious, plus answers to all your burning questions. Now go forth and bake, and don’t forget to share your creations with friends and family, or keep them all to yourself, I won’t judge!
Common Questions
- Can I make these in an air fryer? Yes, bake for 10-12 minutes.
- Can I use a different nut butter? Yes, but the flavor will change.
- Can I add protein powder? Yes, but add milk for consistency.
- Can I use a microwave? Not recommended, may become rubbery.
Wrapping Up Your Banana Cocoa Brownie Adventure
So, there you have it – a super simple recipe for delicious banana and cocoa brownies that’s both healthy and satisfying. These aren't just a quick fix for a sweet craving; they're proof that you can create something amazing with just a few basic ingredients. Whether you're looking for a vegan treat, a gluten-free dessert, or just a healthier alternative to traditional brownies, this recipe ticks all the boxes. From the easy prep to the flexible storage, these brownies are designed to fit into your busy life. Now it’s your turn to go experiment with different add-ins. So, go ahead, grab those ripe bananas, and bake some happiness. Enjoy!