Table of Contents
Have you ever stared in the mirror, horrified by your foundation looking like it’s wearing a thick, cracked mask? Or maybe you’ve baked sugar cookies that turned out dry and crumbly instead of soft and delicious? The term "cakey cream" can unexpectedly apply to both makeup application and baking! Today, we're going to figure out the mysteries behind this dual-meaning term, exploring how to prevent that dreaded cakey makeup and how to achieve the perfect, melt-in-your-mouth texture of a truly delightful cakey cream cookie. Whether you're a makeup maven or a baking enthusiast, this article from browniesrecipes.homes will help you master the art of "cakey cream" – one way or another. We'll examine into the science behind both, providing practical tips and tricks to help you achieve the desired results, every time. Get ready to transform your makeup routine and your baking game!
Topic | Problem | Solution (Makeup) | Solution (Baking) |
|---|---|---|---|
Cakey Cream | Thick, uneven foundation application; dry, crumbly cookies | Proper skin prep, suitable foundation, blending techniques, using a hydrating primer | Using the right ingredients (sour cream, etc.), proper mixing and baking techniques |
Causes (Makeup) | Dehydrated skin, wrong foundation type, improper blending | Hydrate skin, choose appropriate foundation formula, use proper tools | N/A |
Causes (Baking) | Incorrect ingredient ratios, over-mixing, oven temperature | Follow recipe carefully, use fresh ingredients, check oven temperature | N/A |
Prevention (Makeup) | Exfoliate, moisturize, use primer | N/A | N/A |
Prevention (Baking) | Measure ingredients carefully, mix gently, use a timer | N/A | N/A |
Understanding Cakey Cream in Makeup: Causes and Solutions
Understanding Cakey Cream In Makeup Causes And Solutions
The Cakey Cream Conundrum: Why Does It Happen?
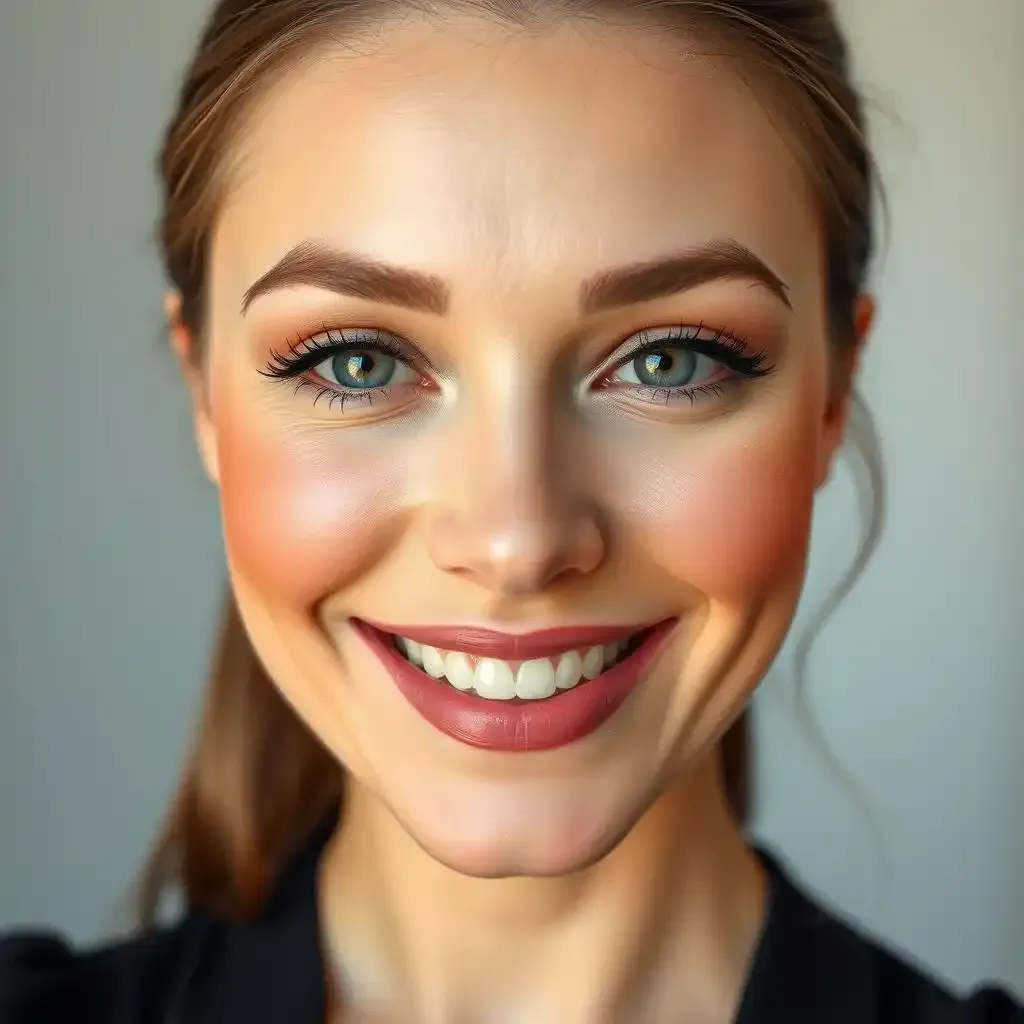
Okay, let's be real. Nobody wants their foundation looking like a poorly frosted cake, right? That "cakey cream" effect happens when your makeup sits on top of your skin instead of blending seamlessly. Think of it like trying to paint a think about on a rough, textured wall – it just doesn't look smooth. One big reason for this is dry skin. Dry skin acts like a sponge that’s thirsty for moisture, and it soaks up your foundation, leaving patches that look dry and cracked. Another culprit? Using the wrong kind of foundation. If you're using a heavy, full-coverage foundation when your skin needs a lighter touch, you're setting yourself up for a cakey disaster. Lastly, improper blending is a huge problem. Imagine trying to spread frosting unevenly on a cake – it's going to look lumpy!
Cause | Explanation | Solution |
|---|---|---|
Dry Skin | Foundation clings to dry patches. | Moisturize well before applying makeup. |
Wrong Foundation | Heavy foundation on dry or mature skin looks cakey. | Use a lighter foundation or BB cream. |
Poor Blending | Uneven application leads to a cakey look. | Use a damp sponge or brush for better blending. |
Fixing Cakey Cream Makeup: Simple Solutions
So, you've got cakey cream makeup. Don't panic! There are easy fixes. First, if you're dealing with a minor cakey issue, try gently pressing a damp makeup sponge onto the affected areas. This can help to soften the look and blend the foundation more evenly. Think of it like smoothing out the lumps in your frosting with a spatula. If the cakeyness is more severe, you might need to start over. Remove your makeup with a gentle cleanser, moisturize your skin, and then reapply your foundation using the techniques we talked about earlier. It might sound like a lot of work, but trust me, it's way better than walking around looking like you've got a mask on your face!
- Use a hydrating primer to create a smooth base.
- Apply foundation in thin layers, blending each layer thoroughly.
- Set your makeup with a light dusting of powder.
Preventing Future Cakey Cream Disasters
The best way to deal with cakey cream makeup is to prevent it in the first place! Start by prepping your skin. Cleanse, tone, and moisturize your face before you even think about touching your foundation. Think of it as prepping a canvas before painting a masterpiece. Next, choose the right foundation for your skin type. If you've got dry skin, opt for a hydrating formula. Oily skin? Go for something matte. And finally, don't forget the importance of good blending! Take your time, use the right tools (a damp sponge is your best friend), and remember, less is often more when it comes to foundation. A little goes a long way!
Tackling Cakey Cream Foundation: Prevention Strategies
Prep Your Skin Like a Pro
Think of your face as a canvas. You wouldn't start painting a masterpiece on a dirty, cracked canvas, would you? The same goes for your makeup. Before you even *think* about foundation, you need to prep your skin. This means cleansing, toning, and moisturizing. Cleansing gets rid of dirt and oil, toning balances your skin's pH, and moisturizing is key – it gives your skin that plump, hydrated look, preventing that thirsty-sponge effect that makes foundation cakey. I'm talking super-important here. It's like building a strong foundation for a house - if the base is weak, the whole thing will crumble!
- Cleanse: Wash your face with a gentle cleanser.
- Tone: Use a toner to balance your skin's pH.
- Moisturize: Apply a moisturizer suitable for your skin type.
Choosing the Right Foundation: It's a Match Made in Heaven (or Not)
Picking the wrong foundation is like wearing shoes two sizes too small – it's going to be uncomfortable and look awful! Different foundations work for different skin types. If you have dry skin, a heavy, full-coverage foundation will just cling to those dry patches and look cakey. You need something hydrating, something that will work *with* your skin, not against it. Oily skin? Go for a matte foundation to control shine. And for those with combination skin, you might need to experiment a bit to find the perfect balance. Think of it as finding the perfect pair of jeans – it takes time, but when you find the right ones, it's amazing!
Skin Type | Foundation Type | Why it Works |
|---|---|---|
Dry | Hydrating, dewy | Adds moisture, prevents dryness |
Oily | Matte, oil-free | Controls shine, prevents cakiness |
Combination | Lightweight, oil-free | Balances hydration, avoids excess shine |
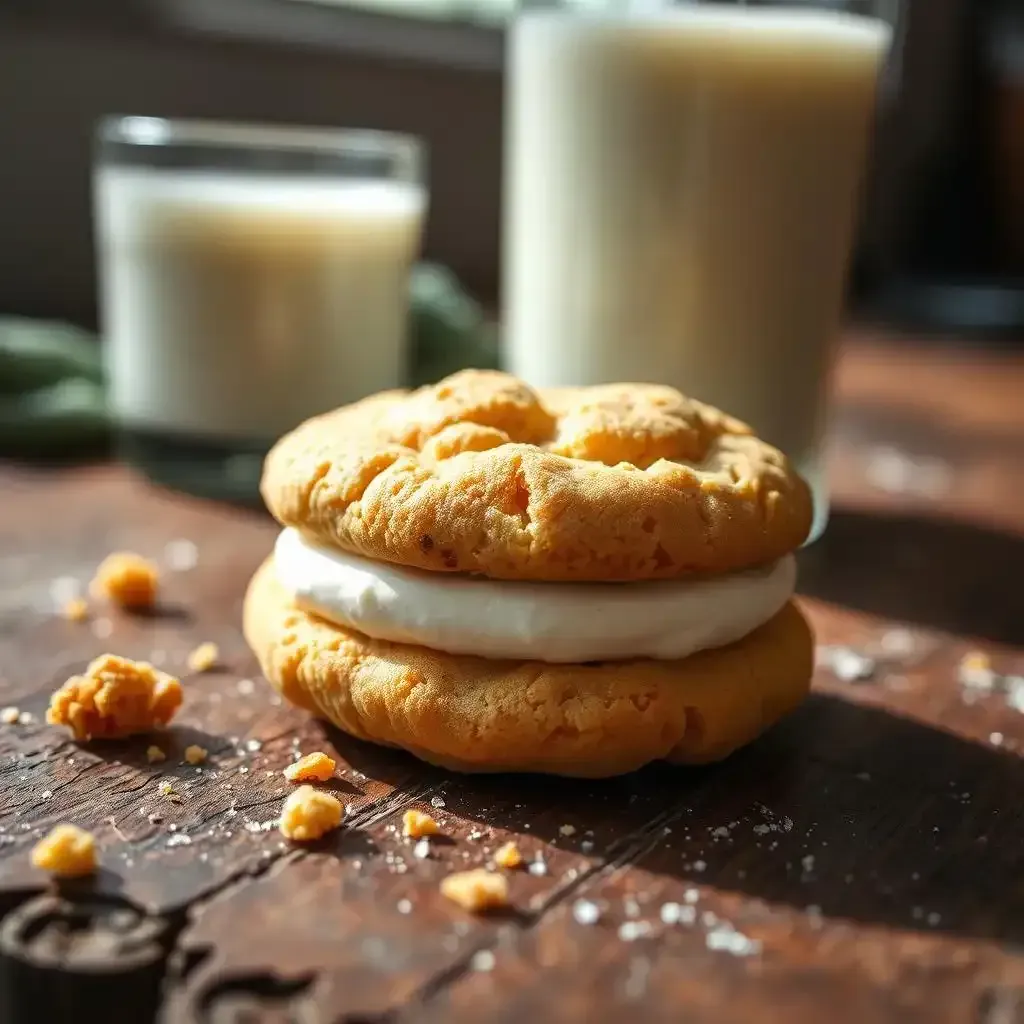
Achieving the Perfect Cakey Cream Cookie: A Baker's Guide
Achieving The Perfect Cakey Cream Cookie A Bakers Guide
So, you want to bake the *perfect* cakey cream cookie? Think of it like this: you're building a tiny, delicious cloud. It needs to be light, fluffy, and melt-in-your-mouth amazing, not dry and crumbly like a forgotten biscuit. The secret? It's all in the balance of ingredients and technique. I've experimented a lot, and let me tell you, getting this right is incredibly satisfying.
- Use the right fats: Butter is your best friend here, but don't skimp on it! Butter adds flavor and richness, but also helps create that tender crumb. Think of it as the glue holding your delicious cloud together.
- Don't overmix: Overmixing develops the gluten in your flour, leading to tough cookies. Mix just until the ingredients are combined. It's like kneading bread – too much and you get a brick, too little and it's gummy.
- Chill your dough: Chilling the dough before baking prevents the cookies from spreading too much. This keeps them thick and chewy. It's like letting your paint dry before adding another layer.
One thing that often trips people up is baking temperature. Too hot, and your cookies will burn on the outside before the inside is cooked. Too low, and they'll be flat and sad. I usually start with a slightly lower temperature than the recipe suggests and keep a close eye on them. It’s a bit like Goldilocks and the Three Bears – you need to find that "just right" temperature.
Ingredient | Role | Important Note |
|---|---|---|
Butter | Flavor, richness, tenderness | Use softened, not melted, butter |
Sugar | Sweetness, structure | Don't over-sugar; it can make them too hard |
Eggs | Binding, moisture | Use room temperature eggs for best results |
Flour | Structure | Use all-purpose flour unless otherwise specified |
Sour Cream (Optional) | Moisture, tenderness | Adds a lovely tangy flavor |
Remember, baking is a science but also an art. Don't be afraid to experiment! Try adding different extracts like vanilla or almond, or perhaps some chocolate chips. Each little tweak can lead to a unique and delicious cookie. My favorite addition? A sprinkle of sea salt on top after baking – it brings out all the flavors beautifully. It’s the perfect finishing touch!
"The best cakey cream cookies are the ones that make you close your eyes and sigh with happiness." - Me (totally an expert, trust me!)
Final Thought
Mastering the art of "cakey cream," whether in makeup or baking, is all about understanding the underlying principles and adapting your techniques. Remember, practice makes perfect! With a little patience and attention to detail, you can achieve flawless makeup application and bake the most delightful cakey cream cookies that will leave everyone wanting more. Happy experimenting!