Table of Contents
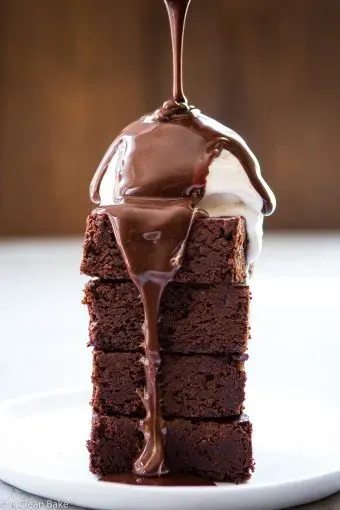
Ever wondered why some brownies are fudgy and others are delightfully cakey? The secret ingredient might not be in your recipe, but in your pan! Choosing the right cakey brownie pan is crucial for achieving that perfect texture – that slightly crisp top and tender, moist interior that makes every bite a joy. At browniesrecipes.homes, we're passionate about helping you bake the best brownies possible, and that starts with the right equipment. This article will guide you through selecting the ideal pan, focusing on size, material, and preparation techniques to help you create irresistibly cakey brownies every single time. Get ready to upgrade your brownie game!
Feature | Recommendation | Why It Matters |
|---|---|---|
Pan Size | 8x8 inch square pan | Provides even baking and a good thickness for a cakey texture. |
Pan Material | Glass or dark-colored metal | These materials distribute heat more evenly, leading to a more consistent bake. |
Non-Stick Coating | Helpful, but not essential | Makes removing brownies easier, but proper greasing and parchment paper work just as well. |
Preparation | Grease and line with parchment paper | Ensures easy removal and prevents sticking. |
Cakey Brownie Pan: Size Matters
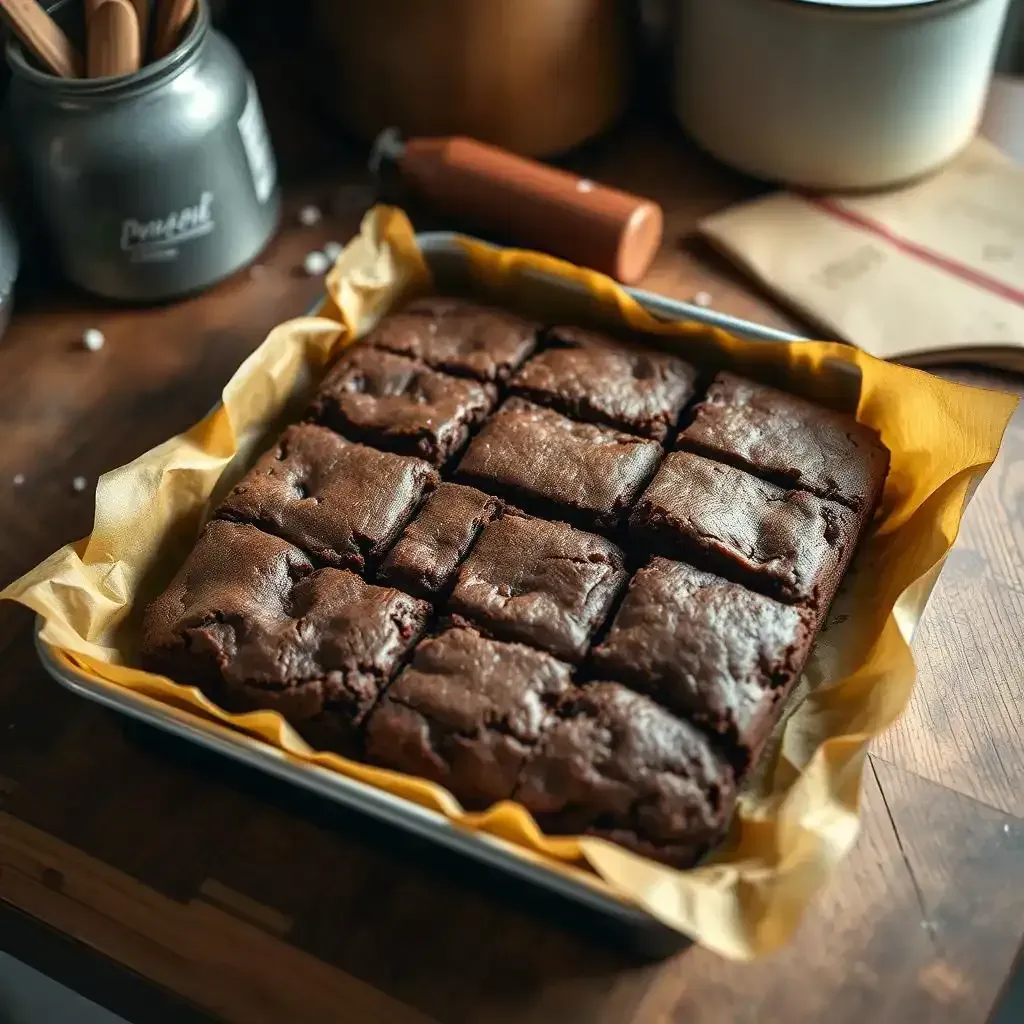
Cakey Brownie Pan Size Matters
Okay, so you want cakey brownies, right? Think of it like this: your brownie pan is the stage, and your brownie batter is the star. A tiny stage (like a small pan) crowds the star, making it bake too fast and get all dry and crumbly. A huge stage (a giant pan) lets the star spread out too thin, resulting in flat, sad brownies. We want just right, so we need the Goldilocks pan.
Pan Size | Brownie Texture | Why? |
|---|---|---|
6x6 inch | Thick, possibly over-baked | Too little surface area for even baking. |
8x8 inch | Perfectly cakey | Ideal surface area for even baking and good thickness. |
9x13 inch | Thin, might be under-baked | Too much surface area, brownies bake too quickly and become thin. |
My personal favorite? The classic 8x8 inch square pan. It's the sweet spot, you see? It gives you enough space for a nice, thick brownie that bakes evenly. Think of it as the perfect balance between a deep, moist interior and a slightly crisp, crackly top. It's like a well-structured sentence – not too short, not too long, just right!
- Too small a pan leads to over-baked brownies.
- Too large a pan leads to thin, disappointing brownies.
- An 8x8 inch pan is your best bet for perfectly cakey brownies.
I've experimented with all sorts of pans, from those tiny little square ones to those ridiculously oversized rectangular ones. Trust me, I've learned from my mistakes! Remember that the size of your pan directly influences the baking time and the final texture of your brownies. Get this wrong, and you'll end up with a brownie disaster.
The Best Material for Your Cakey Brownie Pan
Let's talk brownie pan materials. It's not just about looks, folks – the material drastically affects how your brownies bake. Imagine your brownie batter as a delicate flower. You wouldn't want to bake it in a scorching hot pan, right? You need even heat distribution, like a gentle sun warming the petals. That's where the pan material comes in!
Material | Heat Distribution | Brownie Texture Result |
|---|---|---|
Glass | Even and slow | Cakey, crisp edges, moist center |
Dark Metal (like cast iron) | Fast and even | Cakey, possibly slightly crispier edges |
Light Metal (like aluminum) | Uneven, can lead to hot spots | Potentially unevenly baked, less cakey |
I've personally had the best luck with glass pans. They heat up gradually and evenly, leading to those perfectly cakey brownies I crave. The slow, steady heat prevents the edges from over-baking before the center is set, resulting in a more uniform texture. Think of it like this: glass is a gentle hug, guiding your brownies to perfection. A dark metal pan bakes a bit faster, which can be great if you're short on time, but watch those edges!
- Glass pans offer even heat distribution.
- Dark metal pans bake quickly.
- Light metal pans can cause uneven baking.
Now, some people swear by dark-colored metal pans, especially cast iron. These pans hold heat beautifully, creating a nice, crisp edge on your brownies. It's a bit of a risk-reward situation. You might get extra crispy corners, but you also risk burning the edges if you're not careful. It's a bit like walking a tightrope – thrilling but potentially disastrous if you slip up!
Cakey Brownie Pan Prep: Tips and Tricks for Success
Okay, so you've got your perfect cakey brownie pan picked out – fantastic! But even the best pan needs a little TLC to ensure those brownies slide right out, looking all gorgeous and delicious. Think of it like this: your pan is a comfy bed for your brownie batter; you wouldn't want your batter to wake up all sticky and grumpy, would you? Proper prep is key, my friend!
- Grease the pan: Use a neutral-flavored oil like vegetable or canola oil. Don't skimp! A thin coating is good, but a generous amount is better.
- Line with parchment paper: This is my secret weapon. Cut a piece of parchment paper slightly larger than the pan, letting the overhangs drape over the sides. This makes removing the brownies a breeze – it’s like magic!
- Don't forget the corners: Make sure you really grease those corners and get the parchment paper tucked in neatly. Those are the spots where brownies love to stick most!
I've learned this the hard way. Once, I was so excited to bake my brownies that I skipped the greasing and lining. Let's just say it involved a lot of scraping, a few broken brownies, and a whole lot of frustration. It was a truly sad day. It taught me a valuable lesson, though: preparation is everything! It's like building a house - you wouldn't start building without laying a solid foundation, would you?
Prep Step | Why It's Important | What Happens If You Skip It |
|---|---|---|
Greasing the pan | Prevents sticking, ensures easy removal | Brownies stick, making removal difficult and potentially damaging the brownies. |
Lining with parchment paper | Super easy removal, cleaner pan | Brownies stick, you have to scrub the pan, and you might lose some brownies in the process. |
Careful corner prep | Prevents sticking in the corners | Brownies stick in the corners, making for uneven-looking brownies. |
Another tip? Let the brownies cool completely before attempting to remove them. I know, it's hard to wait! But trust me, this prevents them from crumbling and breaking. Think of it like letting a cake cool before frosting – you wouldn't want to ruin your perfectly baked cake, would you? Patience, young padawan, patience.
Final Thought
Baking cakey brownies is more than just following a recipe; it's about understanding the tools you use. The right cakey brownie pan, combined with proper preparation, is the key to unlocking that perfect texture – a delightful balance of crisp edges and soft, moist center. So grab your pan, gather your ingredients, and get ready to bake some seriously delicious brownies!