Table of Contents
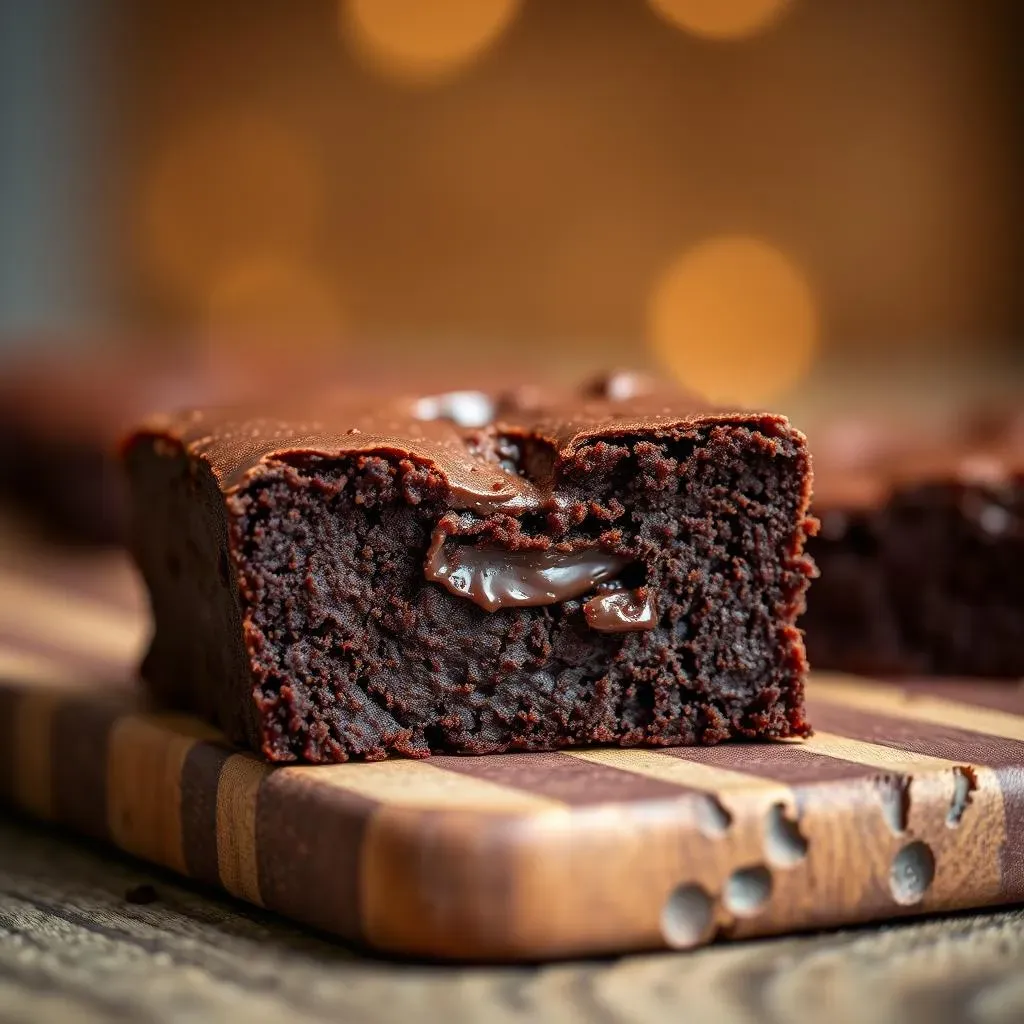
Have you ever craved a rich, decadent brownie but felt too lazy to deal with a mountain of ingredients? I have. That’s how the 2 ingredient brownie was born in my kitchen. It wasn't some grand plan; it was a "What if?" moment when I was out of bananas and peanut butter, my usual go-to for quick desserts. The result was a surprisingly fudgy, intensely chocolatey treat that uses only two things you probably already have: eggs and chocolate. Yep, that’s it. This isn't about complicated baking techniques or fancy equipment. It’s about pure, unadulterated chocolate satisfaction with minimal effort. We'll walk through how to make this magical 2 ingredient brownie, share some tips to perfect it, and even talk about how to keep it fresh (if it lasts that long). So, if you're ready for a dessert that's as easy as it is delicious, let’s get started.
Why Two Ingredients Are All You Need
Why Two Ingredients Are All You Need
Okay, so you're probably thinking, "Two ingredients? Seriously?" I get it. It sounds way too simple to be true, like some sort of baking magic trick. But here's the thing: sometimes the best things in life are the simplest. This 2 ingredient brownie recipe isn't about cutting corners; it's about showcasing the power of high-quality chocolate and the incredible binding ability of eggs. No flour, no butter, no complicated steps. It’s about letting the star ingredients shine. The chocolate provides that intense flavor and fudgy texture, while the eggs create structure and moisture. It's a perfect example of how less can be more. It's kind of like that minimalist art that makes you say, "Wow, that's it?" but in a good way, like a delicious, chocolatey, good way.
How to Make the Perfect 2 Ingredient Brownie
How to Make the Perfect 2 Ingredient Brownie
Get Your Ingredients Ready
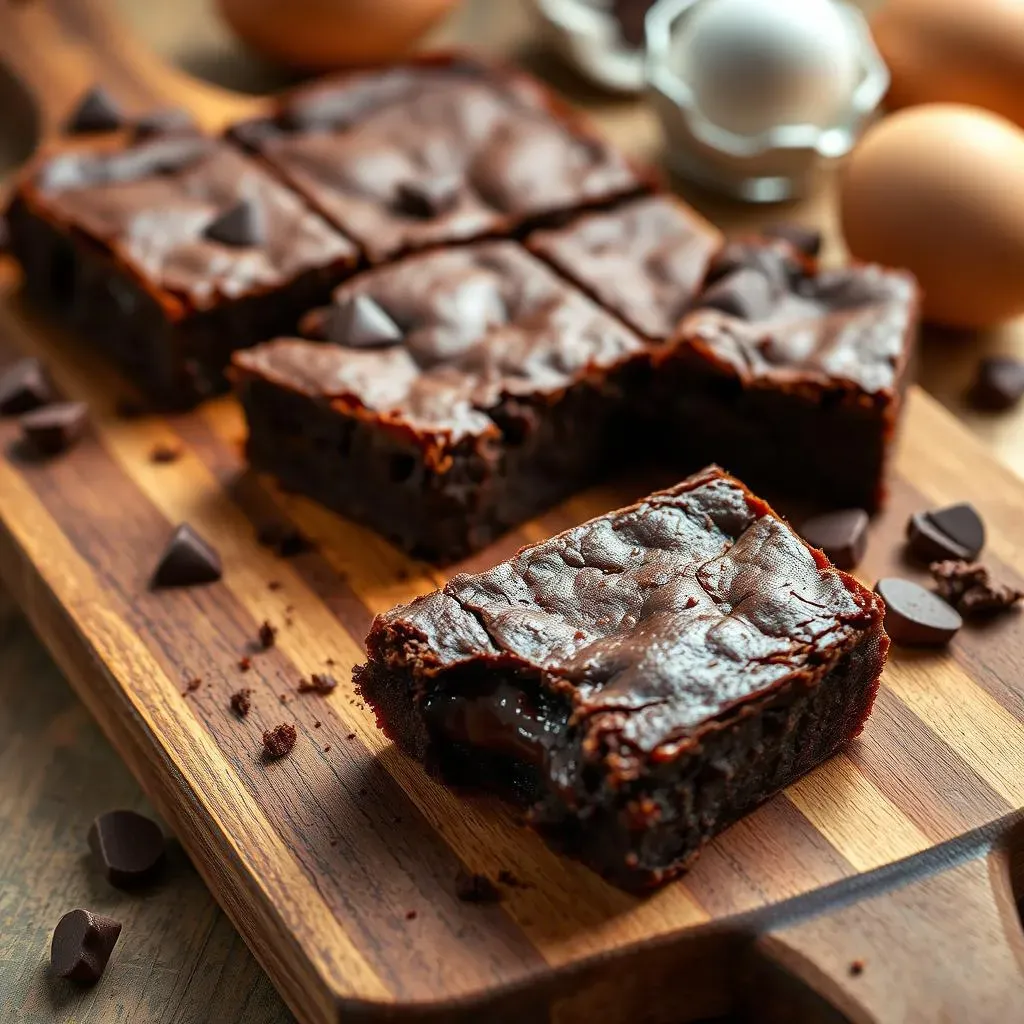
Alright, let's get down to business. Making this 2 ingredient brownie is super simple, but a little care goes a long way. First, you'll need your chocolate. I usually go for a good quality semi-sweet chocolate, around 10 ounces, but you can use milk or dark chocolate depending on your taste. It's your brownie adventure, so pick your favorite. Then, grab 4 large eggs. Make sure they're at room temperature; it makes a difference when they're whipping up nicely. Now, preheat your oven to 350°F (175°C) and line a square 8x8 inch baking pan with parchment paper. This is key to getting those brownies out without any drama later.
Before you start, it's a good idea to roughly chop up your chocolate. This helps it melt more evenly. Now, you need to get a double boiler ready. If you don't have one, that's totally fine. Just grab a heat-proof bowl and place it over a pan of simmering water, making sure the bowl doesn't touch the water. It's like giving your chocolate a nice, warm bath. Now, melt the chocolate in the double boiler, stirring occasionally until it's all smooth and glossy. Once melted, take it off the heat, and let it cool slightly while you move on to the next step.
Mixing and Baking
Now, it's time to get those eggs involved. In a separate bowl, crack your eggs and separate the whites from the yolks. We're going to whip those whites until they form stiff peaks. This is important because it's what gives the brownies that light, airy texture. I like to use an electric mixer for this, but you can also use a whisk, just be prepared for a bit of an arm workout. Once the whites are stiff, gently fold in the yolks, one by one. Then, slowly add the melted chocolate to the egg mixture, making sure you fold it in gently. You want to keep all that lovely air you whipped into the egg whites, so don't overmix it.
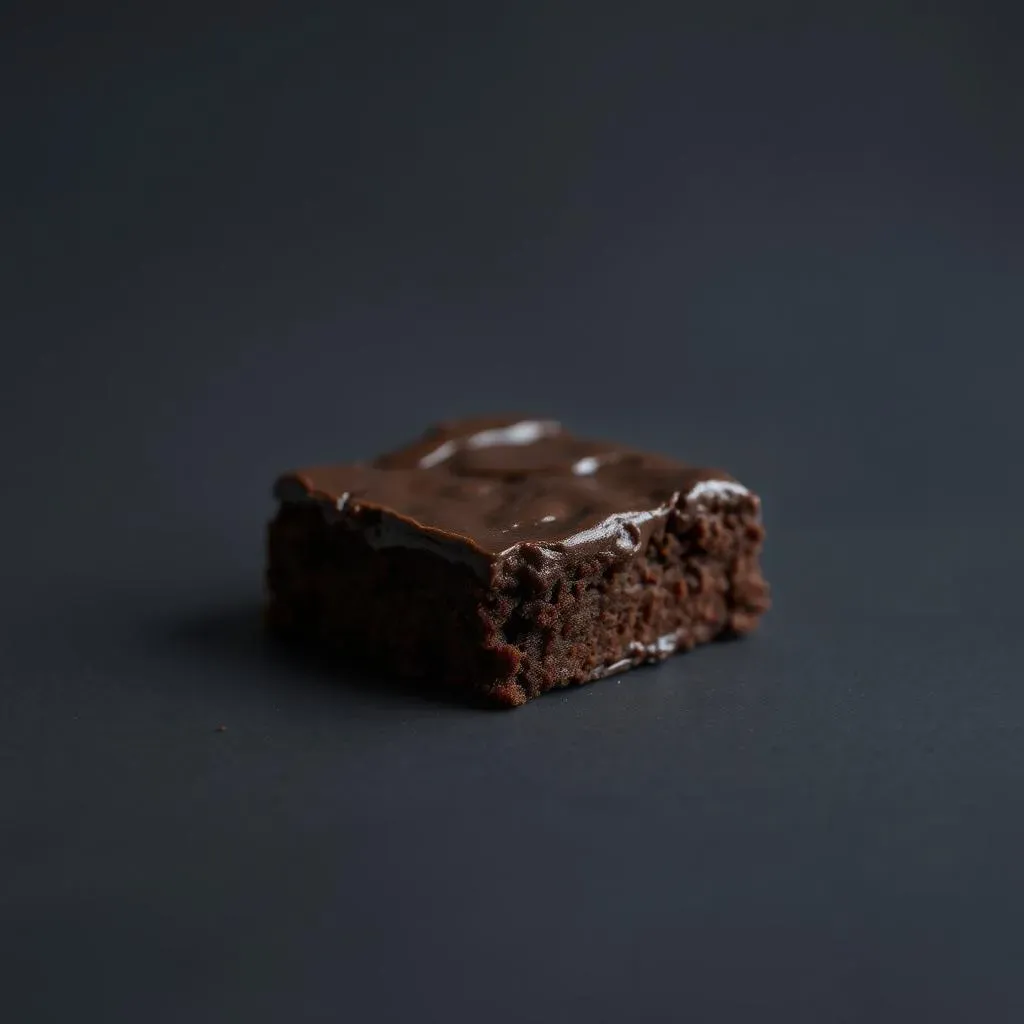
Pour the batter into your prepared pan and spread it out evenly. Now, pop it into the oven for about 20-25 minutes. The edges should be set, and the center should still be a little soft. Don't overbake them, or they will be dry. Once done, take them out of the oven and let them cool in the pan for a bit before you try to cut them. I know it's hard to wait but trust me, it's worth it. Once cooled, cut into squares and get ready to enjoy the simplest yet most satisfying 2 ingredient brownie you have ever made.
Step | Action | Why it Matters |
|---|---|---|
1 | Prep ingredients: Chop chocolate, separate eggs, line pan. | Ensures smooth melting, airy texture, and easy removal. |
2 | Melt chocolate in double boiler. | Prevents burning, creates a smooth base. |
3 | Whip egg whites to stiff peaks. | Adds lightness and structure to the brownies. |
4 | Gently fold in yolks and melted chocolate. | Keeps the batter light, avoids overmixing. |
5 | Bake for 20-25 mins until set. | Proper baking time for a fudgy center. |
Tips and Tricks for the Best 2 Ingredient Brownie
Tips and Tricks for the Best 2 Ingredient Brownie
The Chocolate Choice
Okay, let's chat about chocolate. It's a big deal in this 2 ingredient brownie recipe, because it's half of the equation. While I usually go for semi-sweet, don't be afraid to experiment. Dark chocolate will give you a more intense, slightly bitter brownie, while milk chocolate will be sweeter. You can even use a mix! Also, the quality of your chocolate really matters. Think of it like using good paint for a masterpiece; it makes a difference. Avoid using chocolate chips, they often have stabilizers that can affect the final texture. Instead, go for a chocolate bar and chop it up yourself.
And here’s a pro-tip: if you want a little extra something, try adding a pinch of sea salt to the batter. It enhances the chocolate flavor and adds a nice contrast. Trust me, it’s a game changer. Or, if you're feeling adventurous, consider a teaspoon of instant espresso powder. It won't make the brownies taste like coffee, but it will deepen the chocolate flavor. It's like adding a secret ingredient that everyone will love, even if they can't quite put their finger on what it is.
The Egg Factor
Now, let's talk about those eggs. Room temperature eggs are your friend here. They whip up much easier and create a lighter, airier batter. If you forgot to take them out of the fridge, no worries. Just pop them in a bowl of warm water for a few minutes. Also, don't skimp on whipping those egg whites. You want them to form stiff peaks; this is what gives the brownies that amazing texture. It’s like turning the egg whites into tiny little balloons that lift the brownies. And when you're folding in the yolks and melted chocolate, be gentle. Overmixing will deflate those precious air bubbles and result in a dense, sad brownie.
Also, remember not to overbake these brownies. They should be set around the edges but still slightly soft in the center. A toothpick inserted into the center should come out with a few moist crumbs attached. They'll continue to set as they cool, so don't worry if they look a little underdone when you take them out of the oven. Patience is key here, let them cool completely before slicing. If you slice them too soon, they will be gooey and messy. It's like waiting for a flower to fully bloom; the wait is worth it.
Tip | Benefit |
|---|---|
Use good quality chocolate | Better flavor and texture. |
Add a pinch of sea salt | Enhances chocolate flavor. |
Use room temperature eggs | Whip up easier, lighter batter. |
Don't overmix the batter | Keeps the brownies airy. |
Don't overbake the brownies | Fudgy center. |
Storing Your Delectable 2 Ingredient Brownie
Storing Your Delectable 2 Ingredient Brownie
How to Keep 'Em Fresh
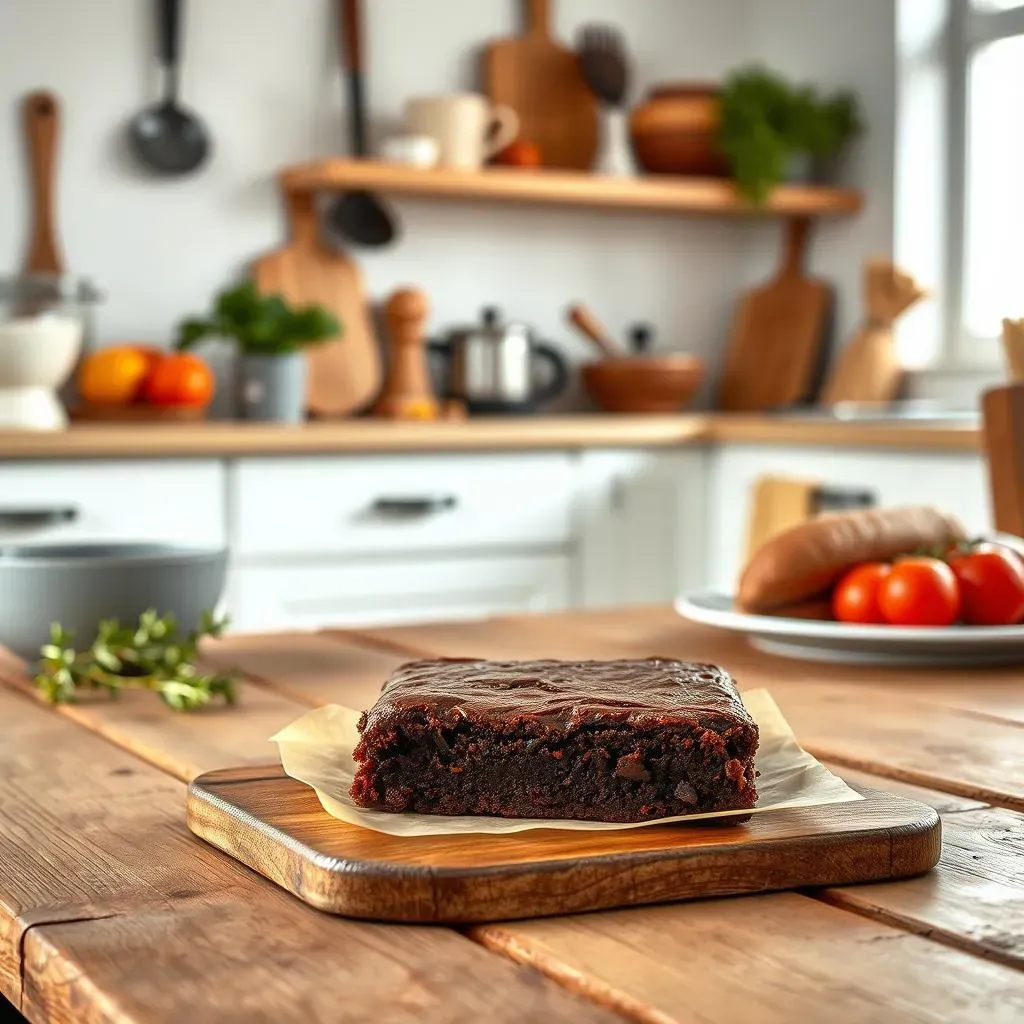
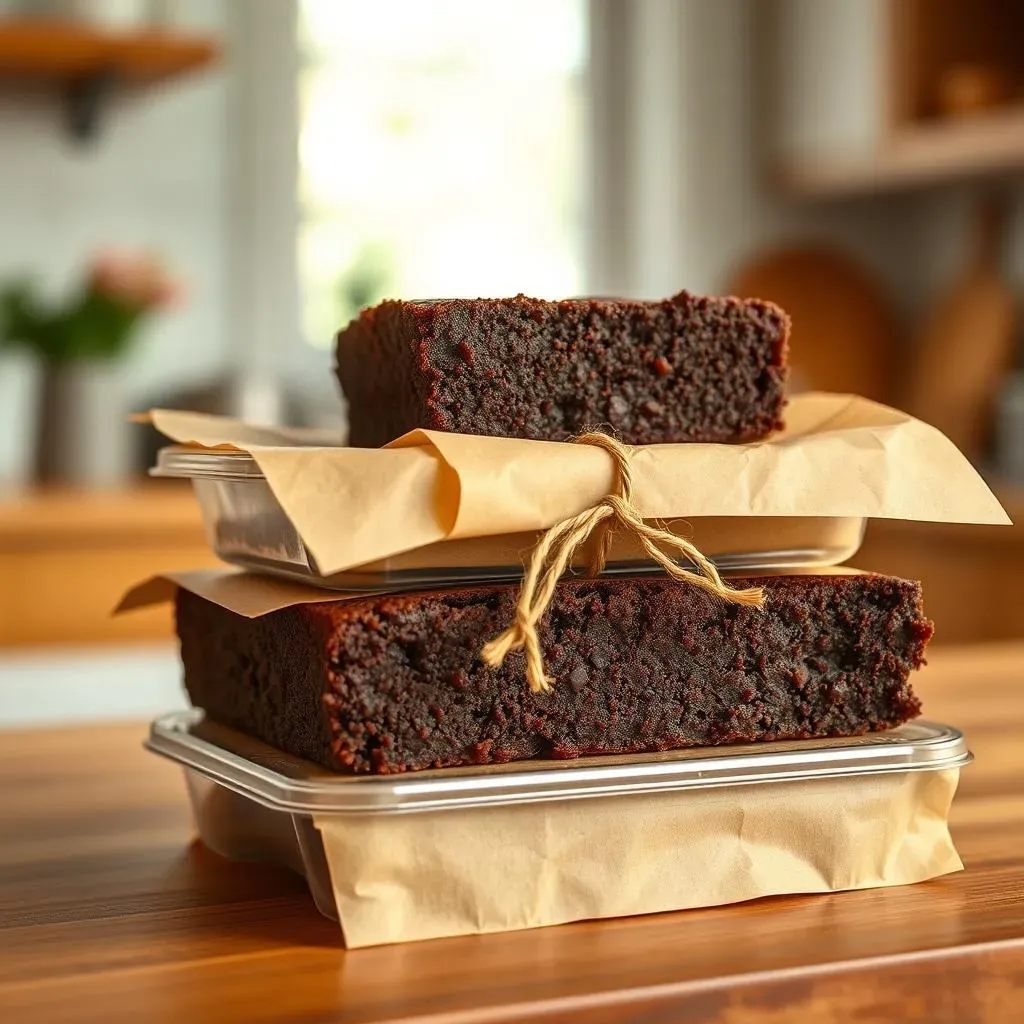
Alright, so you've baked your amazing 2 ingredient brownie, and now you're wondering how to keep them from disappearing too quickly, or maybe how to save some for later. I get it, these things are addictive. The good news is, they're pretty easy to store. If you plan on eating them within a few days, just keep them at room temperature. Place them in an airtight container, and they’ll stay nice and fudgy for about a week. I usually put a piece of parchment paper between layers to prevent sticking, especially if they're still a little soft. It’s like giving them their own little brownie beds.
But what if you want to make them ahead of time or you’re trying to resist the temptation to devour them all at once? No problem! You can also store these brownies in the fridge for up to two weeks. The cold will make them a bit firmer, but they’ll still be just as delicious. Just be sure to keep them in an airtight container to prevent them from drying out. And if you want to keep them for even longer, freezing is the way to go. Wrap them individually in plastic wrap, then place them in a freezer-safe bag or container, and they can last for up to six months. When you're ready to enjoy them, just let them thaw at room temperature for a bit. It’s like having a secret stash of chocolatey goodness, ready whenever you need a treat.
Freezing and Thawing Tips
Freezing your 2 ingredient brownie is a great way to extend their shelf life, but there are a couple of things to keep in mind. First, make sure they're completely cool before you wrap them up. If they're still warm, they'll create condensation when frozen, which can lead to icy, not-so-great brownies. And when wrapping them, double up! I like to use plastic wrap first, then put them into a freezer bag. This prevents freezer burn and keeps them tasting fresh.
When you're ready to thaw, resist the urge to microwave them. Let them thaw at room temperature for a few hours, or even overnight in the fridge. This will prevent them from getting too soft or losing their texture. It's like letting them wake up slowly from a nap, ready to be enjoyed. Also, if you're freezing a whole batch, you might want to slice them into individual squares before freezing. This way you can grab a single brownie when you are craving one, without having to thaw the whole batch.
Storage Method | Shelf Life | Tips |
|---|---|---|
Room Temperature | Up to 1 week | Airtight container, parchment paper between layers |
Refrigerator | Up to 2 weeks | Airtight container to prevent drying |
Freezer | Up to 6 months | Wrap individually, use freezer-safe bag |